fbpx
Is Cycling for You?

Two of the biggest reasons people quit their exercise routine is boredom and time.  Who wants to exercise if you don’t like it?  Sure, everyone deals with the “want to” sometimes, but if your exercise is a dread, then don’t complain about it and instead try something new!

It could take a lot of experimenting, but eventually you can find an activity that moves your body and doesn’t make you want to wish away the time.  I used to think that cycling wasn’t for me.  I took a class several years ago at a fitness center and while it wasn’t a bad experience, it did not entice me to go back.  The room was dim and there were about 8-10 riders of all shapes and sizes that were quite engaged.  I am not sure exactly what turned me off, but it just wasn’t an inspiring or fun workout AND I certainly didn’t anticipate the bruised be-hind I was going to have the next day!

After that experience, I decided to stick to other activities I enjoyed more.

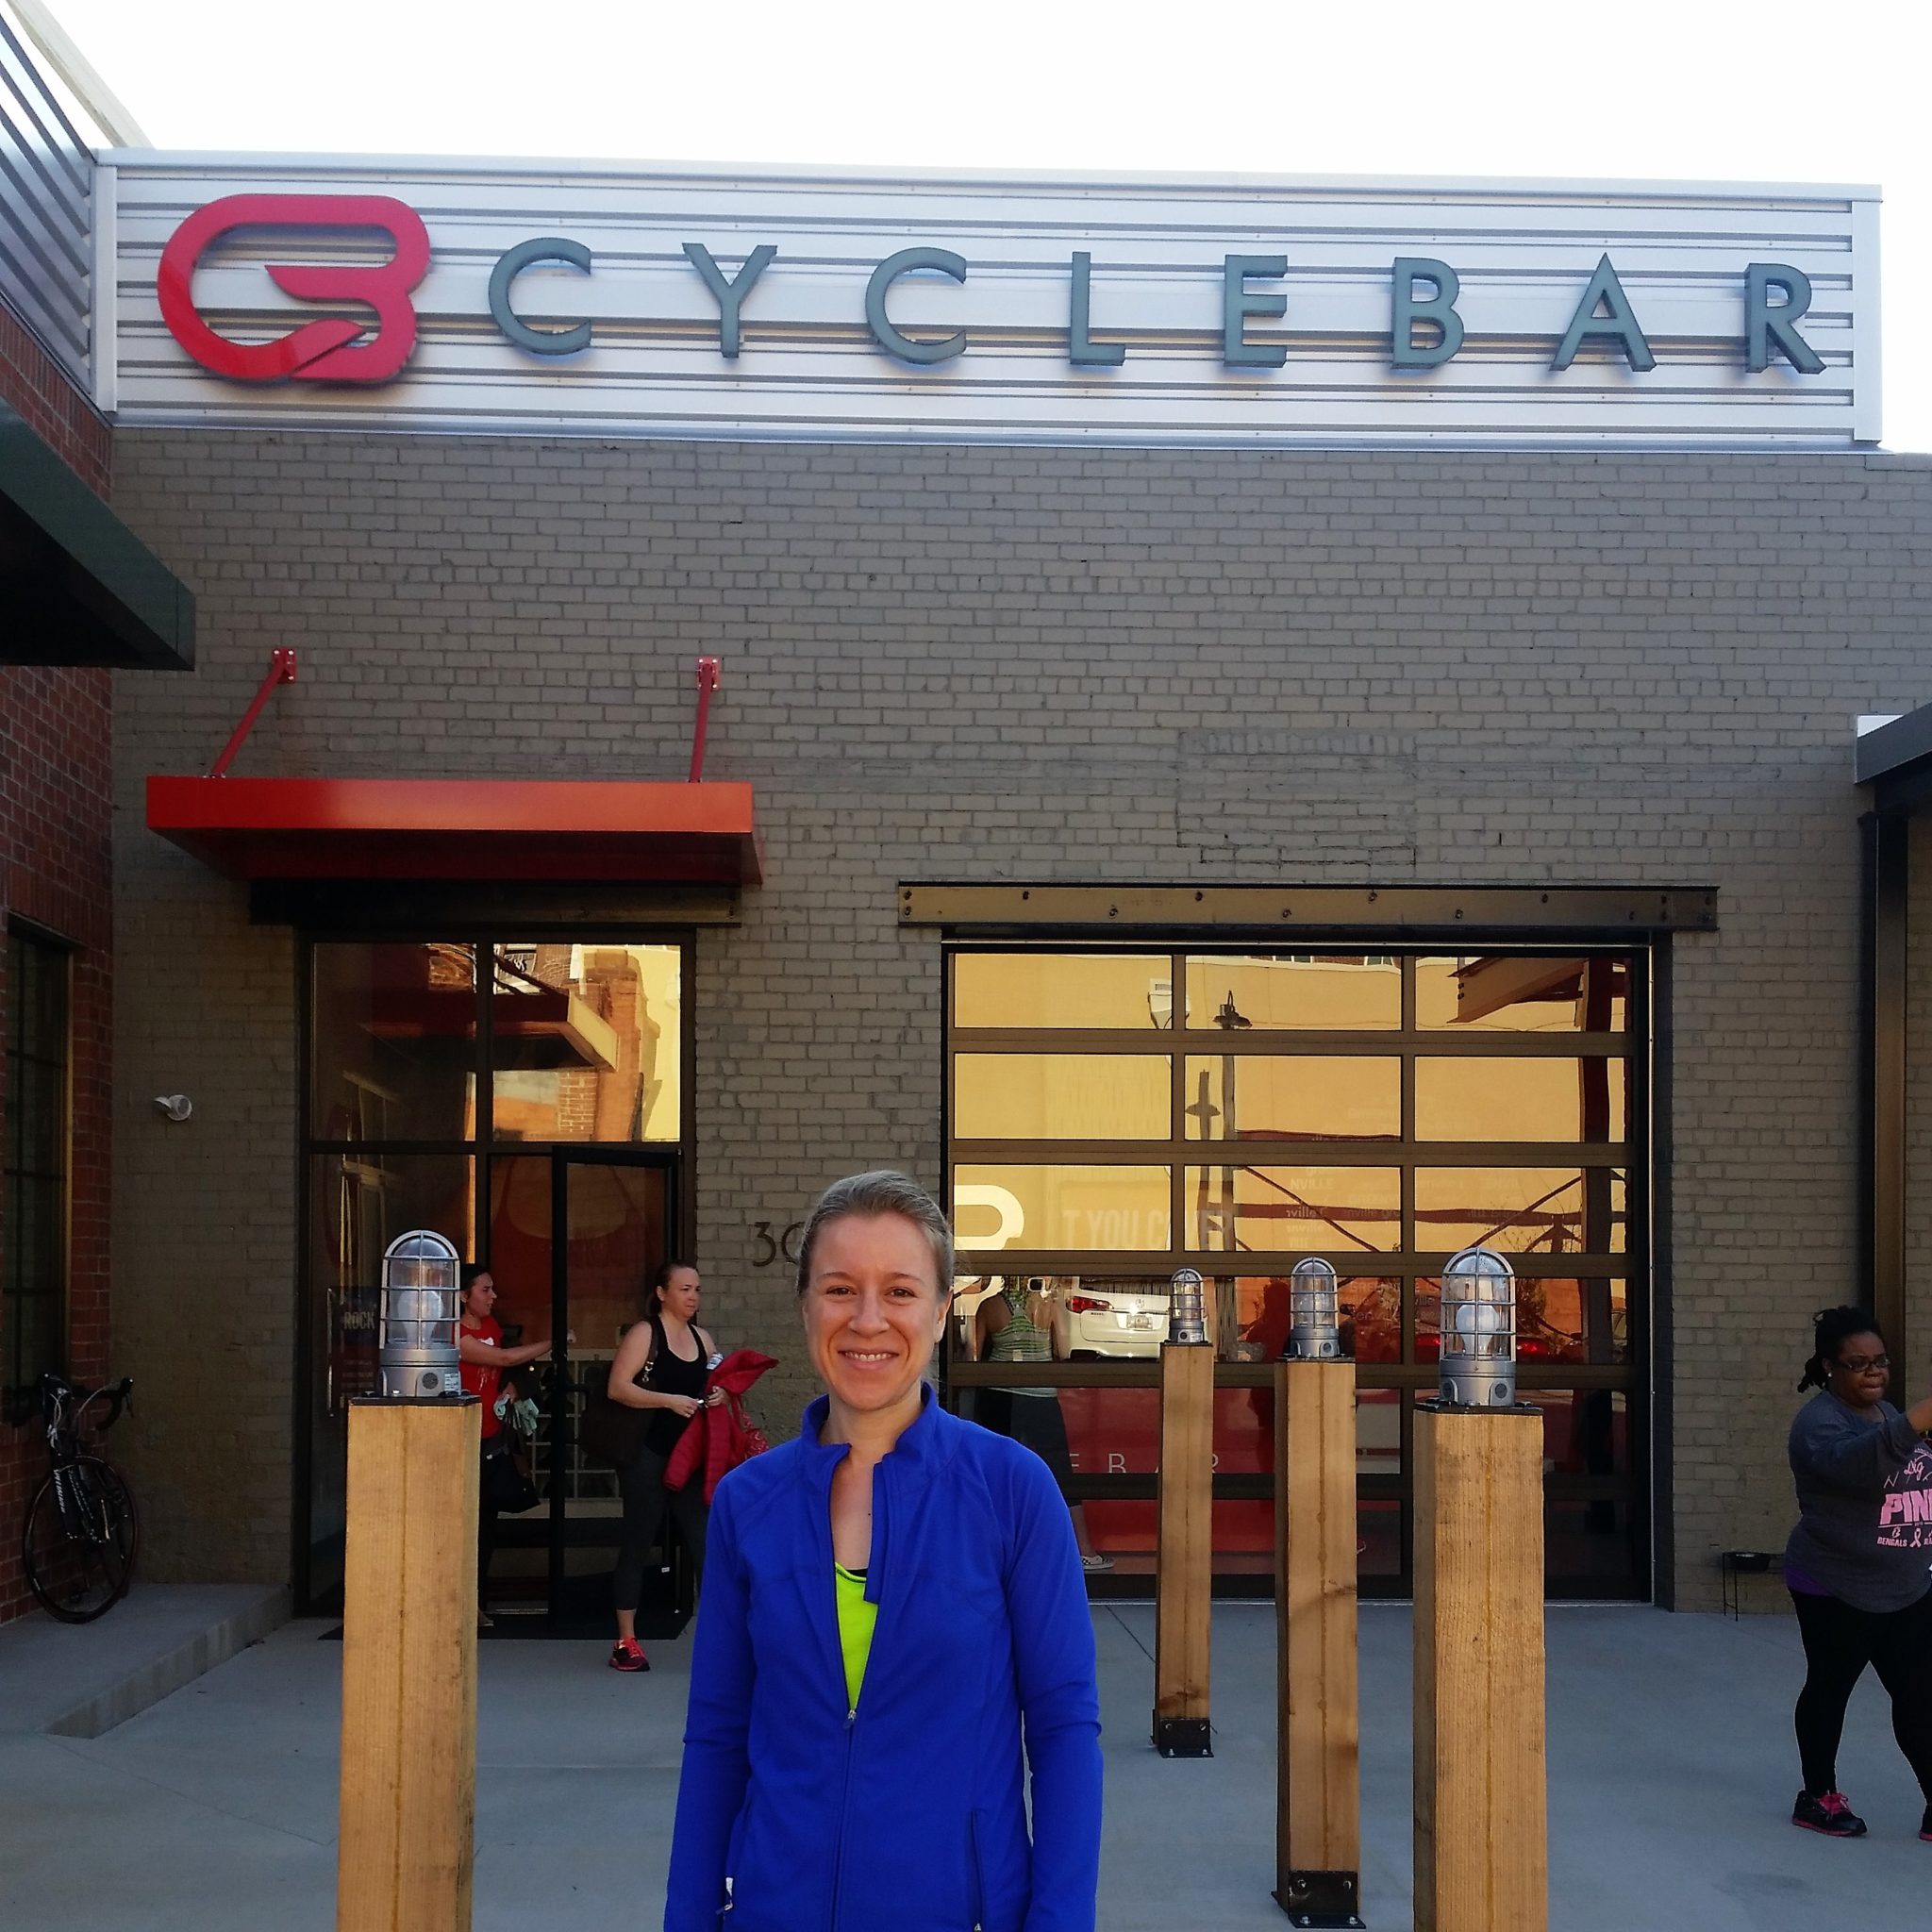
But recently, my curiosity was perked again when I was given the opportunity to attend a spin class at Cyclebar, Greenville.  The company was offering free classes as an awesome promotion before its big grand opening a couple weeks later.  What a phenomenal experience!  I arrived skeptical and left hooked!  I can’t recall the last time I experienced such a massive endorphin rush after a workout!
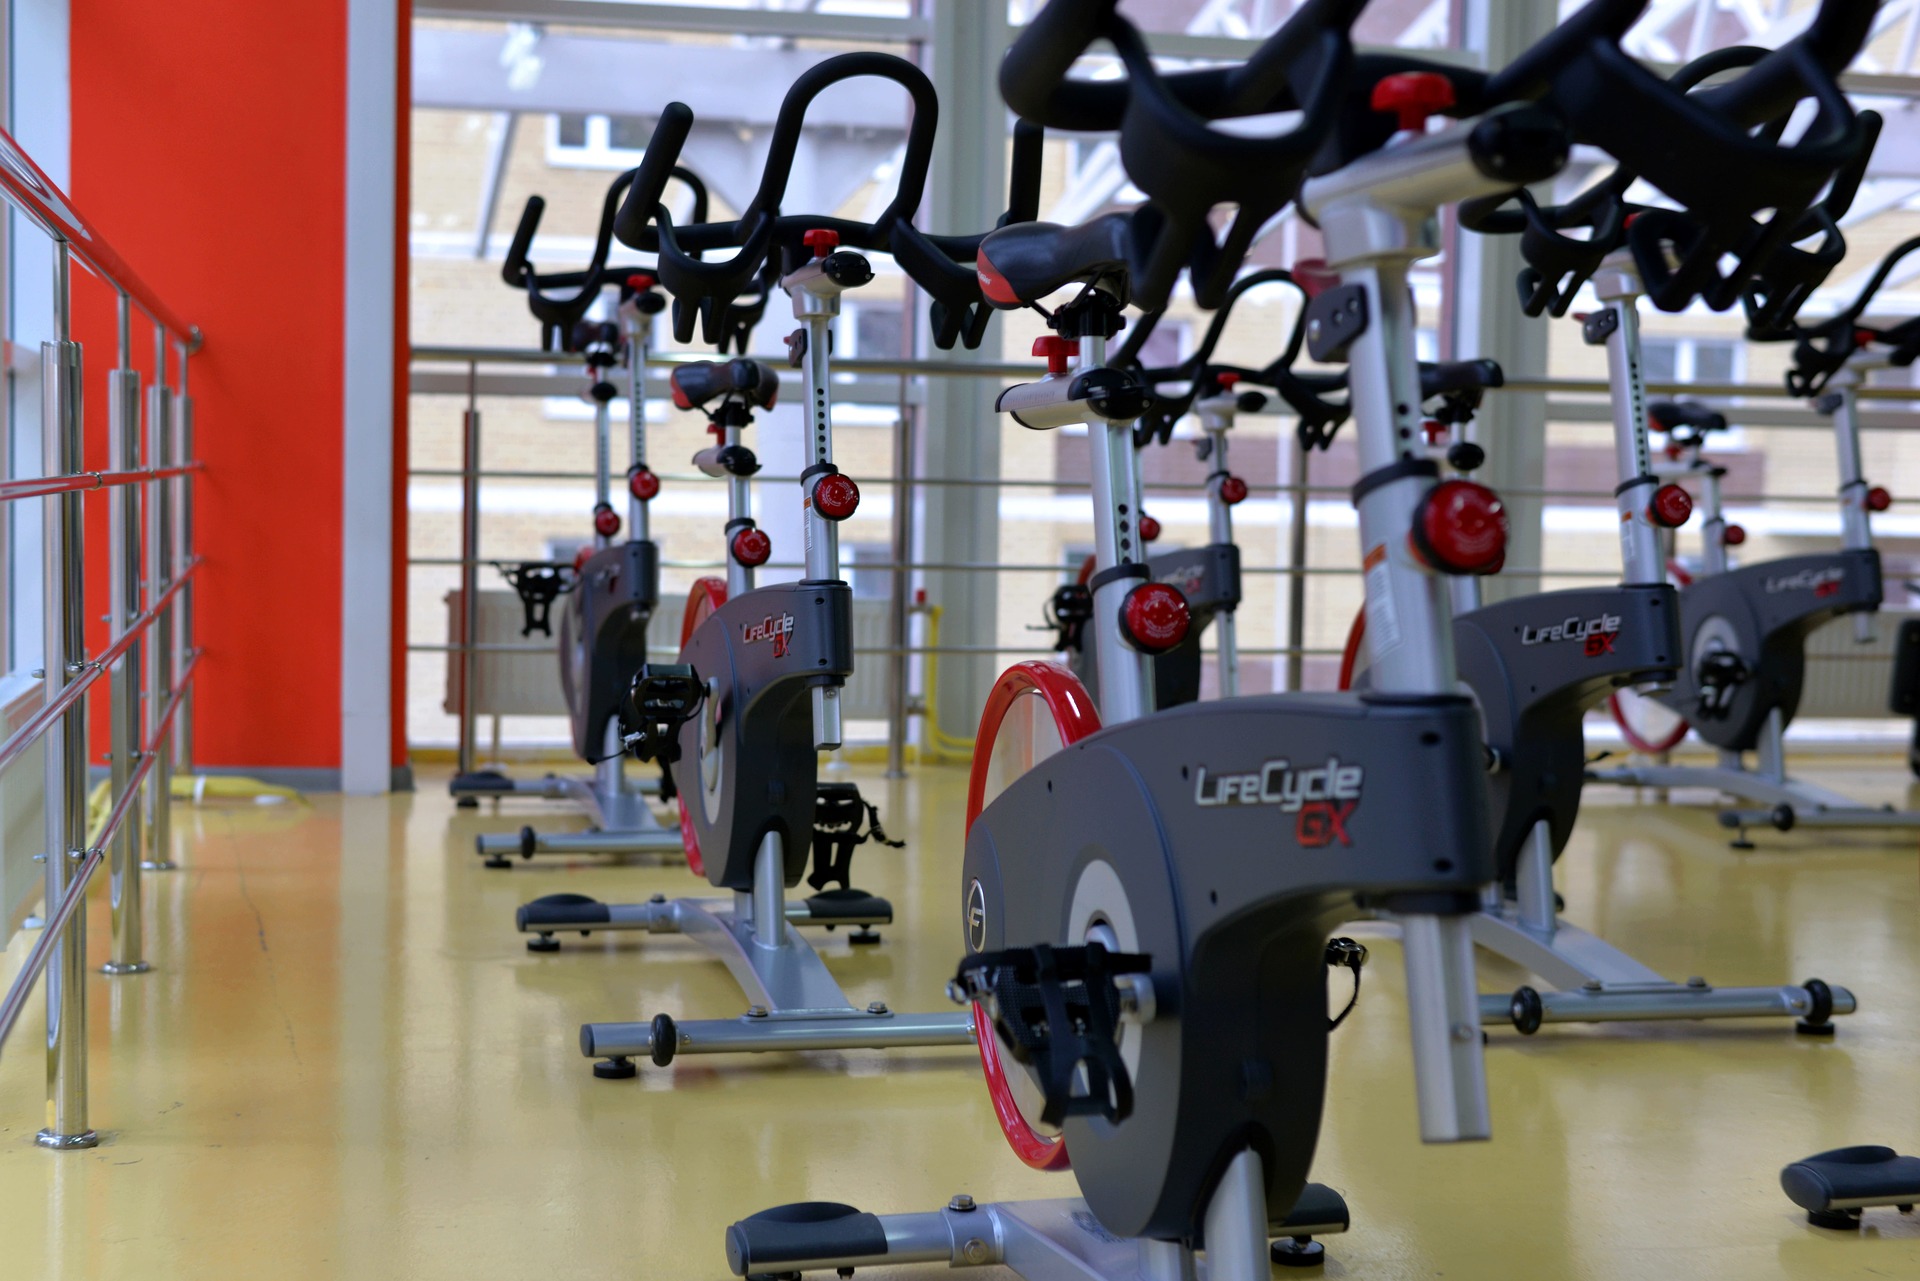
A few things I loved: 

The competition– with myself and the other riders

The community– about 50 people in the room giving their last drop of energy to the end; you could feel the drive

The adrenaline and endorphin rush– better than any cardio workout I have done in the last few years

The instruction– motivated by others’ expectations, I push myself harder when someone is telling me to do so; if they say ride faster, I do; if instructed to increase my resistance, I do.

The mini break for arm toning– a quick 3-4 minutes in the middle of the ride when you give your legs a break and use a 4 or 6 pound bar to do a series of intense arm exercises- you are thrilled to give your legs a break but by the end of the arm movements, you can’t wait to drop the bar!

Obviously, in love with this new workout challenge, I decided to buy a “New Rider” package that gave me 3 rides over 1 month so I could try out other classes and instructors.

If you have ever been curious about joining a cycling studio or taking a spin class at your local gym, here are a few things I learned during my experiences and what you need to know before your first class.


Expect a Sore Rear-end

Yes, I don’t think anyone can get through their first class (or even second!) and leave without a little discomfort.  There are some seat pads you can buy to make it a bit more comfortable, but most riders I talk with say it just goes away over time.  Kind of like building up a callous, eventually you don’t even notice it.


Classes Offer the One Thing You May Need to Succeed- Community

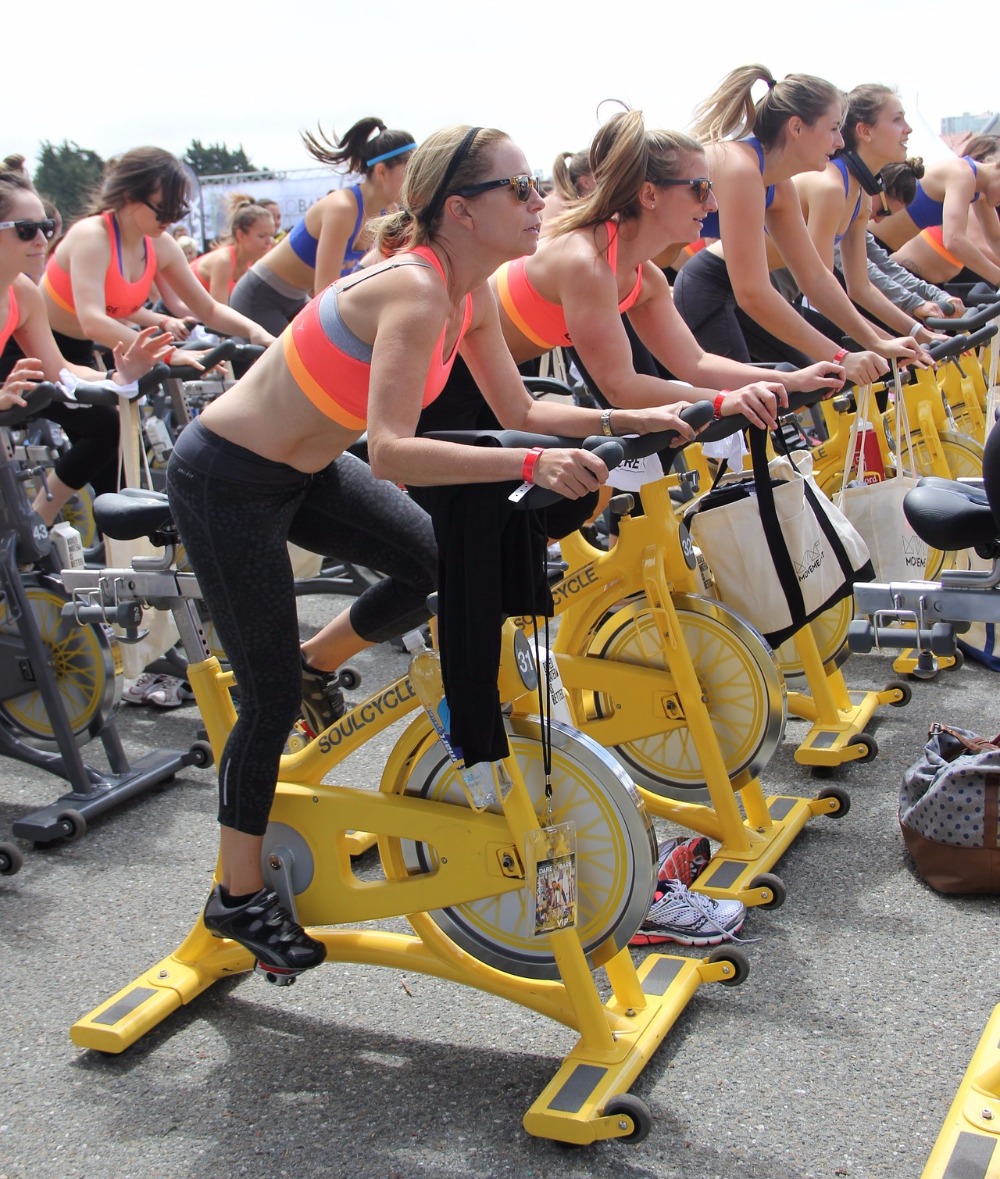
Cycling studios offer more than just classes, it becomes a community of like-minded individuals that support each other.  Even after only a few classes, I was surprised at how friendly and community oriented everyone appeared to be.  Paul Elsass, MSM, CEP says that the one thing you actually need to succeed with a fitness routine is social connection.  He states that people who take a group class or exercise with a trainer are 3 times more likely to be a member of that gym 1 year later, but those who exercise alone have a slim chance of continuing to exercise.   WE NEED people and developing a community of people who recognize you, know your name and are working just as hard beside you is incredibly motivating.
 

It’s More Than a Bike Workout

Many spinning classes include a strength portion during the workout to give the participants a full body workout.  A lot of individuals don’t have time to attend a class and then tack on a strength workout afterward. While it likely won’t hit all major muscle groups, it is a nice break in the middle of an intense ride and allows you to feel the burn in your arms too!


Don’t Be Afraid to Ask Questions

Getting the bike adjusted to your body and “clipping in” can be a little challenging and overwhelming the first few classes.  Don’t be afraid to ask the instructor or an employee to help you get situated.  A biker next to you may be able to help you as well, but I found the instructor to be the best as helping me adjust seat height and bar length to my body.  My first ride, I didn’t ask for help and the seat was too high.  It made for an uncomfortable 50 minutes and limited my ability to sprint.


You Are Your Own Competition

Many cycling studios have boards to track your progress against others in the room, but you can also opt out if desired.  If you like competition, it is a great feature but if you are just getting started, you may want to get a few rides under your belt first.  The reality is that you are the only one who determines if you amp it up or not when the instructor tells you to do so. What I told myself every ride was that I would get off that bike knowing I had nothing left to give.  Yes, my legs felt like jelly, but I knew I hadn’t held back.  Good instructors know when to give affirmation, how to coach you through a hill and how to say the right thing to motivate you to give 10 more seconds, BUT, only you decide how to respond.


Every Instructor Is Different

If you attend a class that doesn’t fit you, try a different instructor.  Whether it is personality, music choice or class structure, they all have their own vibe and you may connect better with some individuals more than others. Cyclebar has a few different types of classes, including those that focus on improving performance, others that include a lot of competition and some that are all about the music.  Each instructor adds their own flare to the class and some are incredibly motivating!


Don’t Assume You Are Not a Good Fit for Cycling

While I did notice a generally athletic build among most of the cyclers, not everyone fit that image. Don’t allow your shape, age, perceived athletic ability or weight prevent you from trying it out.


Expect a Vastly Different Price Range for Classes

While prices will differ depending on gym and location, cycling studios tend to be pricy!  In fact, I was a bit stunned at how costly it was to take a few classes at Cyclebar.  The package I purchased for 3 rides in 1 month was $29 and compared to all the other packages, it was a steal! Depending on whether you purchase a monthly unlimited pass or a certain number of rides, the general cost is $14-20 per 45-50 minute ride.
The package I bought was only available to NEW riders as a 1-time deal. However, if you are interested in spin classes and a high priced studio doesn’t fit your budget, look into the class schedule at your local gym to determine if they offer a program that appeals to you.  These gyms may or may not have the high-tech monitors and equipment for class competitions and to keep up with your progress from ride to ride, but they may offer enough to challenge and satisfy you.

Discount websites like Livingsocial and Groupon will periodically have deals on cycling studios if you are uncertain about full buy-in.  Also, some studios, Cyclebar included, offer a FREE new rider class that teaches the basics during a 30-minute session.  That way you can avoid fumbling around like I did my first class!


Try It More Than Once

As I learned, first impressions are not always accurate.  If your first class doesn’t go as smoothly as you want or doesn’t give you the endorphin rush you expect, give it another try.  I found it took a few rides to feel comfortable with the class structure, moving gears, keeping an eye on RPMs and listening to the instructor over the loud music so that I could get the most out of my ride and keep up with the pace.  Give yourself some grace, laugh, invite a friend and try again.

Cycling may or may not be your thing, but I encourage you to give it a try a few times before you give it a label, like I did.  You may be pleasantly surprised!  Oh, and the endorphin rush is no joke, so it is a great workout first thing in the morning!!

188 Views0
10 Ways to Sweeten and Flavor Yogurt WITHOUT Added or Artificial Sugars

Yogurt has an abundance of beneficial nutrients including protein, calcium, vitamin D, B12, magnesium, and potassium.  It is also a very easy way to consume probiotics, healthy “bugs” that thrive in the gastrointestinal system.  Different strains of these probiotics have been shown to help with several issues including:

  • Diarrhea
  • Constipation
  • Immune support
  • Vaginal health
  • Lactose intolerance

Most yogurts contain the phrase “live and active cultures” within the ingredient list and then list several strains included (ie. L. Bulgaricus, L. Acidophilus, etc).

Since yogurt is made from milk, it contains a naturally occurring form of sugar called lactose.  But, most brands also add sugars OR artificial sweeteners (like sucralose, acesulfame potassium, etc) to sweeten them. Because plain yogurt has a slight tang, brands doctor up their yogurt to make them more appealing to the masses.

BUT, as you know, sugar is simply empty calories.  It doesn’t mean we must be sugar-phobic but it certainly does NOTHING to improve our health and only causes more cravings for sugar and spikes in our blood glucose.

While the 5-6 ounce containers of yogurt in the refrigerated section of the grocery store are quite tempting to grab, there are sooooo many easy ways to sweeten and flavor your yogurt WITHOUT adding any sugar whatsoever!  These individual containers of sweetened yogurt usually contain anywhere from 3-4 teaspoons of added sugar!!  While a couple brands have a little less, there are very few brands that haven’t tainted this nutrient rich food with a heaping dose of sugar.

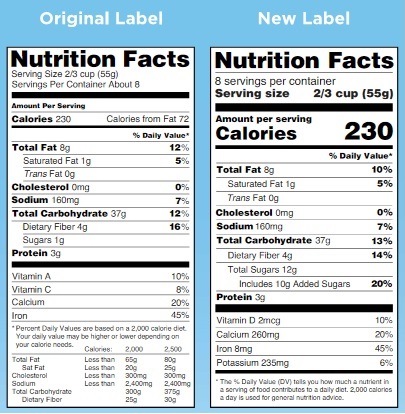
Right now, nutrition labels list total sugars and do not differentiate between added sugars and naturally occurring sugars.  By July 2018, brands are required to list added sugars on containers in addition to naturally occurring so that consumers can easily make educated decisions about what they want to buy for themselves and their families.  This is a HUGE WIN because there will be less confusion and brands will not be able to disguise sugary foods as “healthy”.

While there are less refined forms of sugar you can add to yogurt like raw honey, agave, coconut sugar, and maple syrup, these are all sources of calories, sugar, and very few nutritional benefits. Sure, they are tasty sweeteners, but still a source of empty calories.

If you have been hesitant to try plain yogurt due to the tang, there is a little trick… instead of buying fat-free yogurt, choose low-fat yogurt (greek or regular).  The little bit of fat actually tames the tartness, making it more appealing for many.  ALSO, make sure that you try a few different brands, as some are better than others.  My favorite brand is FAGE Total 2%- it is creamy and oh so good!

After choosing your favorite plain yogurt, it is time to flavor it up and add some pizazz!  Here are 10 creative and easy ways to transform boring yogurt into a flavorful treat!

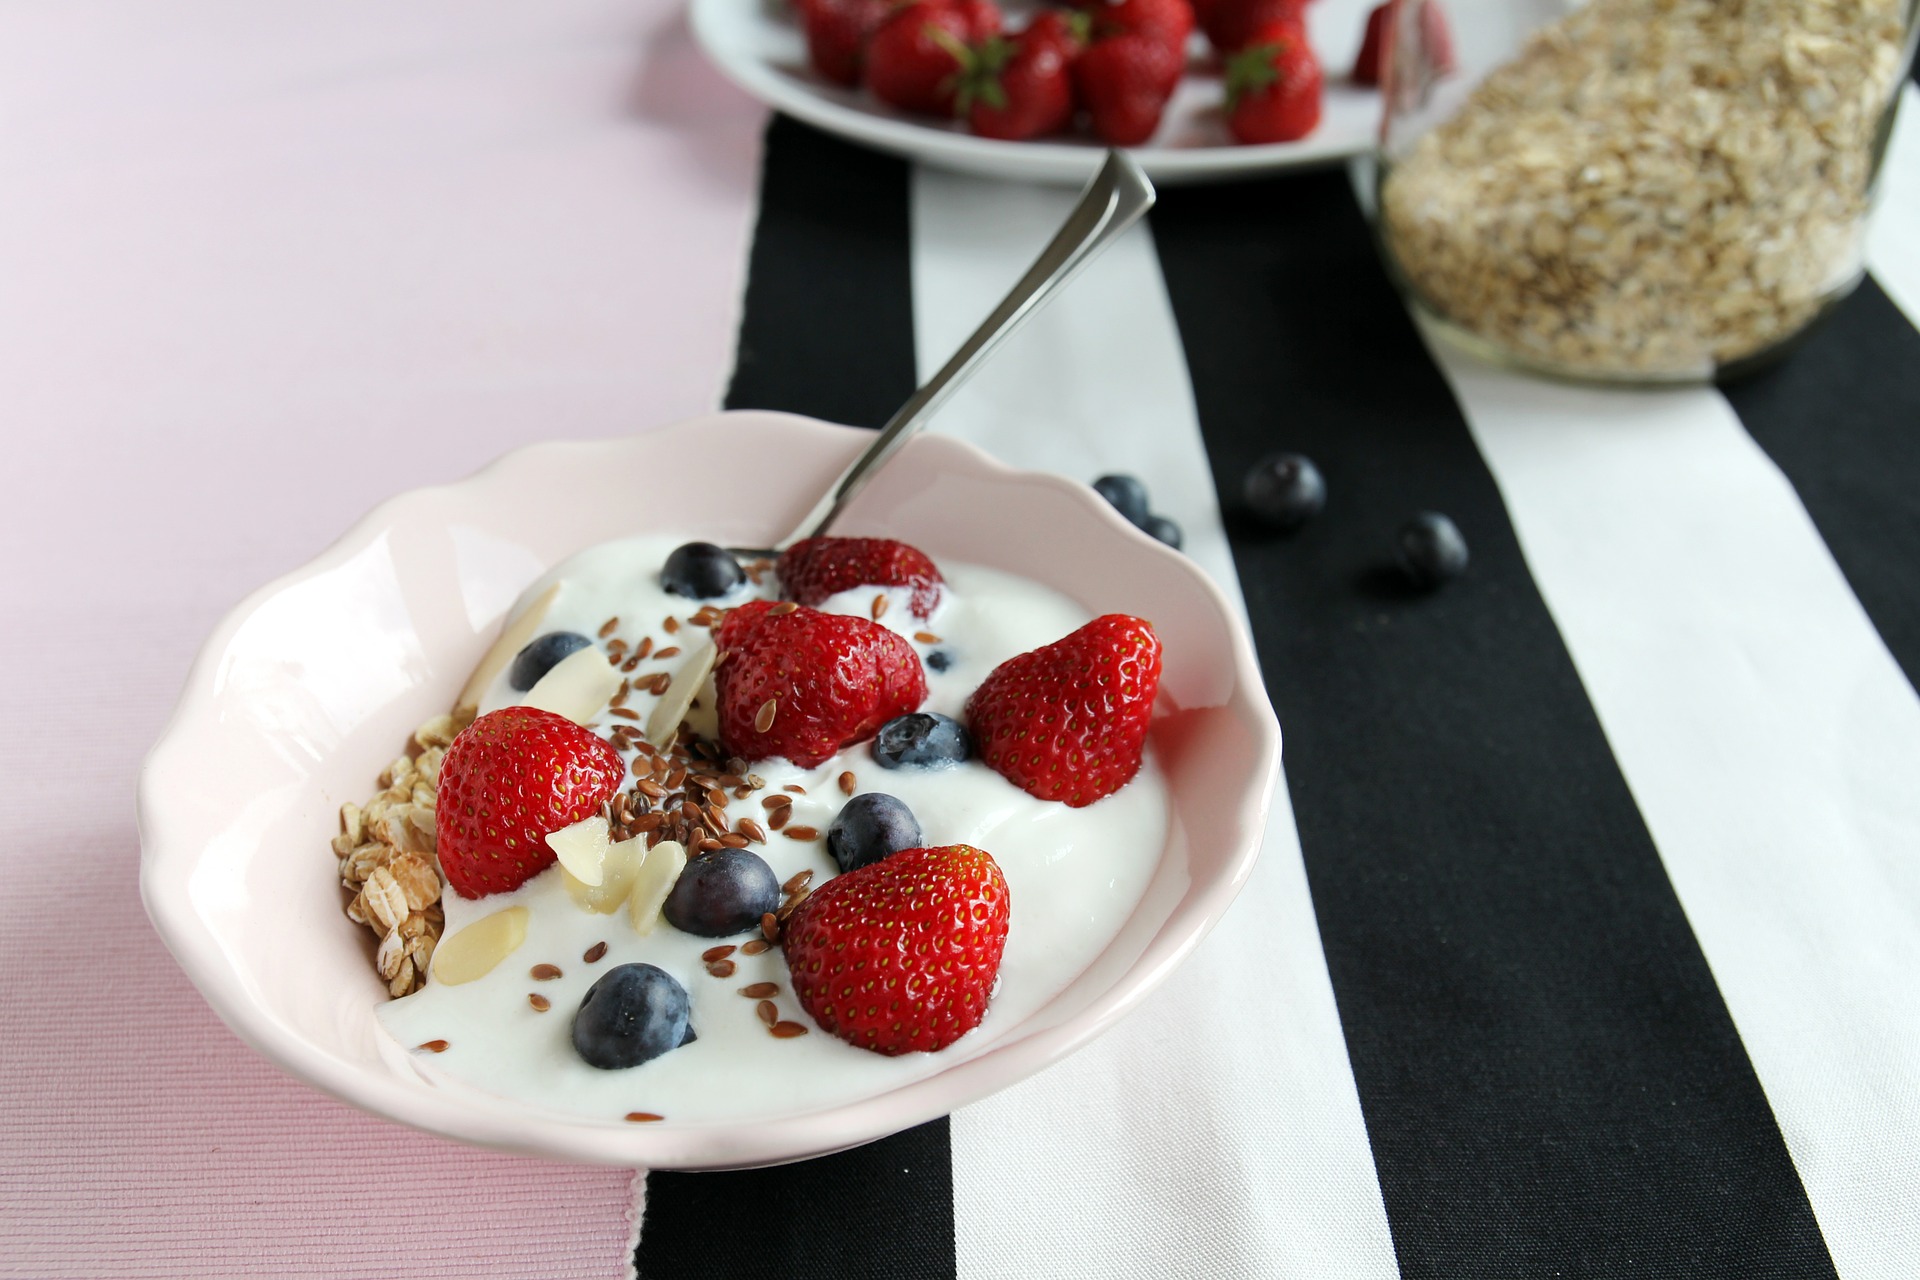
You won’t miss the sugar and the sky is the limit to what you can stir up!


01. Mashed Banana

Super ripe bananas are incredibly sweet and they also mash easily!  A large banana is actually 2 fruit servings so when adding to yogurt, use ¼-½ of a large banana.  Half a banana provides almost 20% of your daily needs for B6 (pyridoxine), a nutrient involved in protein metabolism, immune function, cognitive development and more!  It also contains a healthy dose of manganese (8%) and potassium (5%).  One serving of a banana has virtually no fat, about 2 grams fiber, 60 calories and 15 grams carbohydrate.  There are few things easier than mashing banana in a bowl and stirring in yogurt for an on-the-go breakfast!

According to PBH Foundation, Bananas were the top consumed fruit in 2014 with 46%.  Apples and berries were runners up with 32% and 24% popularity. Bananas are obviously a common fruit being placed in the grocery cart each week.  Creamy mashed banana yogurt is the perfect breakfast pairing for healthy carbohydrate, protein, and fat.

02. Applesauce

Whether homemade or from a jar, no-sugar-added applesauce is a perfect sweetener for yogurt.  It stirs in easily and is already is most people’s pantry or fridge. Applesauce contains 2 grams fiber per ½ cup serving for only 50 calories.

Make sure to avoid any brands that include sugar, high fructose corn syrup, fruit juice concentrates or any other forms of sugar or artificial sweeteners in the ingredient list.

Curious to try making your own crock pot applesauce?  Try out this recipe from Registered Dietitian Sally Kuzemchak at Real Mom Nutrition


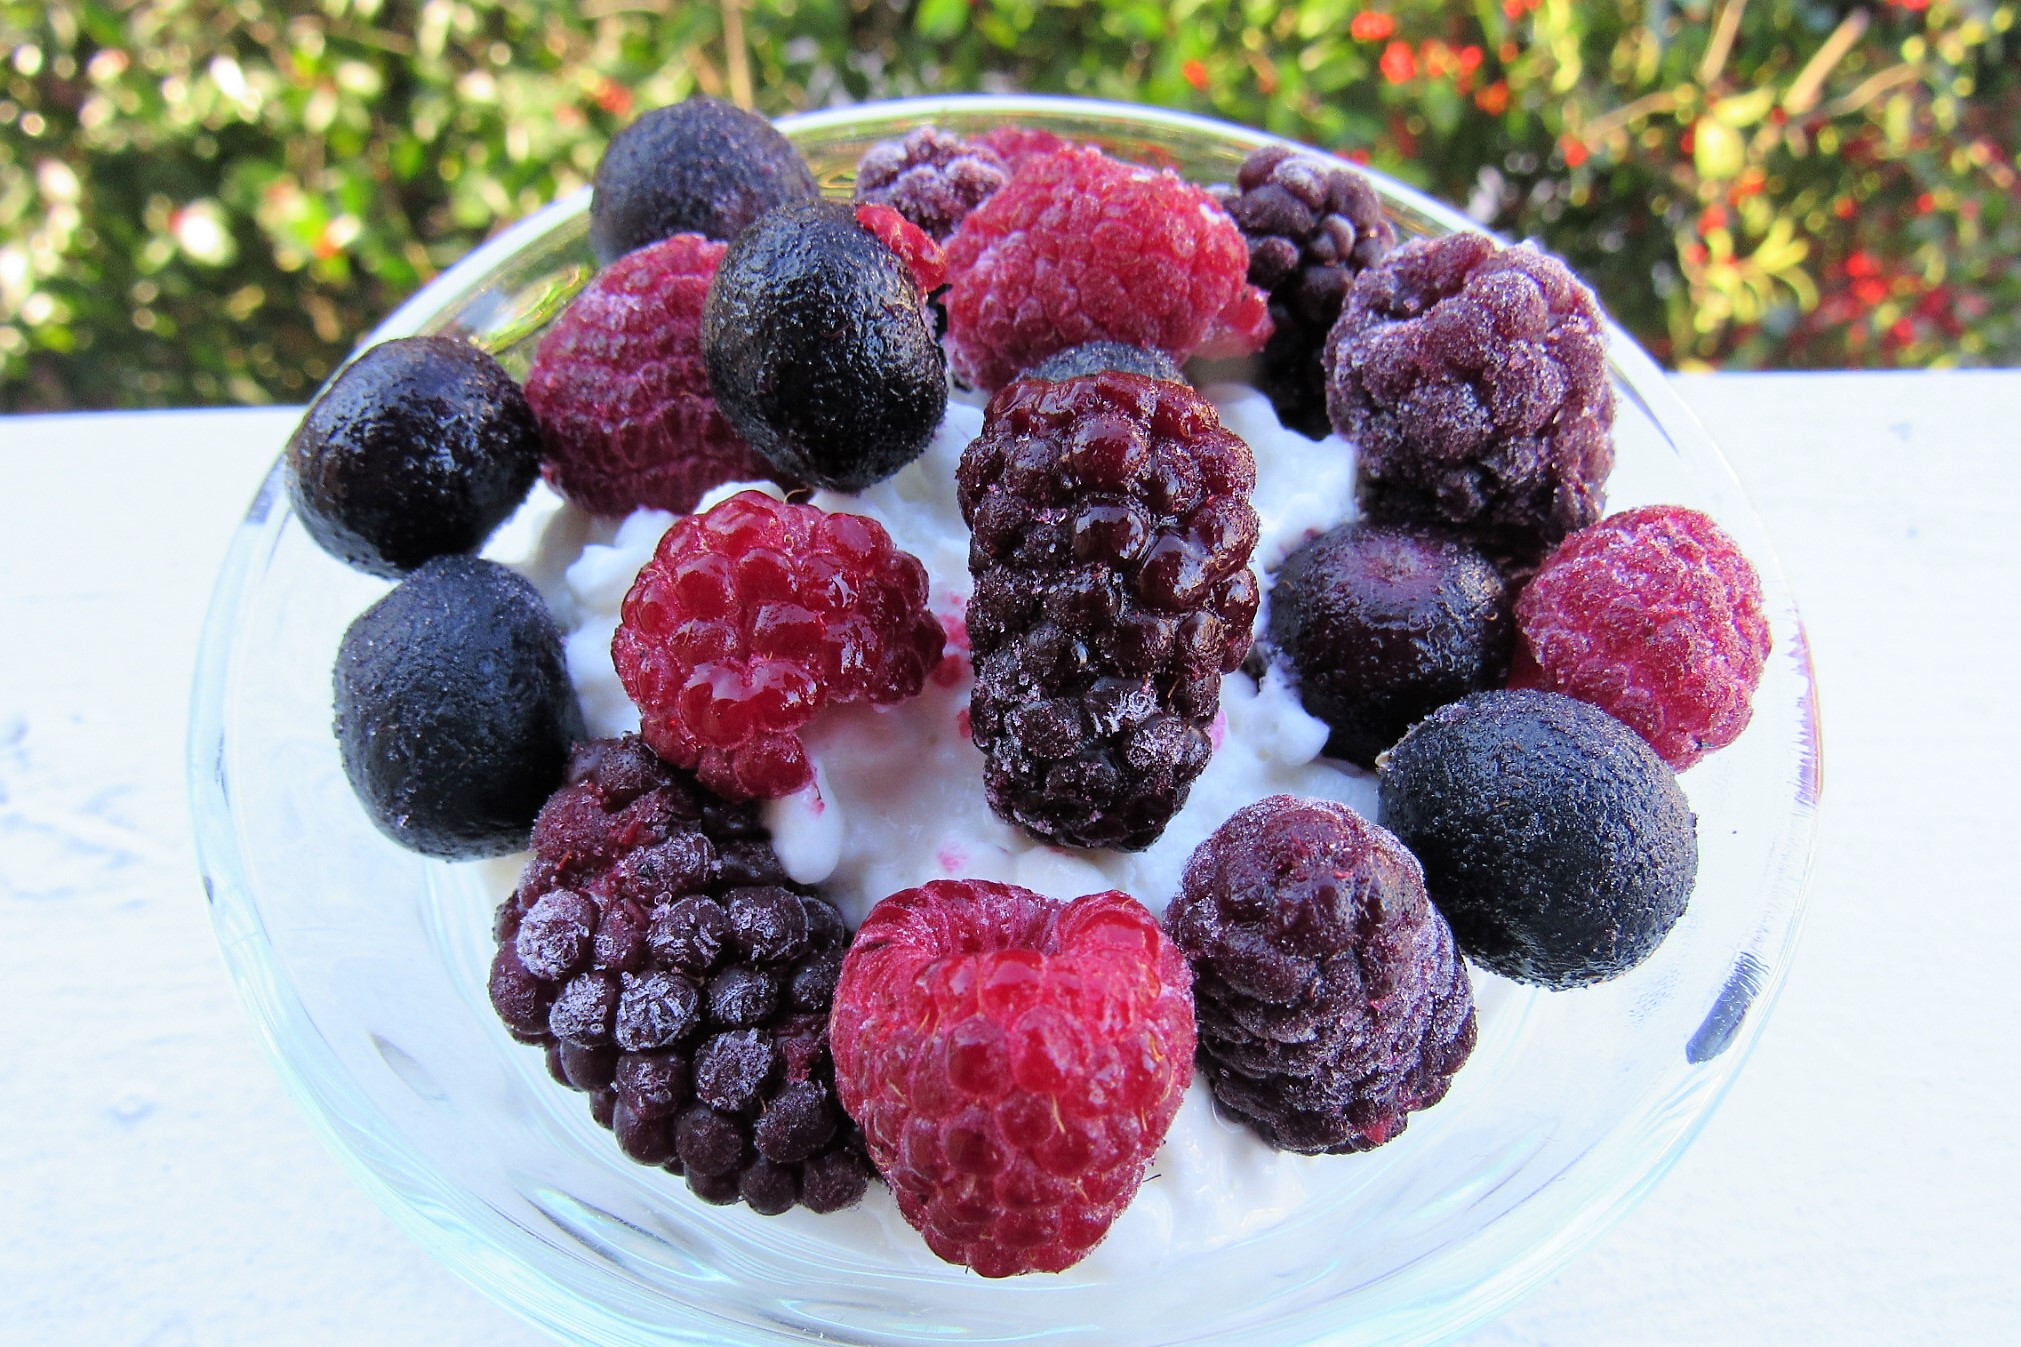
03. Fresh Fruit

Berries, peaches, plums, melon, mango, papaya,… There are just no limits to how creative you can be in adding fruit to your yogurt!  Use what you have on hand, what is in season or what needs to be eaten before it begins to turn.  Why not add some sweet orange slices and a squeeze of the juice? How about stirring in the leftover fruit salad from last night’s dinner?


04. Cinnamon

This warm spice has a touch of sweetness and easily stirs in, enhancing your bowl of yogurt.  It is virtually calorie free and boasts some impressive nutrition benefits.  Cinnamon may increase sensitivity to insulin, helping improve blood glucose control.  Some studies show that it also may help fight inflammation and possibly improve heart health.  While a few sprinkles of cinnamon in your yogurt won’t be a magic cure, it certainly is worth incorporating into meals, particularly yogurt, for great flavor and a hint of sweetness.


05. Vanilla and other Extracts

Extracts are powerful flavor weapons that can transform a boring bowl of yogurt.  There are dozens of extracts you can buy, the most common being vanilla.  You only need a few drops, but they can certainly take it up a notch!

Here are a few flavors you might want to try:

  • Almond
  • Banana
  • Cinnamon
  • Coconut
  • Maple
  • Coffee
  • Mint
  • Orange
  • Pumpkin pie spice

These are also tasty in yogurt smoothies!


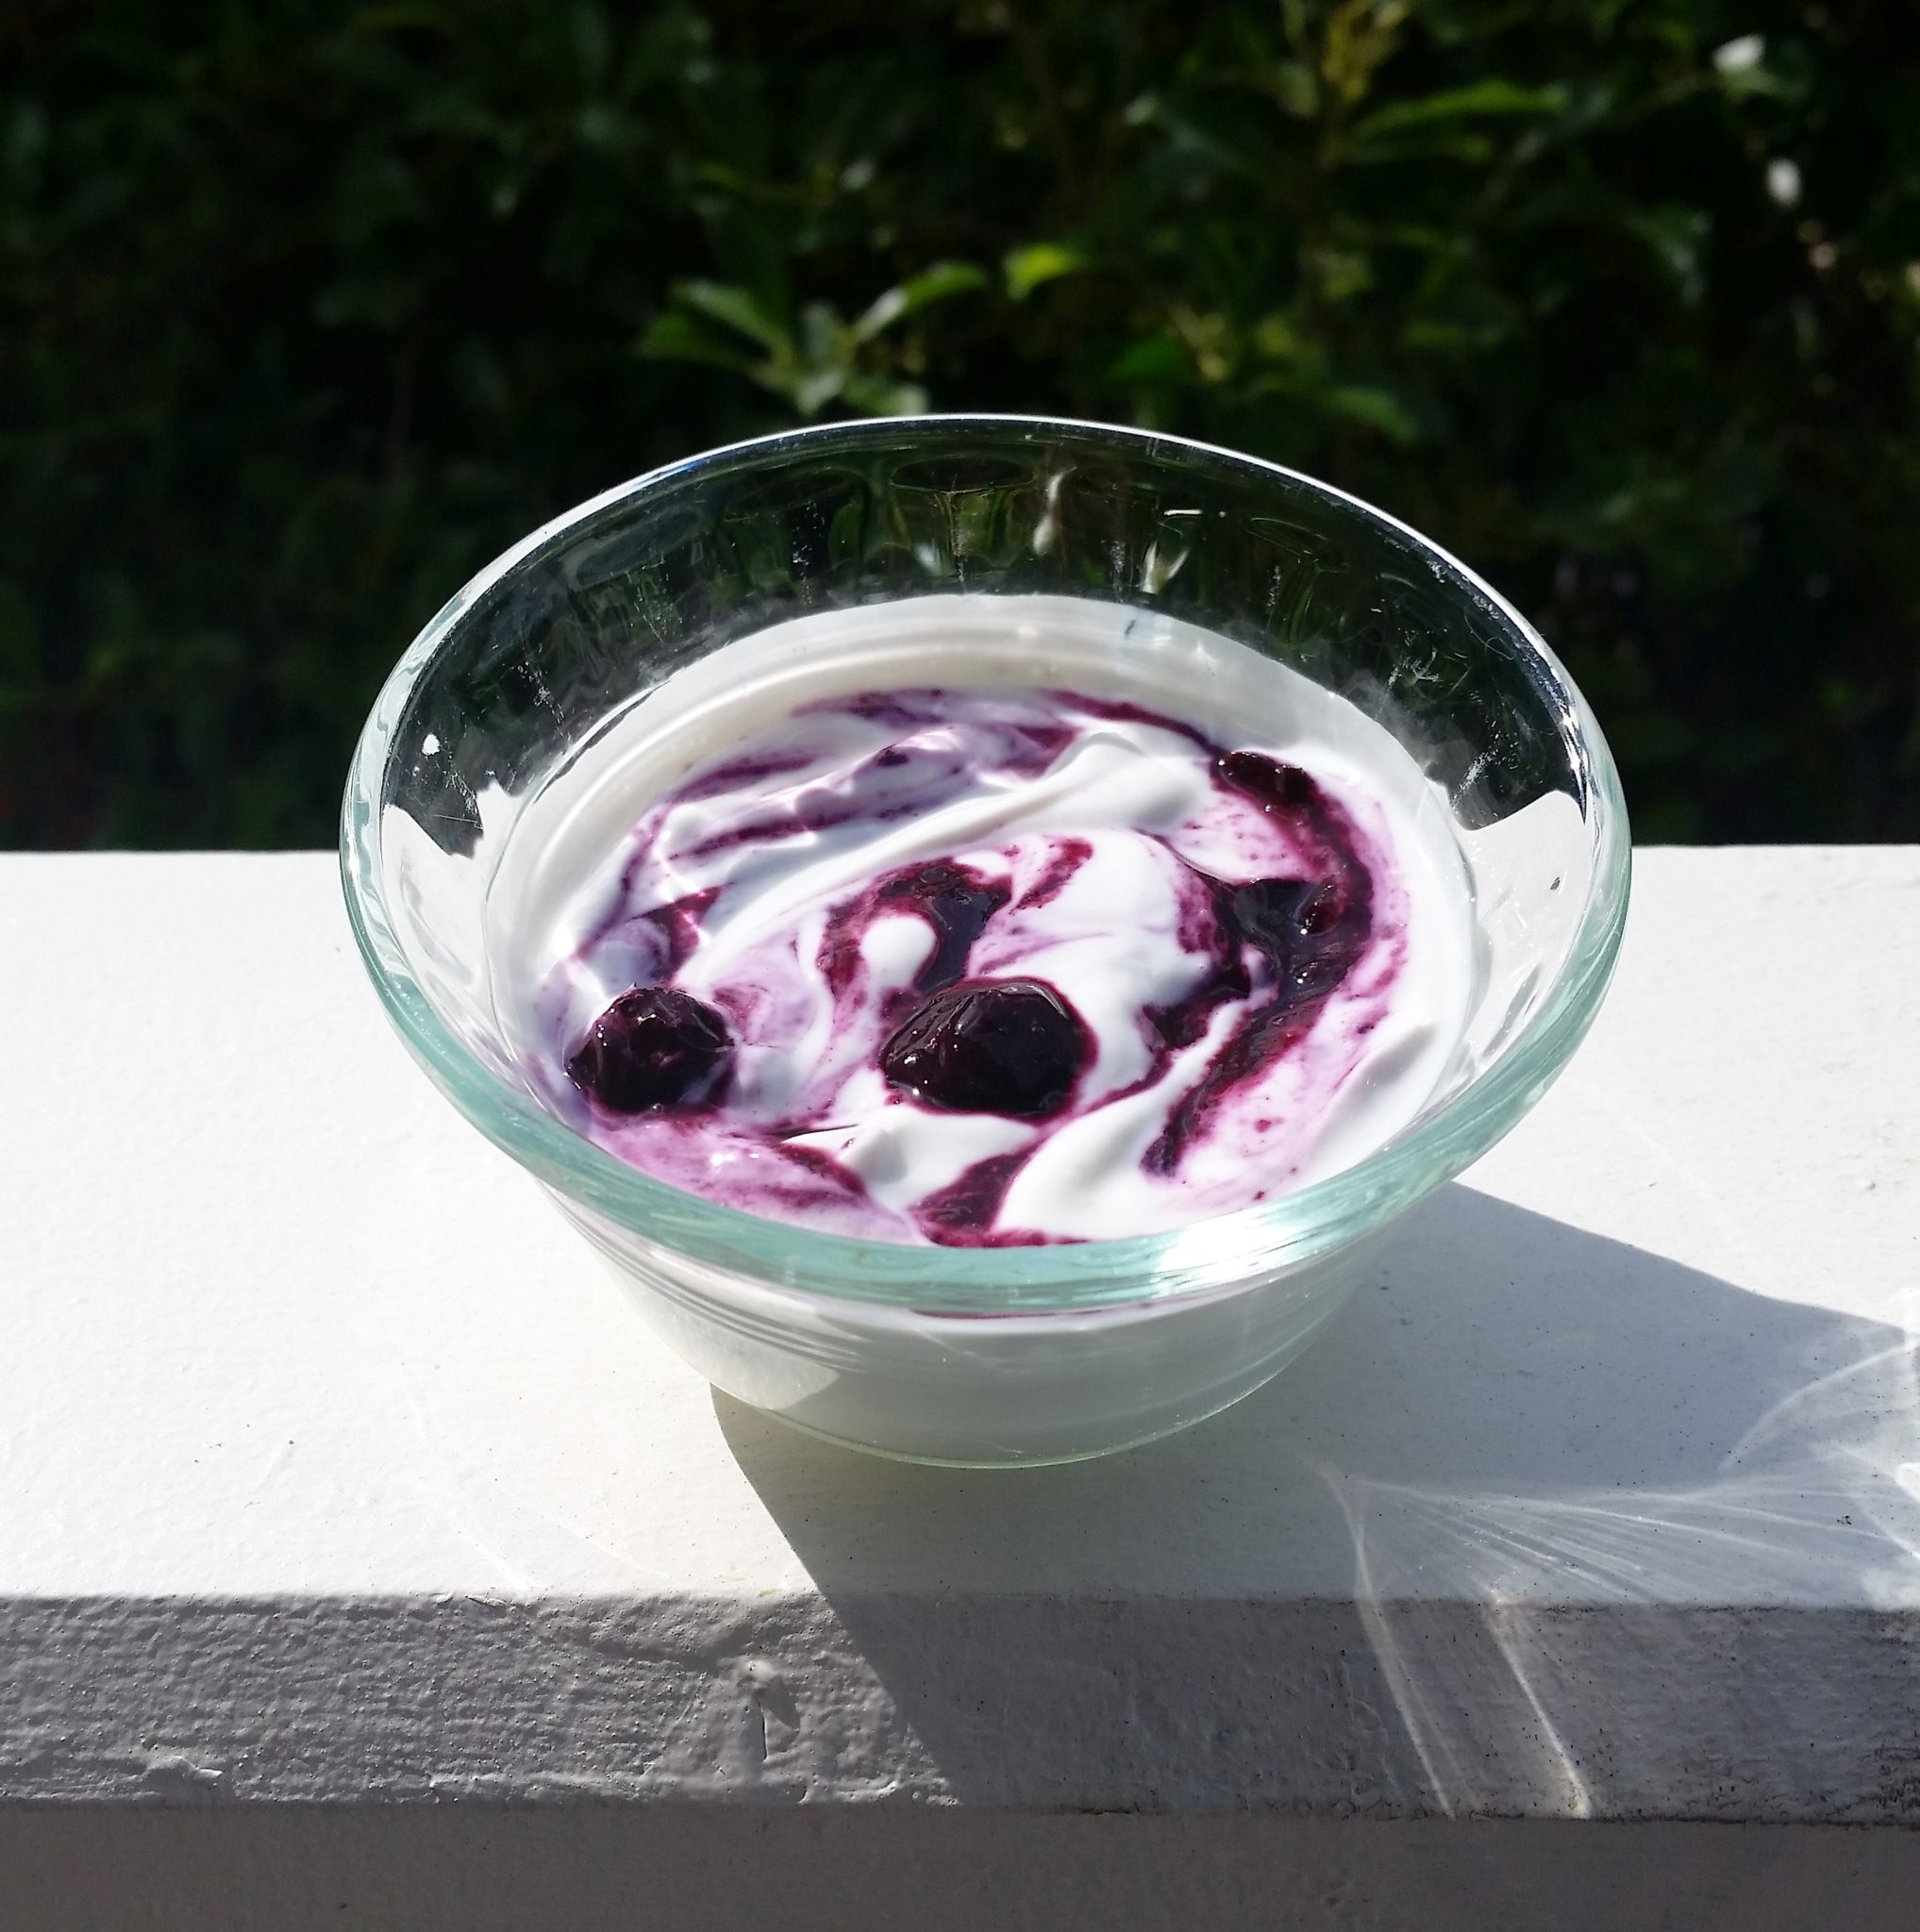
06. Blueberry Sauce

Did you know you can make your own fruit syrup or compote in less than 20 minutes!  It barely takes any attention!  This Super Simple No-Guilt Blueberry Syrup is hardly a recipe.  Blueberries and water… that’s it!  Oh, you do need a small saucepan 🙂  When berries are ripe and sweet, melting them down to develop those rich, candy-sweet flavors is a perfect idea! This syrup thickens in the fridge.  I have even been caught grabbing a spoonful by itself but… NO GUILT… it’s just blueberries!  Your blueberry goodness can be stored in the refrigerator for 5-7 days.


07. Sweet Potato

Maybe a little bit odd sounding, but sweet potato yogurt is fantastic!  I developed this idea recently after looking for another creative way to help my daughter eat more nutrient dense foods.  We usually bake several sweet potatoes each weekend and eat them during the week.  After noticing an abundance of sweet potatoes in the fridge that needed to be used, I decided to try mashing some into yogurt.  I was happily surprised!

Sweet potatoes are practically exploding with nutrition and flavor!  These sweet jewels are jam-packed with vitamin A, Vitamin C, copper, manganese, B-6 and B-5.  Even just ½ cup of mashed sweet potato provides over 3 grams fiber and more than 100% of your daily needs for Vitamin A.  According to the Office of Dietary Supplements, there are no other plant foods (fruits or vegetables) that provide as much vitamin A as sweet potatoes!

Mashed sweet potato yogurt…give it a try…you just might be pleasantly surprised!


08. Mango Puree

Many types of fruit can be pureed (just like baby food) to stir into yogurt as a natural fruit sweetener.  Mango (fresh or frozen) is a great fruit that blends in a food processor well, but many others can work great too! Purees can be added directly to a large container of yogurt or stored in a mason jar in the refrigerator for up to 7 days.

Sometimes you can find frozen fruit puree with NO ADDED SUGARS/juice concentrates in the frozen section at the grocery store, often near frozen mixed drink ingredients.  If you make your own, simply freeze portions in a small ice cube tray.  Once frozen, place in an air-tight ziplock bag and remove a cube as needed.  It will melt over several hours, keeping your yogurt cold in your lunch box!


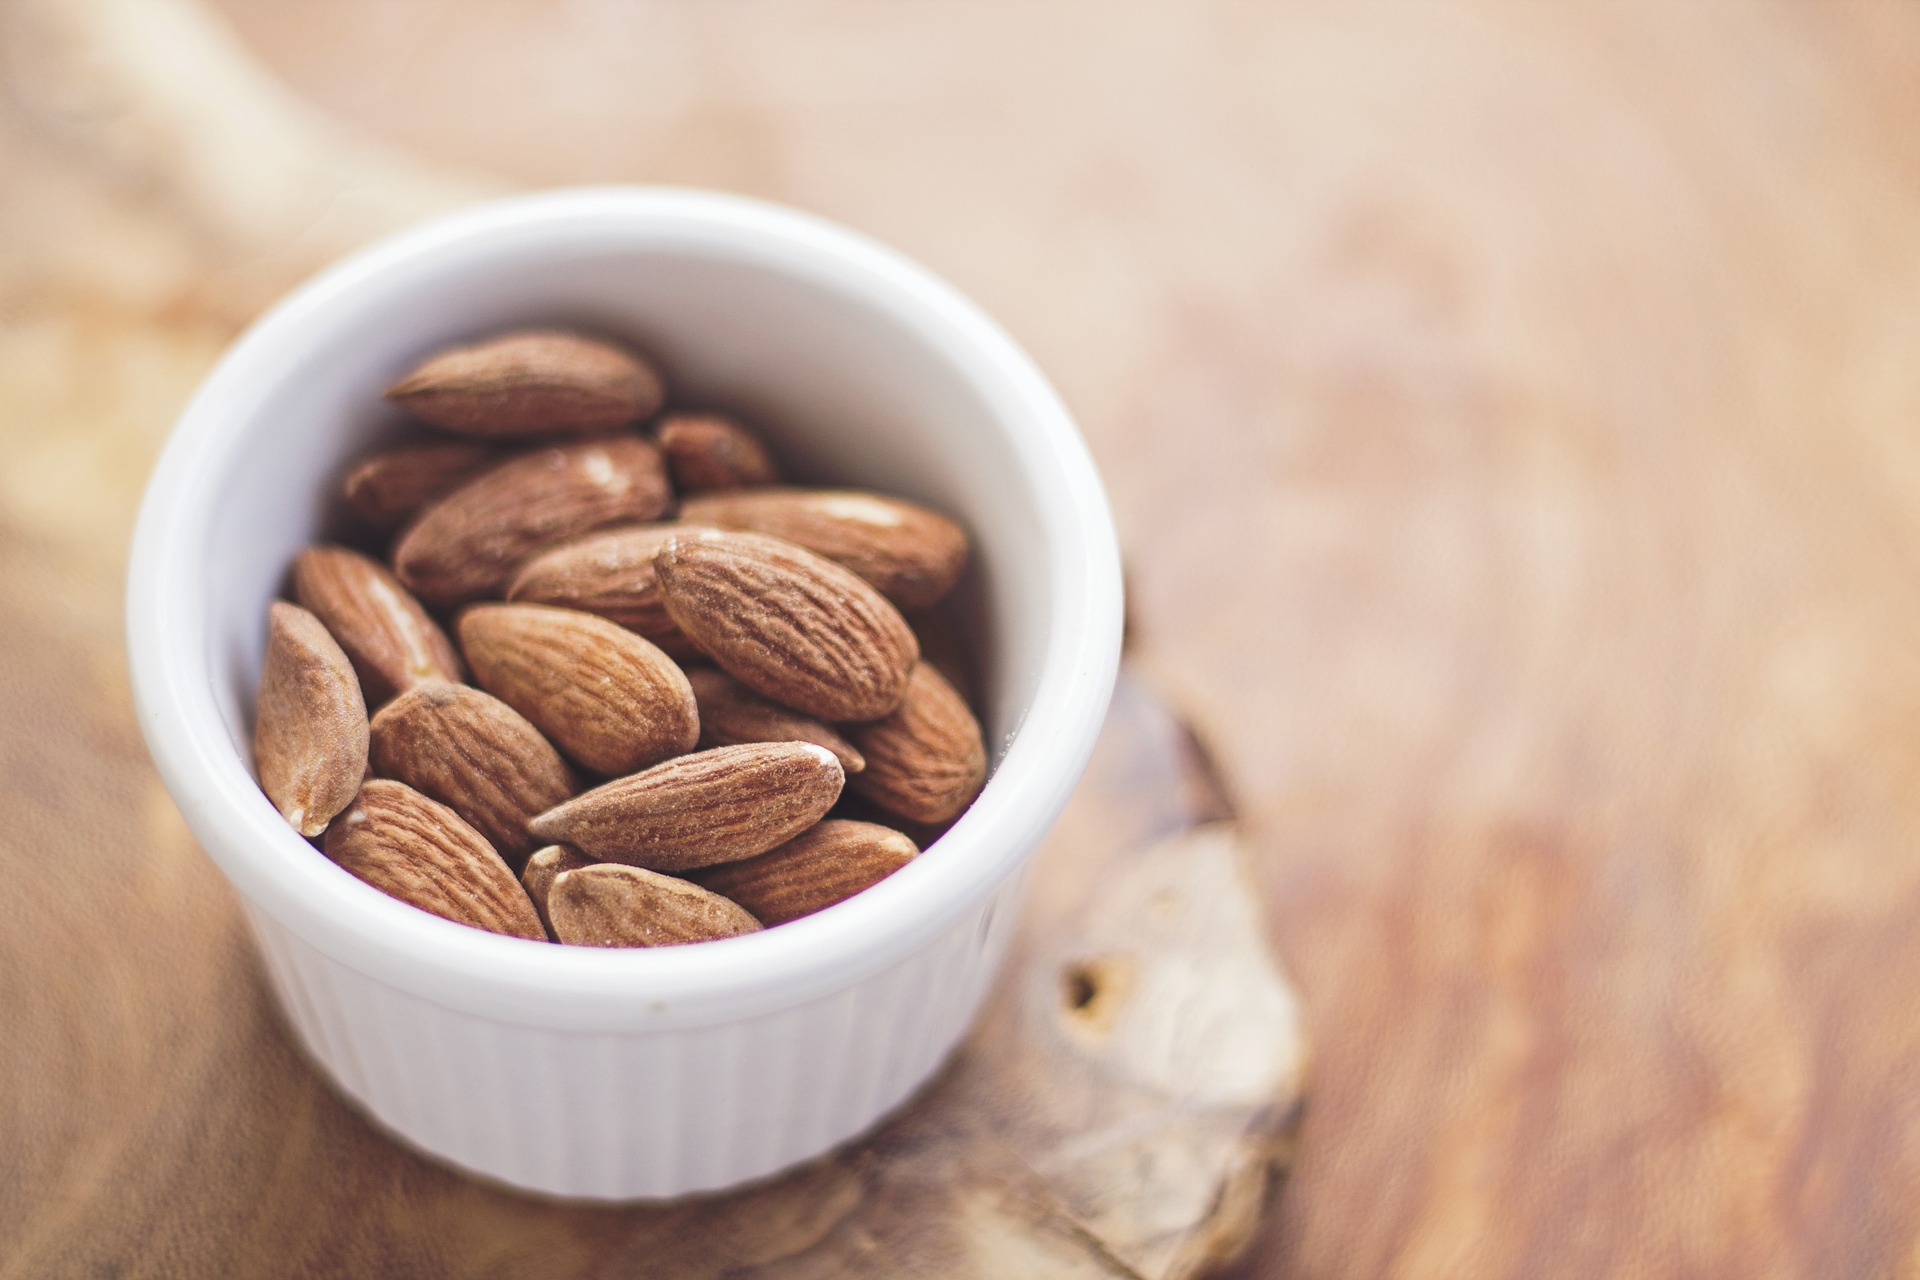
09. Nuts and Nut Butters

While these may not add much sweetness to your yogurt, they can certainly add richness, crunch, and decadence!  And, especially when paired with some fruit, it turns into the perfect bite hitting all the notes for sweet, savory, and tangy.

Some nut butters are very loose and stir in well, while others are a little thick.  Either way, the yogurt is better for it!  Make sure to buy nut butters where the only ingredient is nuts, and maybe a bit of salt- nothing else is needed!  You can include any type of chopped nuts in your yogurt bowl including walnuts, almonds, hazelnuts, peanuts or pistachios.  See what you already have in your pantry.

While the nut nutrition varies depending on the actual type, most nuts are a good source of healthy monounsaturated fats that help improve cholesterol numbers as well as rich in a variety of minerals!

The addition of 1 tablespoon of nuts or nut butter to yogurt adds 50-90 calories and healthy fat that will help keep you full for longer.  If you haven’t tried almond butter, make it a priority!  It has a slightly sweet, nutty flavor that I think is simply divine!  Add a tablespoon today!


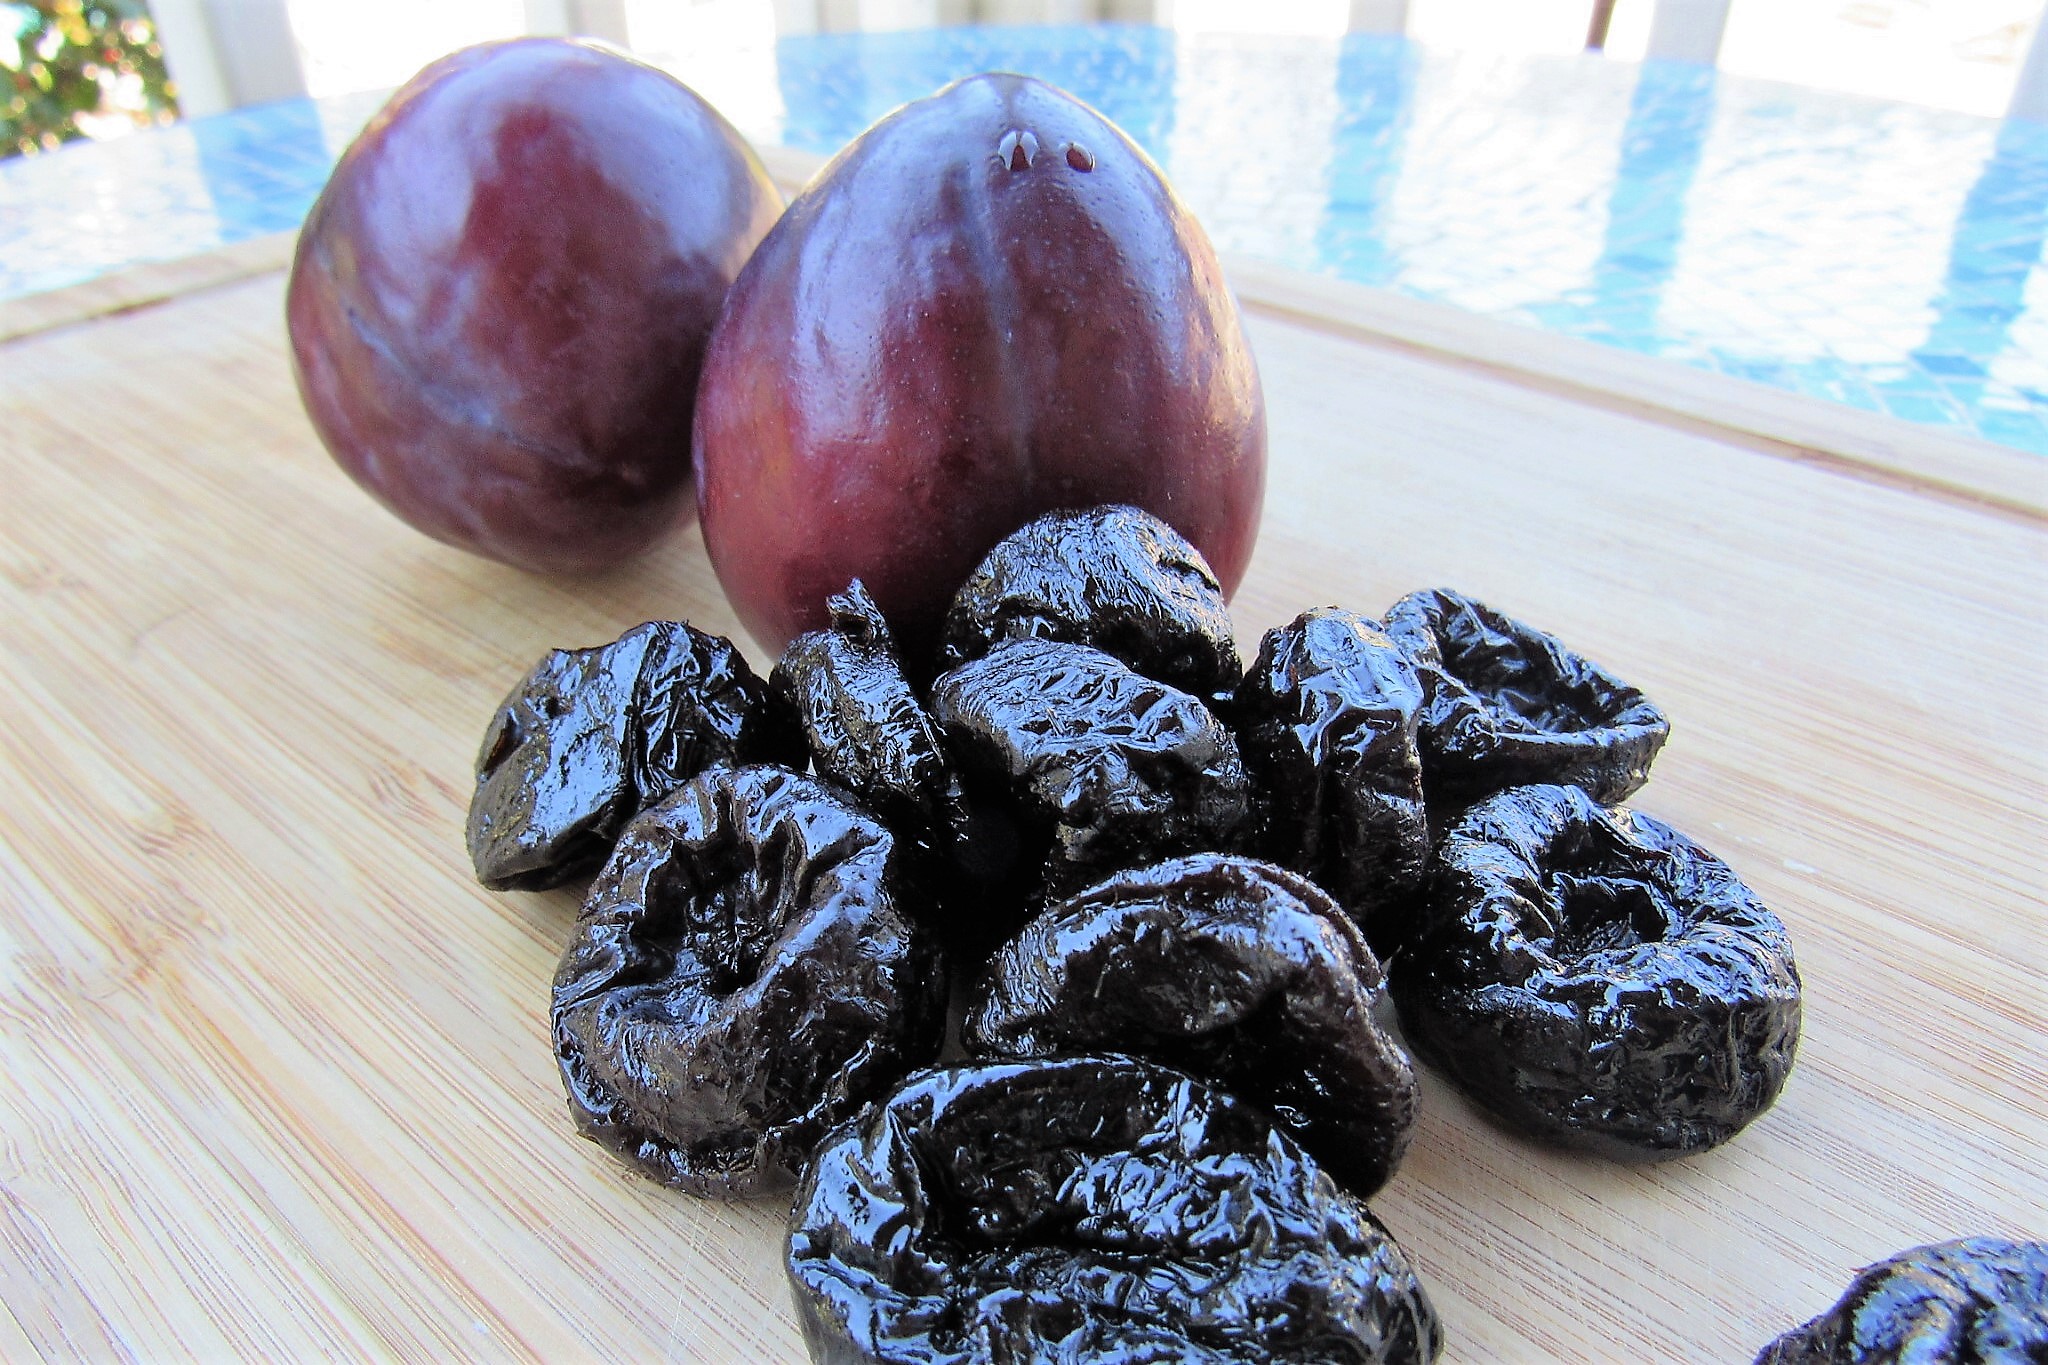
10. Prune or Date Puree

Dried fruit can be rehydrated and pureed in a food processor to create a sweet paste to add to yogurt (or oatmeal, or even baked goods!).  This might sound complicated but is really quite simple.  I first tried this out about a year ago when my 1 year-old daughter was having some challenges with constipation, but prunes are much more than a constipation cure, they are incredibly sweet and rich in minerals.  You don’t need much to sweeten up yogurt, just a tablespoon or so.

For a super simple recipe to follow to create your own prune or date paste, check out this Eating Well recipe.

SOME OF MY FAVORITE YOGURT PAIRINGS:

Banana Nut Greek Yogurt

6oz low-fat greek yogurt

¼-½ large banana

2 tablespoons chopped walnuts

1/16- ⅛ tsp ground cinnamon


Cinnamon Sweet Potato Yogurt

4oz low-fat greek yogurt

¼ cup mashed sweet potato

⅛ tsp ground cinnamon

2-3 drops maple extract (optional)


Blueberry Vanilla Almond Yogurt

6oz low-fat greek yogurt

⅓ cup fresh or frozen blueberries

1-2 tbsp slivered almonds

2-3 drops vanilla extract


TRUTHHow sweet are Your words to my taste, Sweeter than honey to my mouth!  Psalm 119:103 (AMP)

17,243 Views0
Broccoli Hummus Snack Bites

Healthy is not a size…it’s a lifestyle.

How often do you choose a veggie at snack time?

Vegetables may not be the first thing we think to grab at 4pm, but these savory broccoli hummus snack bites might just change your mind!  We are encouraged to consume a minimum of 5 servings of colorful vegetables per day, but we should not limit them to only dinner and lunch!

Slightly crunchy on the outside and reminiscent of creamy hummus on the inside, these broccoli bites are much more exciting than the traditional veggies and hummus snack.  And, they are super simple to make!  A food processor does all the work for you!

Make a batch on the weekend and they are ready for snacking throughout the week.  Re-warm them in a toaster oven for a few minutes or a few seconds in the microwave.  These will fill up you so you don’t find yourself starving while dinner is cooking.

Each bite contains 2 grams of protein, 1 gram of fiber, a dose of potassium, and only 32 calories!  Eat several to fill you up!  They are great as is or can be dunked in your favorite dipping sauce.

It’s time we began to rethink our snacks.  It’s an opportunity to nourish and refuel our body to stay focused and finish our work day well.

Enjoy this fun and tasty mini-meal that is a little outside the “snack box”.

Broccoli Hummus Snack Bites

Jennifer Hunt, RDN, LD
5 from 1 vote
Servings 32

Ingredients
  

  • 16 oz broccoli frozen/fresh
  • 15 oz can chickpeas garbanzo beans, drained and rinsed
  • 2 cloves garlic
  • 1/2 tsp kosher salt
  • ½ tsp ground black pepper
  • 2 eggs
  • ½ cup oats
  • ¼ medium onion rough chopped
  • 1 cup 2% milk cheddar cheese optional

Instructions
 

  • Steam broccoli on the stove top or in the microwave until tender. Meanwhile, in a food processor, add in all ingredients except cheese and broccoli. Process until a chunky hummus texture comes together. Pour into medium bowl. 
  • Add steamed broccoli to the food processor and pulse 3-4 times, until small bits. Stir broccoli into chickpea mixture. Add cheese, if desired.
  • Line a baking sheet with non-stick foil and spray with oil (I use a Misto). Using a heaping tablespoon (or a #40 scoop), line sheet with scoops of the broccoli mixture and then press down into a small patty so it cooks evenly. Spray tops with oil spray.
  • Bake in the oven at 425 degrees for 18-20 minutes, or until lightly golden brown. Serve warm or room temperature. Store extra broccoli hummus bites in the refrigerator for up to 5 days.

Notes

Make sure to use non-stick foil (NOT regular foil) to ensure the broccoli bites don't stick- learn from my mistake!
Nutrition Per Broccoli Bite (with cheese)
Calories 32; Total Fat 1g; Saturated Fat 0.4g; Cholesterol 2mg; Sodium 81mg; Carbohydrate 4g; Dietary Fiber 1g; Sugar 0g; Protein 2g

TRUTH:  I have given you every plant yielding seed that is on the face of all the earth, and every tree with seed in its fruit. You shall have them for food.

Genesis 1:29 (ESV)


DISCLOSURE: This post contains affiliate links.  If you purchase a product through this link, your cost will be the same but Healthy Inspiration will receive a small commission to help with the operating costs of this blog. Thank you for your support!

474 Views0
Feeding a Toddler…The Continuing Saga

The more I live, the more I learn. The more I learn, the more I realize, the less I know.  –Michel Legrand

As many of you know, I have a lively little girl who has added more joy to our lives that we ever imagined possible.  Kids bring a heaping dose of fun, laughter, and sweetness, but they also present dozens of challenges and obstacles that for most of us newbie parents, are foreign, frustrating and can easily steal our joy.

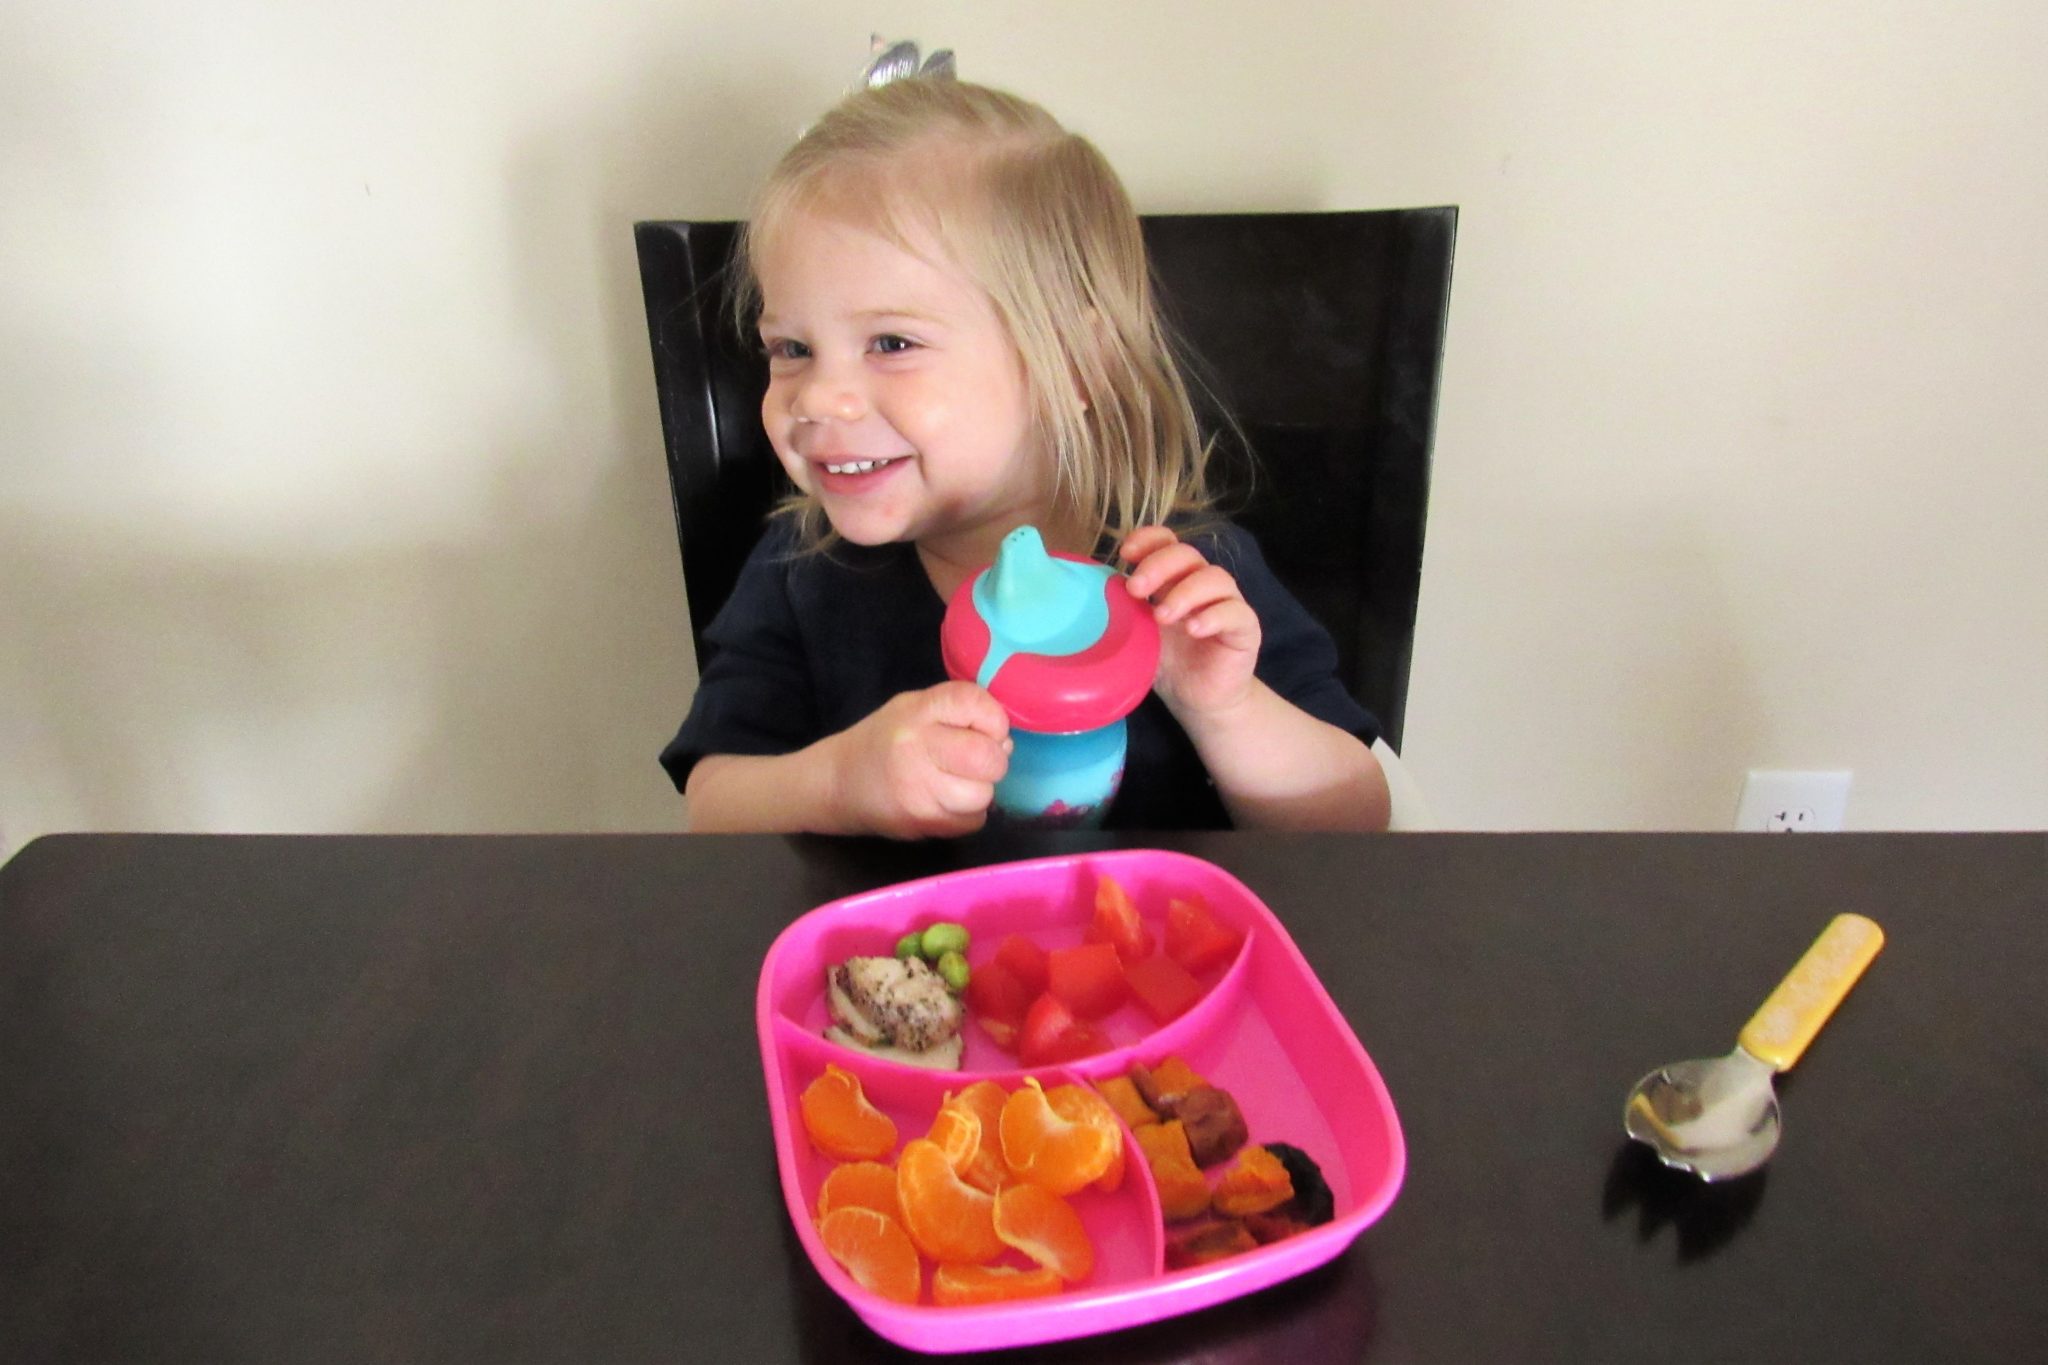
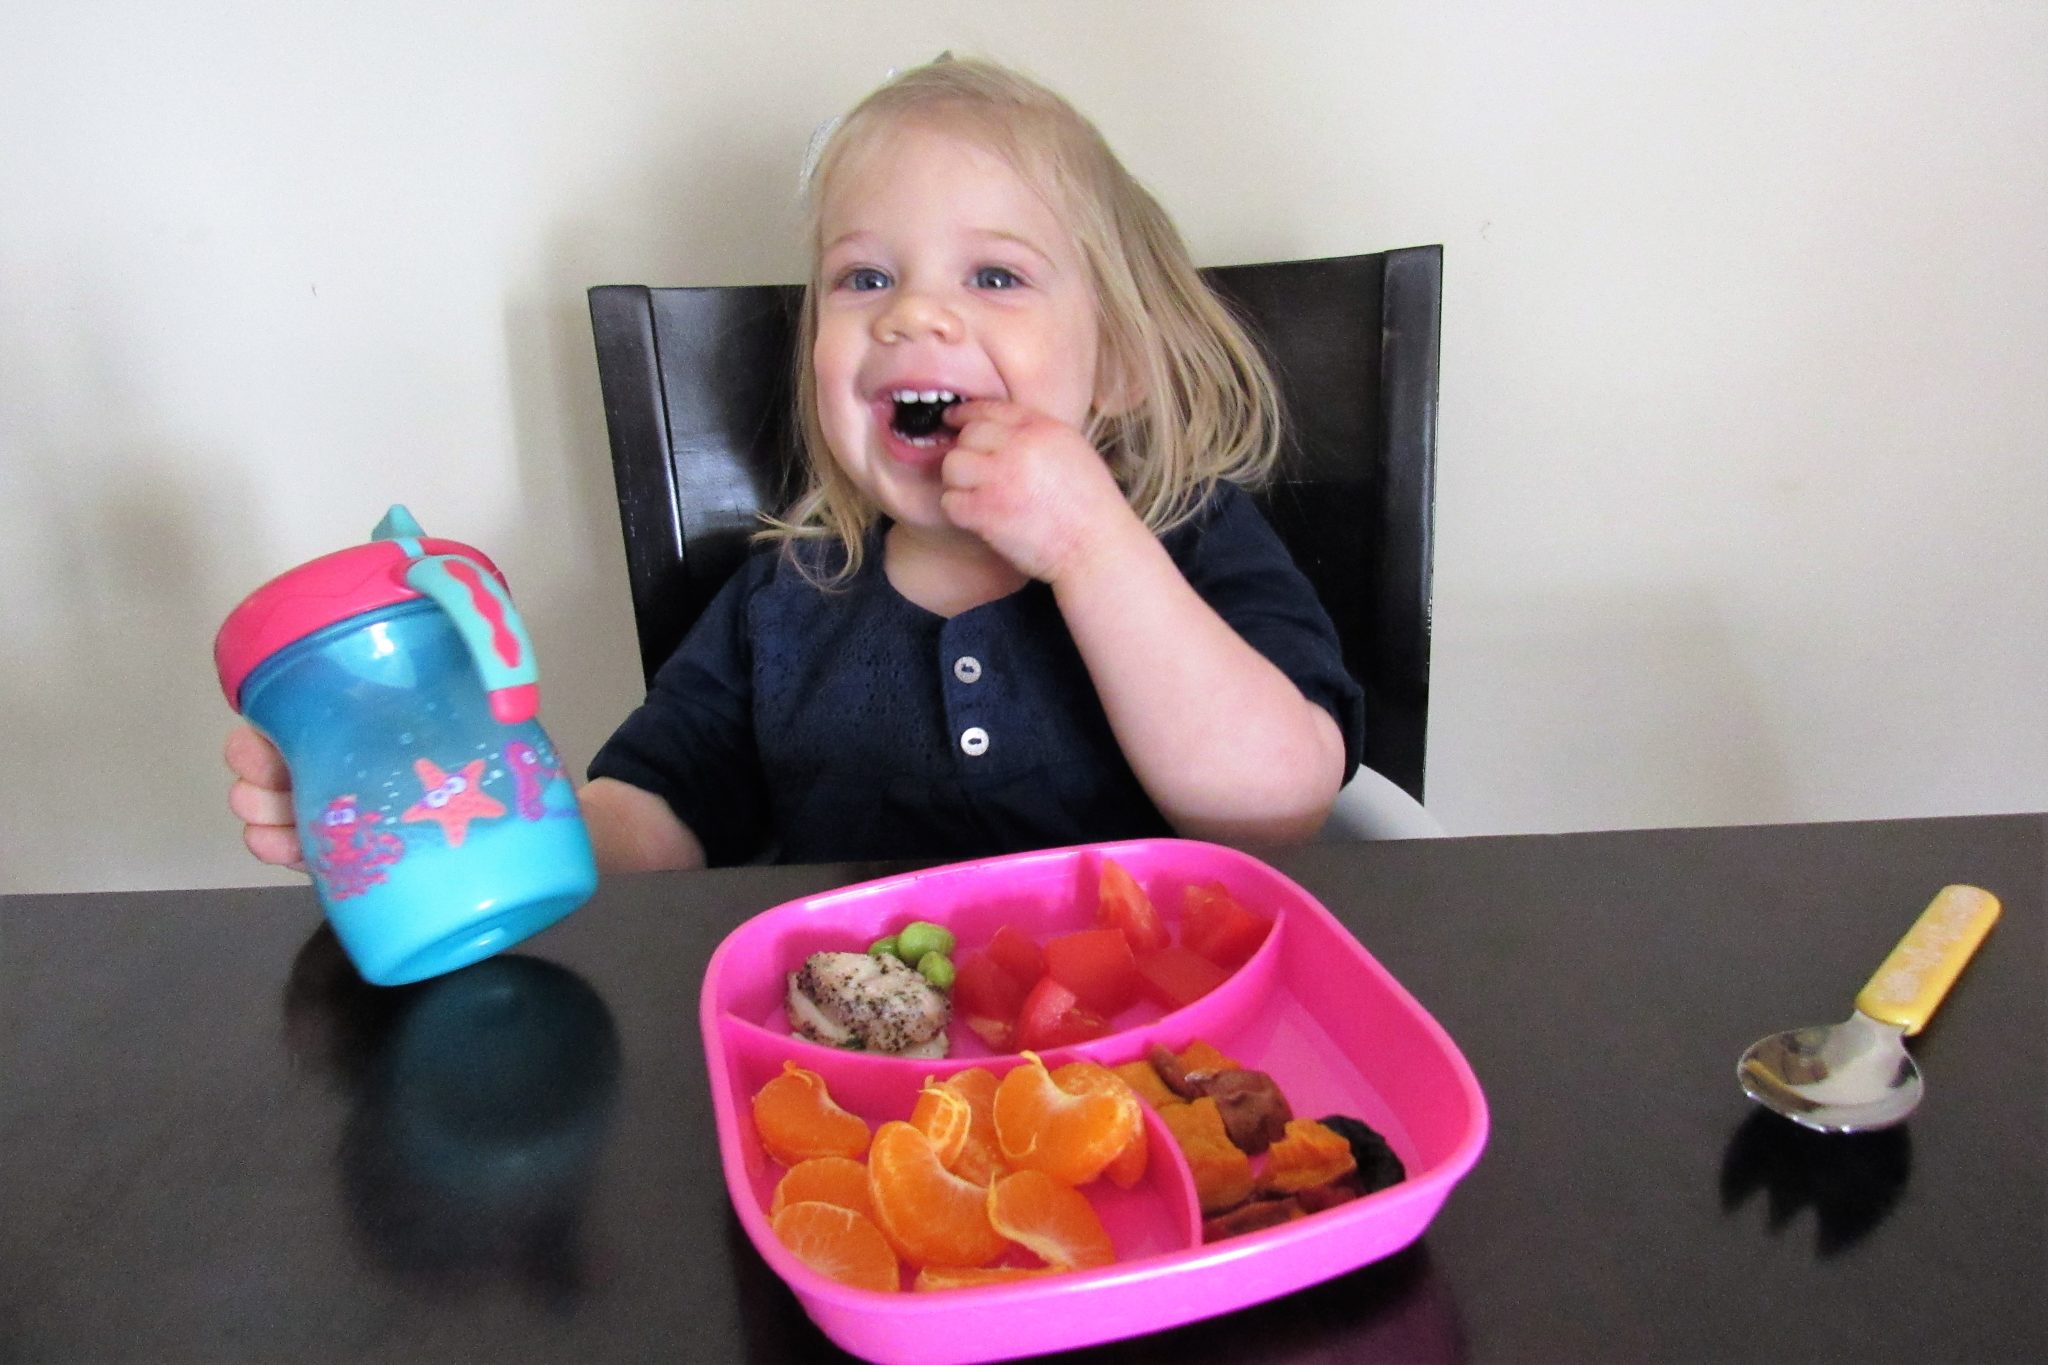
McKaela, my vibrant ball of sunshine is now 20 months old, has most of her teeth and clearly exerts her ability to say “no” more often than I would like to admit. She communicates very well, and on the occasion that we don’t know what she is saying, she can point or walk us over to what is concerning her.

I would like to say that mealtime goes pretty well, but to be honest, this has been a HUGE challenge in our home over the last few months. As I learned from the research from the Ellyn Satter Institute, it is normal for a 1-year-old to become more picky and selective, even if they ate a wide variety up until then.

Too many times, meal time has transformed me from sweet to grouchy in a matter of minutes.  But, as the parent, I set the tone, I determine what is prepared, and my child determines what she will eat and how much.    

Only as of late, have I begun to see some small wins, reminding me that patience pays off.  There hasn’t been any straight or clear path, but over time, implementing structure and consistency has helped us turn some corners.

While I still have sooooo much to learn I would like to share a few more lessons I have learned from trial and error, consistency and reading all I can from child nutrition and feeding experts. It’s true that in 6-12 months, my advice might be completely different, but at the present time, this is working and helping us create some peace at the dinner table.  If you are a parent of a little one, know that I completely “get it” and hope that you are encouraged today.


“No” Doesn’t Always Mean No… Especially for Toddlers

It could mean “Not now.” or “That’s new.” or “I don’t know what that is.” or “That looks scary.” I firmly believe that I must respect my daughter’s “no” because it is one of the ways I am teaching her to respect herself and give herself permission to say “no.”

However, with very young children, sometimes “No!” turns into a trend word that is simply spoken aloud all day without meaning or purpose behind it.  Often, McKaela will decline a food before she even sees it or has any sensory interaction with it.  My goal is to help her experience the food, even if she decides not to put it in her mouth.  Therefore, I will allow it to sit on a plate or on her tray, even if only for a few seconds so that she can see it or touch it or smell it.

Sometimes, once the food has been touched, there is a natural inclination for her to put it into her mouth- a natural curiosity.  We never force the food or even force her to taste it but we do strongly encourage some form of interaction with the food.  I have also found that when she sees myself, or husband or another child eating the food, it also helps build curiosity around it, reinforcing the importance of family meal time.

Recently at a conference, I heard Nicole Walters make a transformational statement, “there is no such thing as ‘no,’ only tell me more or I don’t have a relationship with you.”  While she was talking about sales, I believe this concept is applicable to so many areas of our life. Essentially, we as parents, are trying to sell our kids on fruits, vegetables, and healthy eating. When they say “no”, they are uncertain about the experience and what will result from it.

Our job is to help them develop a relationship with these foods that is free of pressure, guilt, and fear.  The only way to develop a relationship is through experiences, one after the other.  So, let’s quit saying that our kids “don’t like ____” and let’s begin setting a goal to give them a wealth of experiences.  I can’t count how many times McKaela declined a food early in the meal but by the end of the meal, had consumed it without any additional encouragement from myself or my husband.

Give your kids the ability to say “no” but also give them the time to say “yes.”


Designate Specific Times and Places for Eating

Recently I became aware that car rides were beginning to become associated with eating.  Because it might take a few extra minutes to get home for lunch, I would bring a snack to “tide her over.”  But what I didn’t realize was that she was beginning to associate ALL car rides with eating.  I began noticing that she would immediately communicate “Eat.” when we would get in the car to go anywhere.  While I can’t say for certain that she was not hungry, as only she knows, I did notice the trend.  Not wanting to develop unhealthy mindless eating habits, I was compelled to get better at being home during meal times and avoid snacking in the car.

Determine a time frame and location for each meal and snack and do your absolutely best to stick to it.  For us, meals happen in her booster seat at the table.  While there is a little variation in timing, I do my best to stick closely to it.


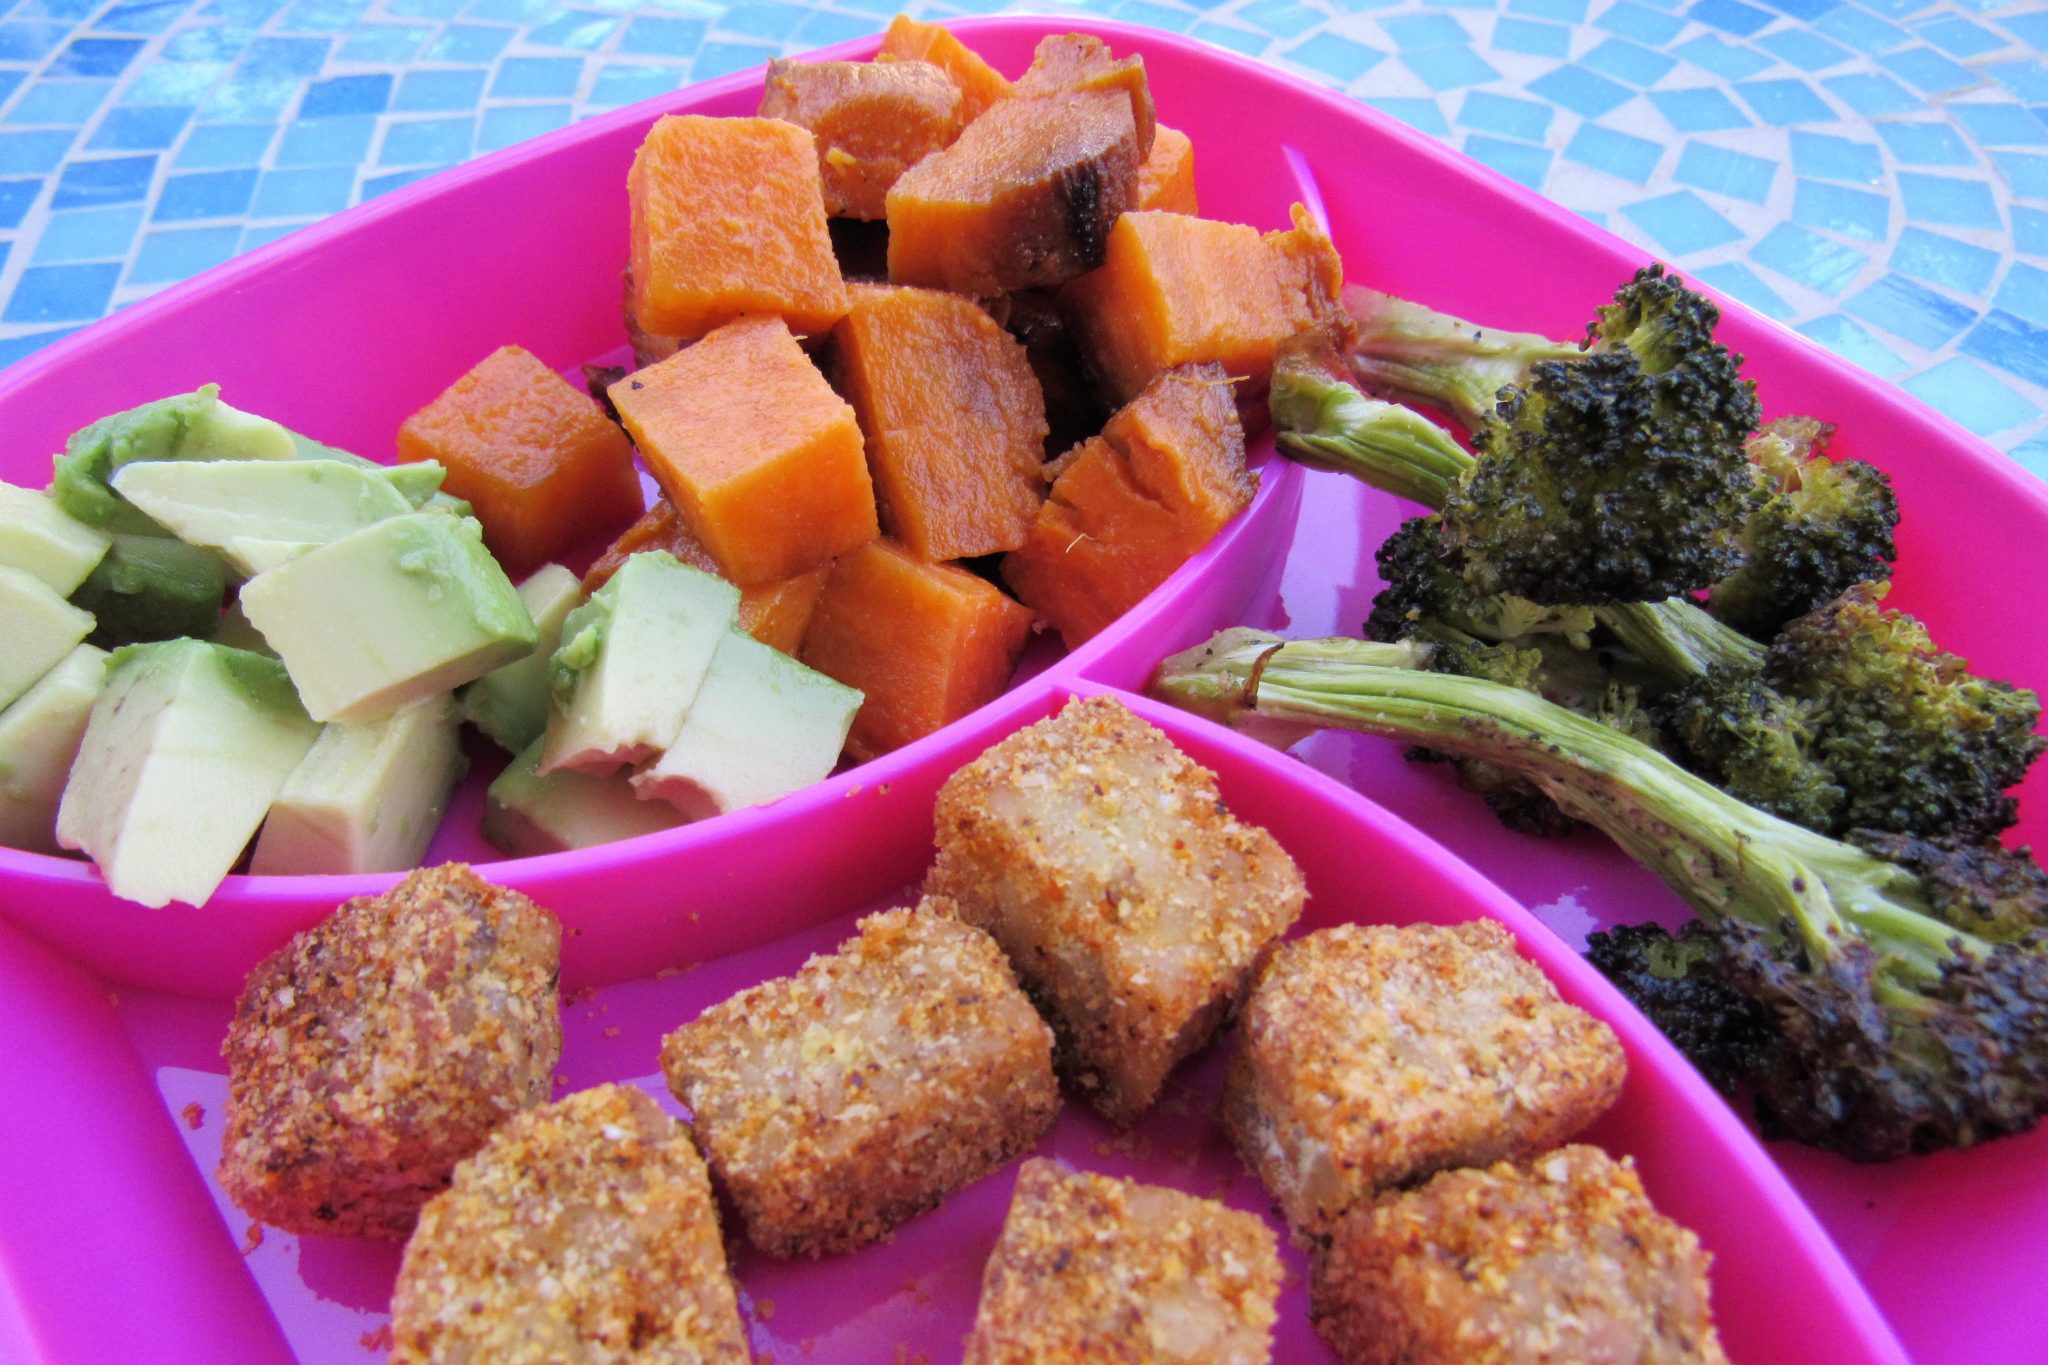
Include 4-5 Foods At Each Meal

Toddlers can be fickle, eating a certain food one week and then refusing it the next.  You never really know if they will choose to eat the food again, but there is no need to stress about it either.  For McKaela, she used to love broccoli and then went 2-3 months refusing to take a bite. Now, she eats it again.  I don’t know if she will the next time I serve it, but it will continue to make a showing on our menu.

(Cornmeal crusted tempeh, roasted broccoli, sweet potato, avocado)

You don’t need to become a short-order cook if your child decides not to eat a certain food, but you do need to provide them with several options.

Ideally, 2 of them that you strongly think your child will eat (or has eaten in the past).  This way, we are continuing exposure to other foods while not pressuring them.  I would feel incredible pressure if someone gave me only foods that were new or ones that I disliked.  Our kids are the same way. Make sure your family meals are a combination of several familiar foods and a couple “newer” foods.


Single Foods May be Better Received than Combination Foods

Kids may really differ on this point, but I found that McKaela is a lot less likely to eat combination foods that have a lot of ingredients in them than if the ingredients/foods are separate.  For example, she refused spaghetti, but when I separated the noodles from meat sauce, she decided to give it a try.

When it comes to casseroles, lasagna, soups, stews and other combination foods, you can offer it as is but if declined, you might also want to offer the separate parts.  If a child looks at a scoop of a casserole with poultry, vegetables, grain, and sauce, it might feel overwhelming if there are several ingredients that the child does not recognize or eat regularly.

But, when the ingredients are pulled out and separated on a plate it removes some of the mystery so that they can decide if they want to try all or just one food.

Ultimately, I have learned that we are all learning how to interact and communicate at mealtime.  But as the adult, I set the tone.  If mealtime turns into a frustrating power struggle, it is because I allowed it.  

We are not only exposing our daughter to different foods but helping her learn how to communicate and behave at the table.  What is acceptable and what is not?  If we want her to respectfully decline when she does not want to eat a food, then we must teach her how to be respectful through our language and behaviors at the table.

It is a lot easier said than done.  But over the last several months, I have seen little wins of progress.  As the saying goes, “More is caught than taught.”


TRUTH: Wise men and women are always learning, always listening for fresh insights.  Proverbs 18:15 (MSG)


175 Views0
The Best Exercise Workout for Awesome Results in Less Time

Good things come to those who sweat. 

For years, athletic training programs have been using a specific type of exercise program to improve athlete performance and fitness.  But this exercise method has gained popularity among recreational exercisers (people like you and me!) in the last several years.

HIIT, high-intensity interval training, is a way of exercising that includes a sequence of intense exercise bursts followed by recovery.  The idea is to give you best effort for a period of time and then slow down and allow your body to recover.

Here is the best part…

These types of workouts can be completed in as few as 20 minutes with the research showing some incredible health benefits:

  • burns more calories for the 2 hours post-exercise than traditional endurance exercise
  • Burns abdominal fat while maintaining muscle
  • Improves lipid/cholesterol profile
  • Improves insulin sensitivity
  • Improves blood pressure and cardiovascular health

Yes, the research shows you can actually burn more calories after a HIIT workout than after a walk or jog lasting the same time!  AND, due to the high-intensity bursts, you are able to reach fat-burning zones to help you get rid of some abdominal fat!  This is truly a win-win!!

You don’t need an hour at the gym to get a good workout.  You don’t have to be a long-distance runner or biker to slim down.  Just a good pair of tennis shoes and a can-do attitude!

Curious to try this out?!  Here is what you need to know in order to get the best results in the shortest time with the safest methods.

Is this appropriate for all fitness levels?

While the intensity of HIIT can be adapted to all levels of fitness, it is recommended to have a foundational level of fitness before beginning this type of routine. Essentially, 30-60 minutes of cardio 3-5 times per week for several weeks helps develop muscular strength, improve oxygen transport and helps you learn good form before beginning a higher intensity workout like HIIT. Otherwise, the risk of injury increases.

What type of exercise can I do using the HIIT method?

HIIT is a way of training NOT a specific type of exercise.  Therefore, you can apply this approach to many different types of exercises including,

  • Biking
  • Jogging
  • group exercise classes
  • Rowing
  • Walking
  • Aerobics
  • Swimming


How hard should I be working?

During the intense bursts, you want to work hard enough to make carrying on a conversation VERY difficult.  On a 0-10 scale, you want to work at an 8 or 9 intensity.  During the rest period, you want to slow down your breath and allow your muscles to relax, working at 4-5 on a 0-10 scale.

How do I create a HIIT routine?

There are different ratios of intense bursts to rest that can be used for HIIT, but common is a 1:1 ratio. The ACSM says this ratio is often a 3, 4 or 5-minute interval of hard work followed by the same amount of rest time. Although, some exercise programs may use different ratios, the goal is to work using almost maximum effort and then allow your body to recover just enough to have the energy to work very hard again.  Some HIIT routines use 30, 45 or 60-second bursts.

Remember that during recovery, you do not sit down or stop, just reduce intensity.  For example, someone might run hard for 2 minutes followed by a 2 minute fast paced walk and continue this cycle for a set period of time (this method is used by a lot of couch to 5K programs to help runners build up fitness and endurance!).  A lot of gyms offer HIIT group exercise classes- make sure to check the schedule or ask!

How often can I complete a HIIT routine?

The American College of Sports Medicine recommended beginning with 1 time per week and eventually increasing to 2.  Because this type of exercise is more exhaustive than traditional endurance exercise, it is smart to avoid dramatically overhauling your workout routine in the beginning.  This is the perfect type of workout for the days when your exercise time is quite limited and the goal is to just get it done!

Are there any risks involved with HIIT?

Using improper form and failure to warm-up and cool-down can lead to injury.  It is important to make sure that when you are doing the intense bursts, you are using correct form and alignment because when your body begins to tire, it is easy to allow our muscles to relax and land or move incorrectly.  Of course, consult your healthcare practitioner before making any major changes to your exercise routine, especially if you have a history of cardiovascular conditions, diabetes, joint issues.

Don’t become chained to the limiting belief that you have to workout for 30-60 minutes to gain any benefits.  Every. Single. Minute you exercise, you are doing your body a favor.  In return, it will give you results!

If you want more energy- exercise.

If you want effective stress management- exercise.

If you want strong bones- exercise.

If you want to improve your sex life- exercise.

If you want to feel strong and fit- exercise.

If you want to be the best YOU- exercise. 

You can’t escape it if you want the best life.  Let’s give the minutes we have and really make them count!

TRUTH: She dresses herself with strength and makes her arms strong.
Proverbs 31:17 (ESV)


REFERENCES

American College Of Sports Medicine- HIIT

ACSM Time-Saver HICT WorkOut

ACSM- HIIT Basics


164 Views0
Practical Time-Saving Tips for Grocery Shopping

Most households are making 1.6 trips to the grocery store each week.  That means most of us are not very good at getting everything we need in one trip. For some individuals, it may work out better to grocery shop for half the week and then return for additional ingredients for the second half. But for other families, that second trip is not intentional and instead, the trip for the forgotten items or our brave attempt to get a healthy meal on the table when we don’t have a plan.  


And then… there are the people that avoid grocery shopping like it’s the plague.  For these individuals, the mere thought of grocery shopping creates anxiety and dread.  But 89% of shoppers agree that eating at home is healthier and if we are going to do that, we have to buy food to prepare. 


So how can we shave time off our grocery shopping excursions and make it as painless as possible?  Today I have 9 tips to make your trips efficient, fluid, and pain-free, allowing you to grab the items you need without wasting your time.


01. Make a List in Advance and Follow It

How often do you grab items not on your list?  Do you ever find yourself snagging an item from the store displays carefully placed and promoted with bright colors, ‘great’ prices and catchy phrases?  What about those stands in the middle of the aisles that you have to drive your cart around?  


If you want to save time, follow your list exactly.


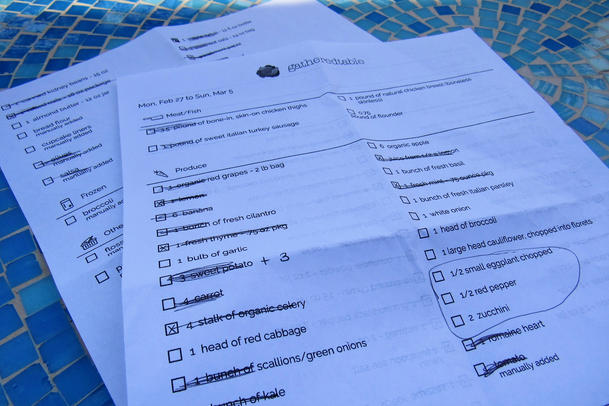
To help yourself stay focused and efficient, organize your list according to your store’s footprint.  Include a section for produce, dairy, poultry/fish/meat, frozen, grains/beans, etc.  This will help you avoid running back down aisles when you forgot an item.  By creating a “running list” that is placed in a visible spot in your kitchen (on the fridge, bulletin board, chalkboard), family members can write down what is needed throughout the week so that items that need to be restocked are not forgotten during your weekly grocery trip.


According to Food Marketing Institute (2015 survey), about 25% of Millennials and Gen Xers still do not make a grocery list.  While 75% of us are, make sure to recommit to following it closely if you value your time and money.  


02. Shop During “Off Hours”

This is MY FAVORITE tip!  Crowded stores add stress, anxiety and distractions- this leads to taking more time weaving around others, waiting at the specialty counters, standing in line to check out.  And when stressed, it is easier to overlook or forget items, especially when you are distracted by trying to make it down the aisle crowded with people.  


When I walk in during “off hours,” the lines are shorter, aisles are less crowded and store associates are more available and helpful.  For most grocery stores and supermarkets the less busy times tend to be very early in the morning and late in the evenings.  Weekends and directly after work tend to be incredibly busy.  


The smart way to determine the best times to shop is to simply ask a store associate.  I usually do this while checking out. I found at my local Trader Joe’s, Sundays are busier than Saturdays simply by engaging in conversation.  A few years ago, I found that Friday nights at my local Harris Teeter was usually pretty sparse and a great time for a smooth and efficient grocery shopping experience.  You can also test out your assumptions by trying a few different times.


03. Don’t Shop When You Are Hungry

Food looks more appealing when we are hungry.  It is a simple fact.  You are less likely to make impulse buys and grab an item on a display if your tummy is not grumbling.  Ideally, shop after eating a balanced meal, but if needed eat a small, healthy snack before your grocery shopping trip.  Once again, the more you are conned to stop for items not on your list, the more time (and money!) you will spend.


04. Review the Sales Flyer BEFORE You Arrive

Often when I walk into the store, I watch individuals grab the sales flyer and a cart as they walk in and with their head down studying the flyer, they slowly make their way to the first aisle.  The flyer is not organized in the same way as the store so if you decide to make food or meal decisions on the fly, you will run all over the store wasting your precious time looking for the “deals” (and not all of them are deals, anyway!).  The good news is that each store puts the sales flyer on their website so you can access it all week, at any time of the day, and plan meals around what you find on sale.


05. Avoid Shopping at Multiple Stores

There are few things that can waste our time more than going from store to store to get certain items.  Some people may have the time and energy to do this in order to save money, but they certainly aren’t saving their time!!  


If your time is more valuable, but you still find that there are 2 stores you prefer to shop at, consider the possibility of swapping stores each week and purchase enough for 2 weeks instead of 1.  OR, if you go to one store every week for amazing produce and another for great deals on grains, beans, fresh poultry, etc, then go to the store for produce weekly and try to make a trip to the other place only every other week.  


06. Have a Meal Plan!!!

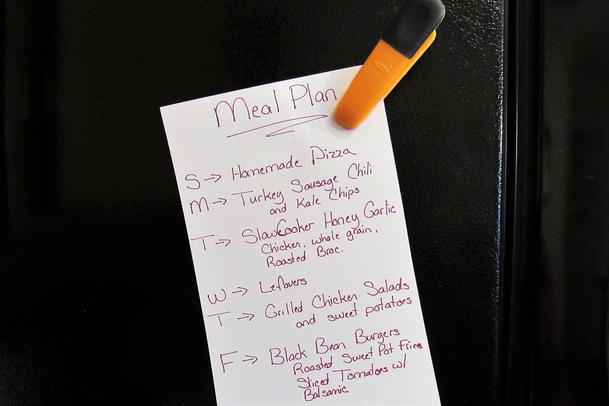
Grocery lists are easier to make if you have a meal plan scheduled.  While there are a lot of items that are purchased weekly without fail, there is nothing as frustrating as beginning to make a meal and finding you don’t have an ingredient.  Make sure you have checked your pantry and know what is in stock.  


For some meal planning assistance, check out my post on PlateJoy OR One Powerful Key that Will Simplify the Way You Meal Plan


07. Give Yourself a Realistic Time Frame

Don’t underestimate how long it really takes to grocery shop.  Begin by setting a goal time frame and after several trips, determine whether this is realistic or needs to be re-evaluated.  Make it a challenge or game to get it done in the amount of time you have set.  Don’t forget to add in how long it will take to get to the store and drive back home.  


Some surveys have shown it takes around 45 minutes to get in and out of a store, but there are several factors like the size of the store and the actual footprint that play a huge role in the length of time it takes to shop.  For instances, grocery shopping at my local Aldi or Trader Joe’s, which primarily only has their store brand items is much shorter than a supercenter or large supermarket which could carry a dozen brands for one item.  


Consider planning your day so that you have an engagement or appointment set an hour or 2 later so that you must get your shopping completed and put away (and prepped!) before you move on to your next event.  I often find that when I only have a limited amount of time, I move faster and more efficient AND, if you have your list planned and organized, it is truly possible to get it done without forgetting items.


08. Leave Kids at Home When You Can

Now this is easier for some than others, but kids tremendously slow down grocery shopping.  (I KNOW!!)  They often ask for more items, put items in the cart without asking and require a lot of attention and sometimes even discipline during the grocery trip.  They can also divert our attention leading to forgotten items or picking up the wrong stuff.


Can you kid swap with a friend so that you each have a time to grocery shop?  Maybe your spouse can take them to the park while you head to the store?  This may not always work out, but brainstorm some ideas that will work for you and your family.


IMPORTANT NOTE: I do believe it is important to involve our kids in food and shopping experiences and in fact, this creates a lot of interest and curiosity around foods and trying unfamiliar foods.  But, decide when you want to invite your kids along and do it intentionally, as a learning and exploratory experience.  Plan a trip to the farmer’s market 1 time per month.  Take a field trip to a local farm for a play date with friends. Remember it is CRUCIAL to create experiences for our kids to interact, touch, smell and taste a variety of whole foods, BUT, if you are trying to get in/out of the store, then you may want to leave them at home.  


09. My One Last Tip…

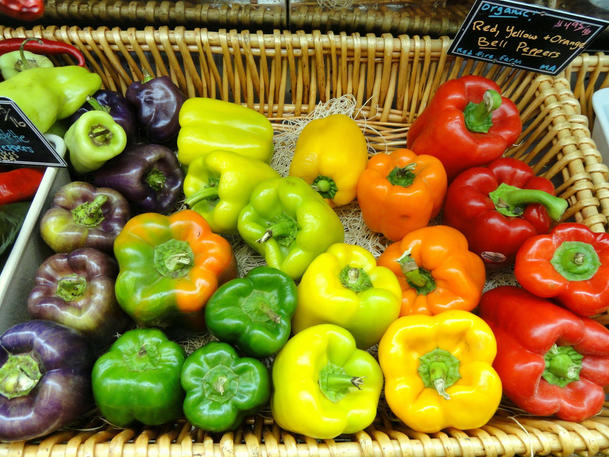
Shop with a smile.  Even if grocery shopping is a task you detest, your attitude can change your entire experience.  If you decide to shop with a smile, research shows that the simple act can release neuropeptides that help fight off stress and relax your body.  YOU choose when you smile and how often. Find simple things to smile about.  Smile as you walk past another individual.  AND, take advantage of opportunities to make another person smile…at the checkout, at the fish counter, while waiting to grab some bell peppers in the produce department.


Grocery shopping is an important part of getting healthy meals on the family dinner table, making smart snacks and eating more whole foods. While it does require some time, planning and intentionality, it doesn’t need to become long, arduous or despised.  


How can you save yourself some time and energy?  How could you shop smarter and more efficiently?  YOU are your most valuable asset to your family.  Take some smart steps today to shave time from doing the have-to tasks so you can add more time to the want-to tasks.  It’s a WIN-WIN!  


REFERENCES

Hartman Group, US Grocery Shopping Trends 2016 

Food and Marketing Institute, survey, 2015

Psychology Today


121 Views0