fbpx
Owning Weakness, Finding Strength

One click.  It was gone.  Gone.  The Honors presentation I had spent long hours creating had vanished.  I had closed out without saving my powerpoint and what remained was a rough skeleton of a presentation. Stunned, I couldn’t believe it.  Didn’t want to believe it.  It was less than 24 hours before my Honors Panel Presentation during the Spring semester of my senior year at TCU.

In a panic, I rushed to my husband blabbering my mistake and begging him to bring it back, to fix it. But, it was lost.  Furious and helpless, I found myself re-creating my presentation into the wee hours of the morning.  Of all the days to pull an all-nighter, the night before your BIG presentation is not ideal.

How many times did I shame myself for my mistake?  How many times did I wonder why the program didn’t ask me if I wanted to save it before closing?  Or did it?  I don’t think it did… but I will never know.

It just happened…and I was powerless to do anything about it.

During my last year at TCU, the achiever in me prompted me to ask one of my Instructors about how I could graduate with honors.  Excited for a new challenge, I accepted an Honors research project connected with the local Meals on Wheels and worked diligently to compile the research and apply the data for the non-profit.  To be honest, it wasn’t the most interesting research project, but I was thrilled to have had a little taste of the research arena and I was even more excited about the privilege of holding the “Honors” title.

I admit I was in it for the recognition, achievement and personal satisfaction of going above and beyond.  My opinion was clear: “Who wants to be average if you can be exceptional?”

Sitting there at my make-shift desk, a sofa table passing for a desk due to our practically non-existent student budget, I didn’t feel exceptional.  In fact, I felt exhausted, overwhelmed, inadequate.  The class projects, clinicals, tests, and presentations were piling up and I simply needed to finish this presentation so that I could prepare my actual verbal dialog.

The fear of standing in front of an Honors Panel was already great, but now doing it without adequate time to prepare my 20-minute talk was almost paralyzing.

That night I got a short nap, but that is about it.  I remember sitting in my car in the student parking lot, reviewing my slides and notes.  It was awful! Listening to myself stumble over words, forget important facts, screw up my timing, I was so scared of how I would embarrass myself and my amazing instructors.

And then I prayed.  I probably threw up dozens of “panic” prayers after that wretched disaster the night before, but I am not sure I ever really surrendered.  I don’t think I ever allowed myself to own the mistake and admit my weakness.  I was so busy trying to escape the disaster, run from the fear, and avoid the gnawing insecurity, that I never fully surrendered to the only One who could rescue me.

In that moment in my car, pages of notes sprawled out, with red, heavy, tired eyes, and with nothing else that could be done, I surrendered.

It is such a vulnerable place, so intimate, so revealing- to recognize and repent of my arrogance in thinking I could power through in my own strength.  I wasn’t strong enough, good enough, exceptional enough. Never would be, on my own.

With all tenderness and love, I was reminded,

“My grace is sufficient for you, for my power is made perfect in weakness.”

It doesn’t really make sense…to think that my acknowledgment of complete and utter weakness and inadequacy was the door that could usher in great power and strength.  Throwing off the mask hiding my deep-seeded insecurities for acceptance, giving up my desire to impress and admitting my heart-wrenching fear of bombing such an important presentation was actually a pivotal moment.

That walk to the Honors Hall was long.  I remember it was a beautiful day- blue skies, fluffy white clouds, vibrant, green trees blowing in the breeze, and the warm Texas sun warming my skin with every step.

I remember having the cliche’ thought that I would just “do my best” and believe that it would be enough.  I would honor God with a surrendered heart.

And would it be enough?  Well, I realized it depended on who I was living to honor.  I could strive all my life and never “be enough” for titles, accolades, and awards.  But, I am always good enough for my Heavenly Daddy.  He affirms and praises without reserve.  He lavishes love.  He calls me “daughter”- with a smile on His face.

Often I struggle with moving into striving mode, but every time I do, I limit myself.  His power only comes in my weakness.  When I recognize I can’t do it alone, and that His supernatural is absolutely necessary, that is when He shows off!

My presentation went remarkably well- not perfect, but well.  I flowed over most of my words with ease, mentioning the key facts, using some inflection and hitting my 20-minute time limit perfectly. The audience questions I had dreaded were answered clearly and concisely.  I don’t recall any special feelings while I was standing before the panel- there were still butterflies fluttering all through my stomach, but there was also this indescribable innate sense of peace and calm that hadn’t been there just an hour before.

No award- I didn’t win.  But I got something much better than a prize.  I learned the source of my power and strength.  I learned the gift of surrender.  I learned that “when I am weak, only then I am strong.”  I learned the GREATNESS of my Daddy’s love for me.   And somehow, that was enough.


TRUTH:  But he said to me, “My grace is sufficient for you, for my power is made perfect in weakness.”Therefore I will boast all the more gladly about my weaknesses, so that Christ’s power may rest on me. That is why, for Christ’s sake, I delight in weaknesses, in insults, in hardships, in persecutions, in difficulties. For when I am weak, then I am strong.

2 Corinthians 12:9-10 (NIV)

98 Views0
PlateJoy, A Tool That Makes Meal Planning a Cinch?

Only 24% of dinners are made from scratch, although cooking shows are more popular than ever (!!!), according to the Hartman Group, a market research firm that focuses on the food and beverage industry.

The steady decline of family meals is not revelatory, but it is alarming.

With over 50% of meals planned within an hour of eating, I would guess that a lot of those meals are comprised of frozen and convenience foods. There is no shame in reaching into the freezer for a quick option when the masses are starving, but the problem is when this turns into a usual routine.

We know that…

Whole foods = better health and longevity

Processed foods = greater risk for disease

Family meals = improved self-esteem, commitment to learning and grade point average for our kids

There are 3 keys to getting a healthy dinner on the table for your family:

  • Planning
  • Buying
  • Cooking

All 3 of these parts need to happen synergistically in order for family dinner to happen.  For some, you made excel in 1 or even 2 of these steps, but if you are missing the third, you could have a disaster, or at least, no dinner.

Finding the right option for your family to plan, buy and cook dinner is essential.  There are dozens of meal planning apps, programs, software, and services, but which one is the right one for your family?

This year, I am on the hunt to find the best solutions to share with you.  All families are unique.  Your cooking know-how, skills, and desire are your own.  Your schedule is unlike anyone else.  To think that you can follow someone else’s plan is a misconception.  BUT, you do need a plan.  

YOU JUST NEED ONE THAT WORKS FOR YOU.

PlateJoy recently gave me the opportunity to try out their meal planning service for 2 weeks.  The founder created this program after “losing 50# and keeping it off for 5 years, and wanting to help people do the same.” This program is simple to use and allows for a variety of meal options, food preferences, and dietary plans.

If you are looking for a tool to help you take the guesswork and decision making out of planning meals, making a grocery list and knowing what you are going to eat each day, then you don’t want to miss my completely honest review.  I will walk you through the steps how to use this program and how PlateJoy did at solving our family dinner dilemmas.  Allow me to point out all that it can do for you and what it can’t.

Then, you can determine if this might be a solution for your family.  AND, don’t miss the discount code at the bottom of the post, if you want to try it out!


Step 1: Fill out the Personalization Quiz

Upon setting up the online service, you will be asked to fill out a 3-minute Personalization Quiz.  The purpose is for PlateJoy to fully understand your nutrition and weight goals, food preferences, family composition and home-meal frequency.  This is the primary way it selects recipes and customizes your meal plan to help you eat the way you want to eat.  Your preferences get saved, but you can come back and change them at any time.  And, because your goals may differ from your spouse’s goals, the quiz asks some individual and group questions.


Some of the questions include…

Are you (or your partner) trying to lose weight?

Are you limiting carbohydrates?

How often do you eat meat?

Are there any ingredients you prefer to avoid?

This form allows you to get very specific about how low you want to keep your carbohydrate per meal, what ingredients you DO NOT want in your meals, whether you prefer batch meals that provide multiple meals and how long you want to spend cooking.

You can also designate Clean Eating, Paleo, Whole 30, Kosher, Dairy Free, Pregnant/Nursing.

PlateJoy doesn’t assume that you have a chef-inspired kitchen.  Make sure you designate the equipment you do and do not have so that it doesn’t suggest recipes or meal plans that are not feasible for you to make.  If you don’t have a food processor, let them know!


MY EXPERIENCE

Neither my husband or I am trying to lose weight but because I did not provide any weight or carb limitations, the recipes that were initially recommended had a hugely varied carb and calorie count. Some meals provided over 100 grams carbohydrate for my husband’s portion (completely excessive) and up to 800-1000 calories at a few of the dinner meals.  While this was not true for all the meals suggested, I found that by editing my personalization form to “50 grams carb/meal or less” provided meals that I felt were more nutritionally appropriate for our family.


Step 2: Review the Meal Queue

Next, you need to review the Meal Queue, where PlateJoy lists recipes that fit your criteria.  This allows you to keep any recipes that look amazing and remove any recipes that don’t appeal to you or your family.

Make sure to review each tab:

  • Breakfast
  • Lunch
  • Dinner
  • Batch
  • Snacks

By taking just a few minutes to remove any meals you wouldn’t want to make, you will ensure that the menus it creates for you are filled with foods you love and want to eat.

Simply click on the recipe picture to find the preparation/cooking time, ingredients, and nutrition for each family member.  Photos are available for almost all of the recipes and give a really accurate picture of what the completed meal will look like.


MY EXPERIENCE

I did not review the queue thoroughly and the first few menus created included several meals that did not appeal to my husband.  However, after I went back and reviewed each section, deleting recipes that were not family friendly, the menus created were much more in line with our dietary preferences.

This is your opportunity to do more customization.  If you want more meals with a certain ingredient or theme, simply search in the top right corner.  I did a search for tempeh in the lunch tab because I like to eat vegetarian during lunch.  You could also search for specific meals or ingredients like “chili” OR “chicken” OR “spaghetti squash”. Think about what your family really enjoys and search these types of recipes to fill the Queue with recipes that will be appealing to everyone.


Step 3: Create a New Menu

Before it creates your menu, PlateJoy wants you to identify 2 items:

  1. How many meals will you be shopping for this week? Include the number of breakfasts, lunches, dinners, and snacks.
  2. What ingredients do you want to use up?  You can include up to 3 ingredients on this list so that the recipes pulled for your weekly menu can use up these items.

Then, click “Create Menu” to see what yummy meals you will be creating this week!

Review the menu.  IF there are any recipes that populate your menu that just don’t look appetizing or are not what you are in the mood for this week, you can “swap” the recipe for a different one.


Step #4: Populate Your Shopping List

PlateJoy wants to know what you have in your pantry and fridge so that it can create a list of what you actually need to buy.  This is an awesome feature!  It includes every ingredient, even spices, so that you can make sure you don’t end up running back to the store in a rush later in the week.

This is also the opportunity to decide if you want to use a substitution.  For example, if a salad uses pecans, but you have walnuts on hand, you could decide to use what you have to keep your grocery bill down and avoid food waste.  You can also ADD an ingredient if you want to buy an ingredient that is not on your meal plan- this means you don’t end up sorting through 2 grocery lists while you are grocery shopping.

Now, your list is ready to print!


MY EXPERIENCE

My husband thought that this was the BEST feature of PlateJoy.  It made grocery shopping so very easy and the ingredients were categorized similarly to a typical grocery store.


Step 5: Rate the Recipes

After you make the meal, PlateJoy wants you to rate the meal (1 to 5 stars) and add any comments you have.  When you give a recipe 5 stars, it turns into a “Favorite” and you can add favorites to menus in the future if you wish.


Your PlateJoy Questions Answered

What did our family like most about the PlateJoy service and recipes?

There were some VERY simple 10-20 minute recipes that were delicious.

The grocery list made shopping a breeze!

The personalization quiz could be edited.

The recipes included real, unprocessed foods, even for snacks!


Did we like the recipes?

Yes and No.  There were a few that were duds.  We made 2 batch meals, one that lacked flavor (Slow Cooker Chicken Bacon and Potato Stew) and another where the vegetable simply didn’t cook as the recipe said (Slow Cooker Balsamic Pork with Carrots and Green Beans- the green beans were incredibly uncooked after following the directions).

However, we did make some amazing recipes!  Our favorites:

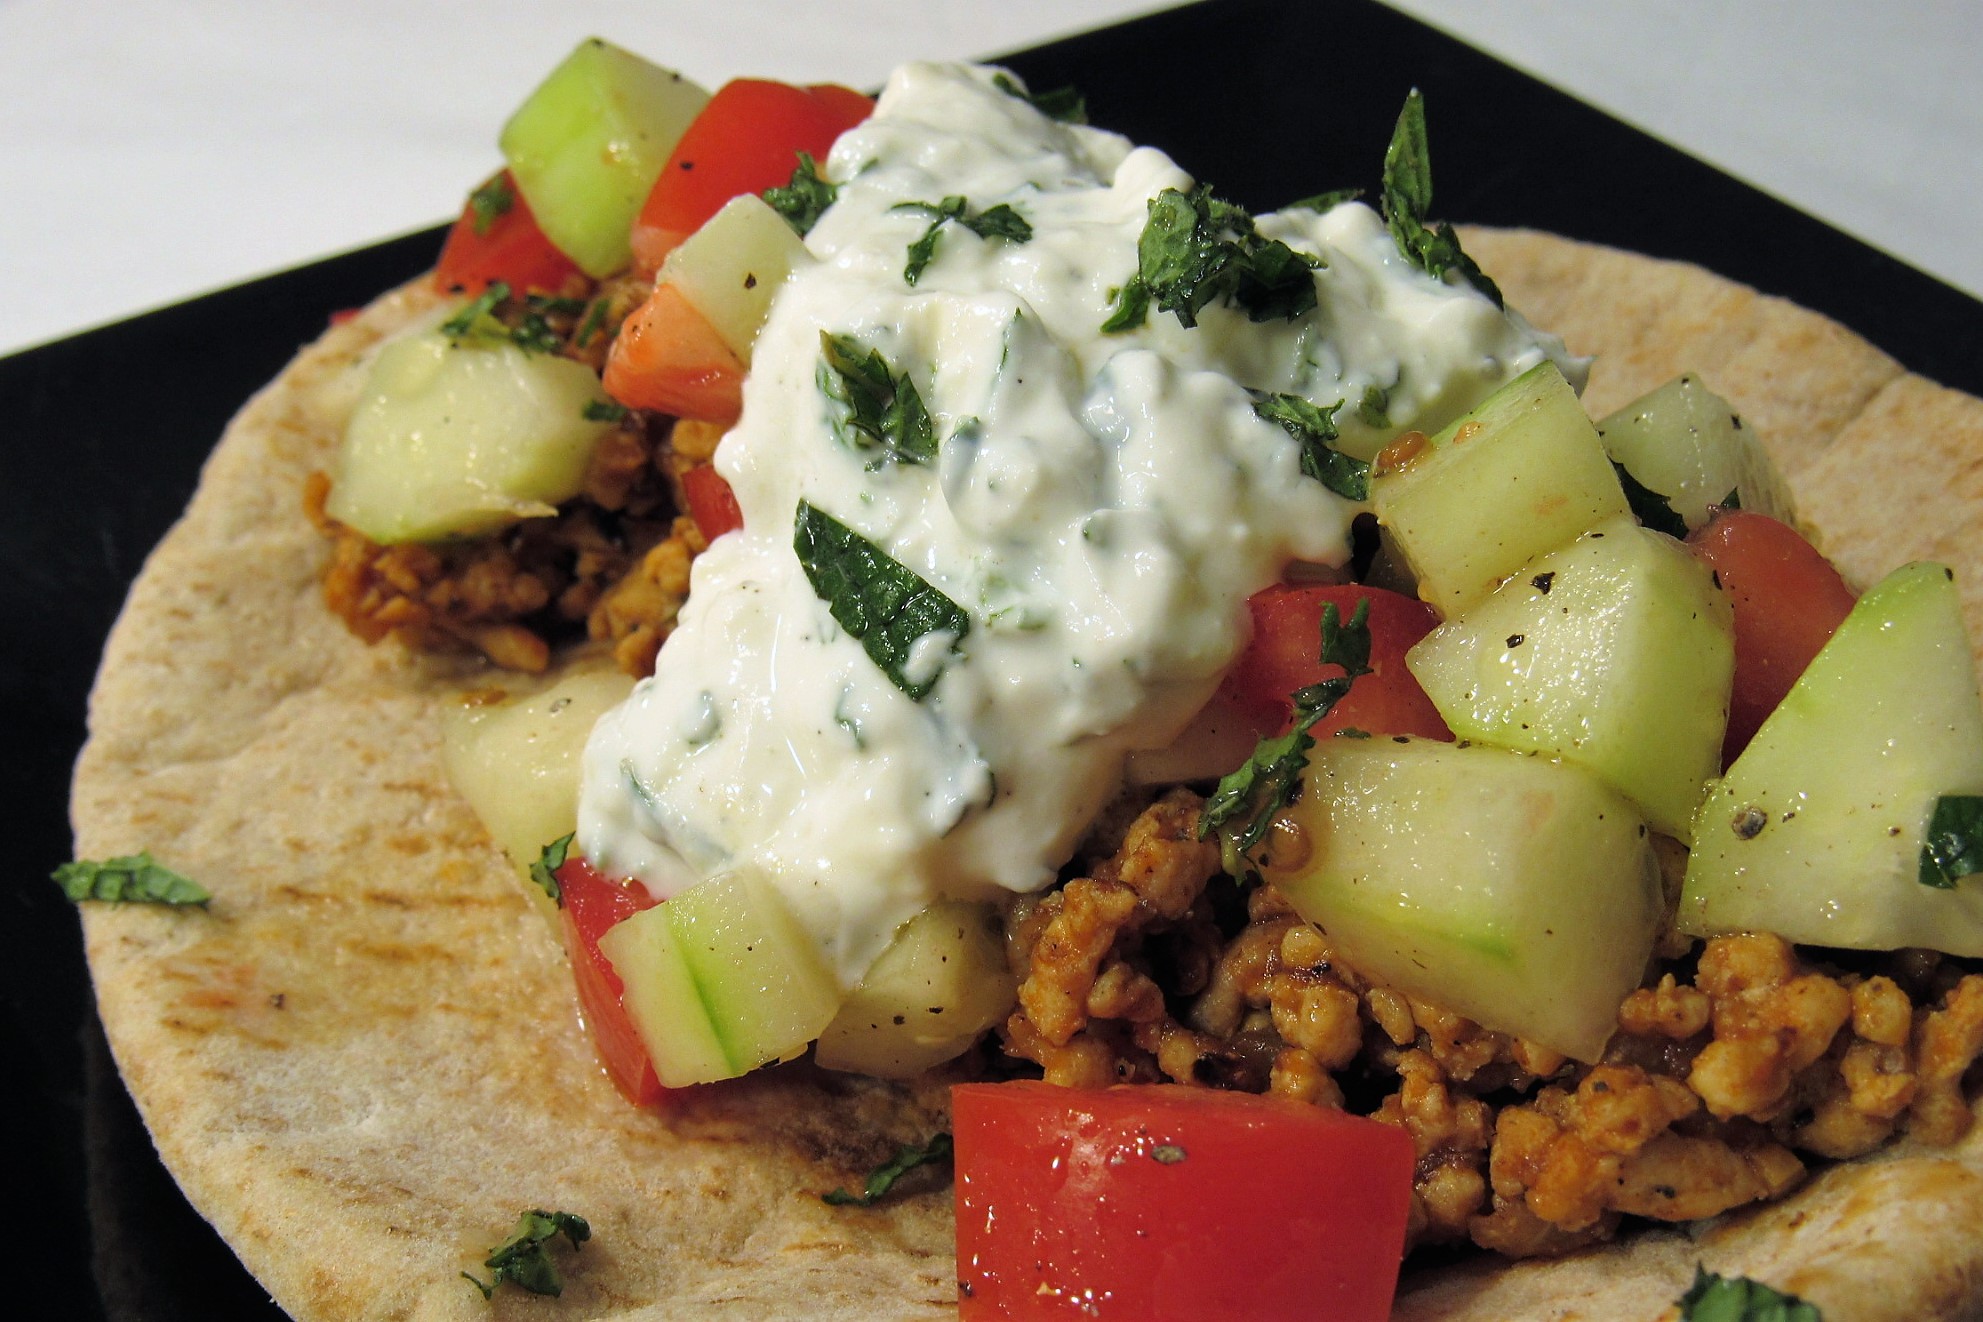
Greek-Style Pita Tacos with Tzatziki and Cucumber Salsa

Chocolate Quinoa Breakfast Porridge

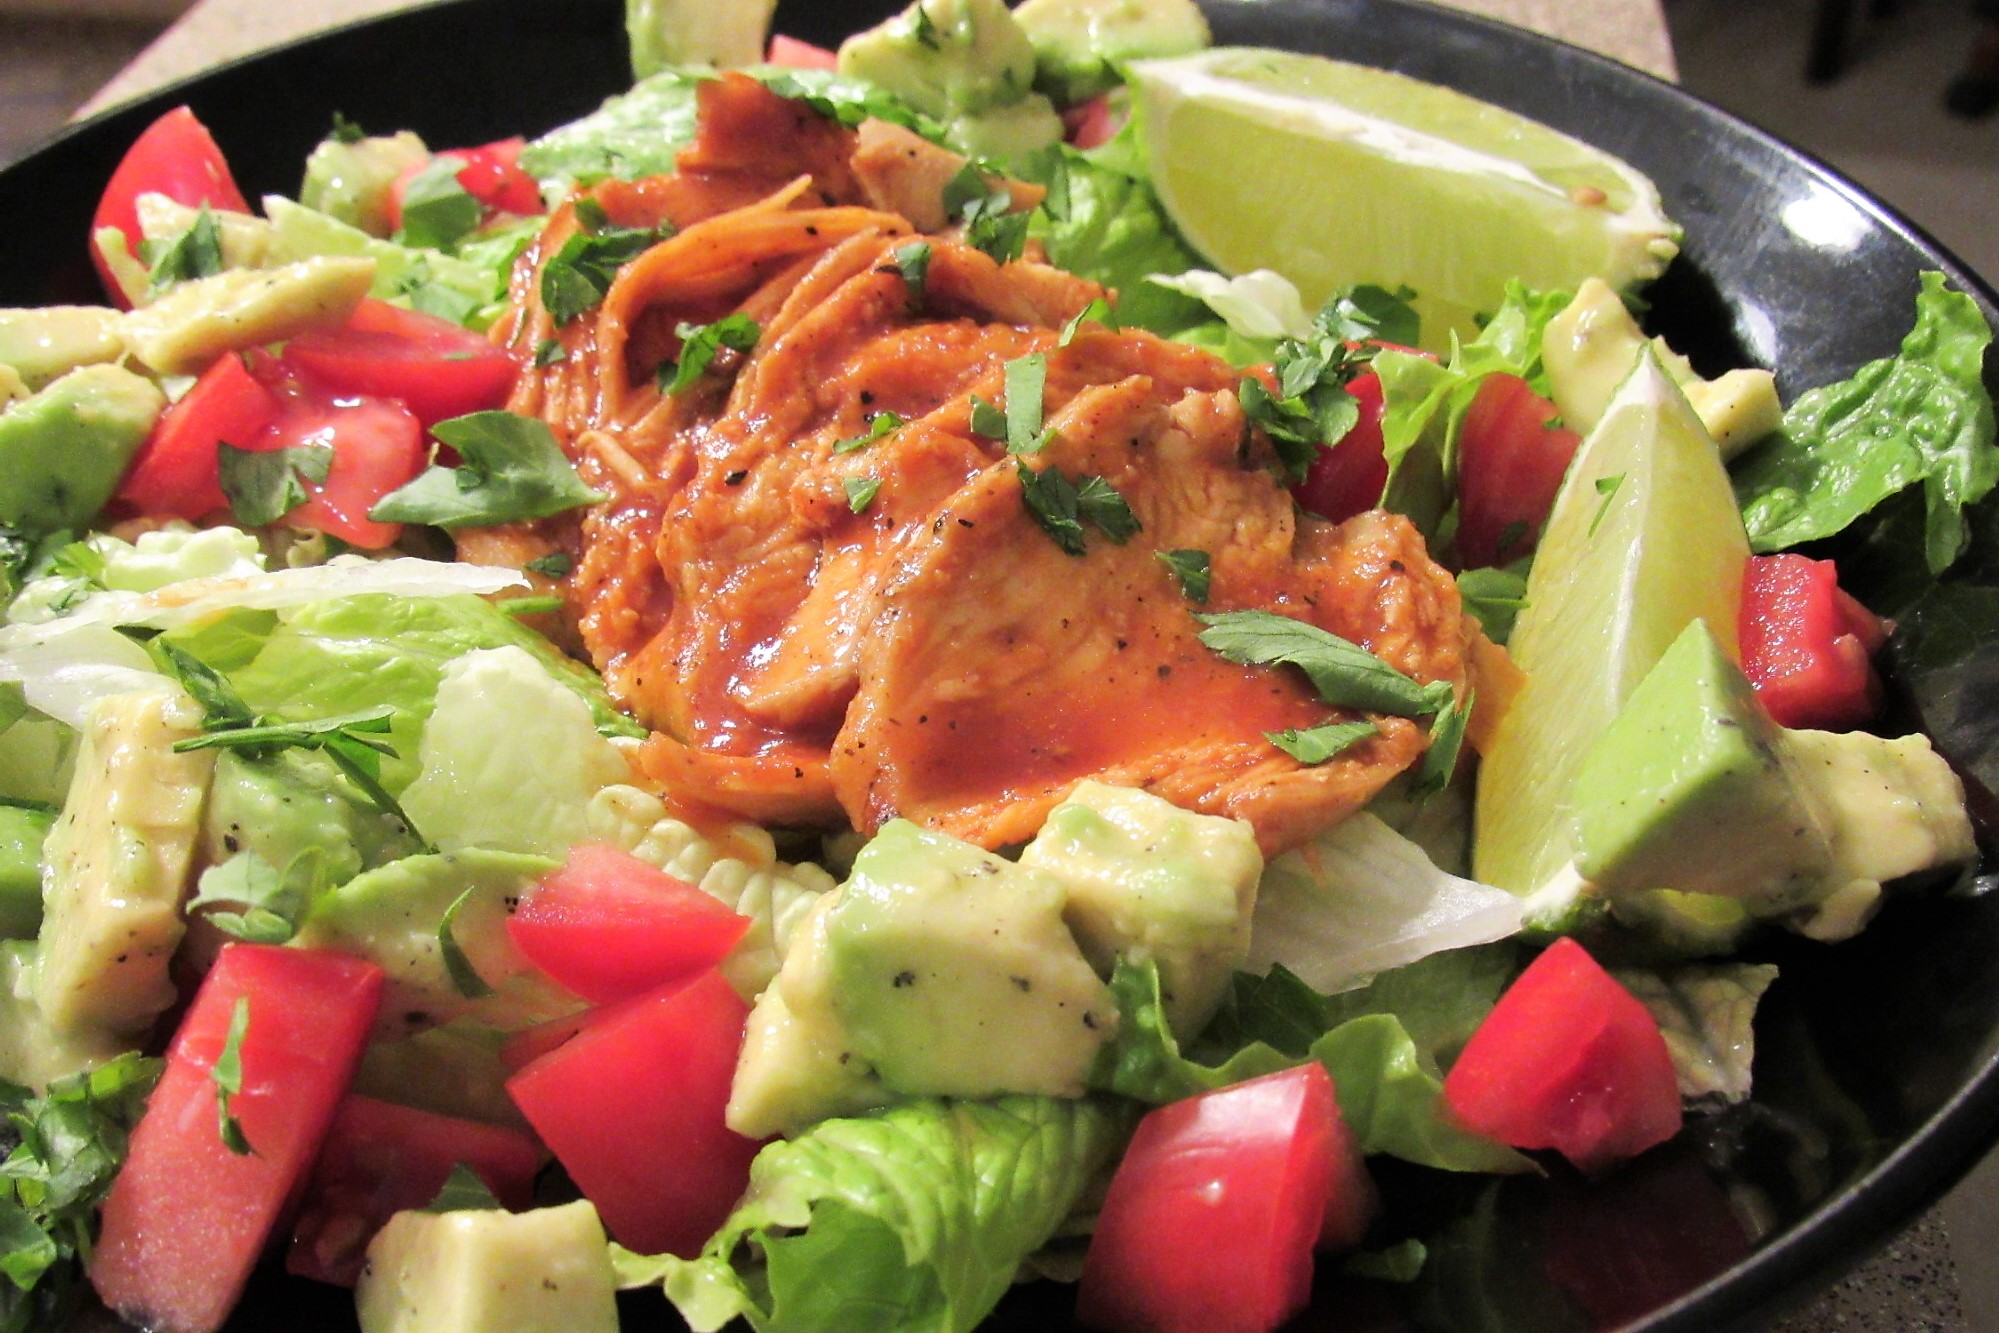
BBQ Chicken Salad with Avocado and Lime

The key to using PlateJoy is to make sure you rate the recipes, or at least the ones you love, so that they populate your menus frequently.

Can I make non-PlateJoy recipes too?

You cannot insert your recipes into PlateJoy, however, you can add ingredients to the grocery list so that you can shop from one list.


Will PlateJoy save me money?

It can save you money on groceries by creating a menu that uses the same ingredients in multiple recipes during the week, however, from our experience, it did include several “pricey” ingredients.

To keep your costs down,

  1. Make sure you review your pantry before you create your grocery list; b) determine if you can substitute an ingredient you already have or a lower priced ingredient for a
  2. Determine if you can substitute an ingredient you already have or a lower priced ingredient for a pricey one.

Of course, if PlateJoy suggests a recipe that you feel doesn’t fit your family’s budget, simply remove it from the Queue- it is that simple!


Are there any things PlateJoy won’t do for me?

  • grocery shop
  • prep food
  • cook the meals

Those tasks are still your responsibility.  But, it will help you get organized, avoid food waste, and create a plan for each day.  AND, if you want short cooking recipes, just mark that box in the Personalization Quiz.

How much does a PlateJoy subscription cost?

6-month: $69 USD

12-month: $99 USD

*This comes out to around $8-12 / month and will be billed in one installment.

**The cost of PlateJoy does not include food.


Is PlateJoy a good tool for my family?

Are you interested in adding variety to your current menus?

Do you have some basic cooking skills?

Does having all of your meals planned out (breakfast, lunch, dinner, snacks) sound like a dream come true?

Do you mind grocery shopping for ingredients?

Are you desperate for a tool to do the thinking and planning for you?


Will the Hunt family continue to use PlateJoy?

I have not continued my subscription for PlateJoy simply because I intend to try out several different meal planning services this year to give you the best reviews and feedback.  BUT, we really did like the service.  It took a few “practice menus” to figure out exactly how to customize it so that my husband (my “selective eater”) would eat the meals it populated. But, it really did simplify the planning process and make grocery shopping a cinch.


If you want to give PlateJoy a try, you can get $10 OFF your membership by using the code: JENNH10


Have you tried PlateJoy?  What did you think?


DISCLOSURE

Healthy Inspiration makes every effort to test and review products/services fairly and transparently. The views expressed in this review are my personal views and have not been influenced by a brand, product or service. This post contains an affiliate link. If you purchase a product through this link, your cost will be the same but Healthy Inspiration will receive a small commission to help with the operating costs of this blog. Thank you for your support!


253 Views0
4 Kid Friendly Breakfast Ideas- Delicious Eats for Your Growing Tot

Sometimes breakfast is boring.  The reality is that many of us eat the same foods every morning now that we did 3 months ago, 6 months ago and even a year ago. And, while we may be completely fine with that, if we are giving our kids the same foods every morning, we are missing out on a significant opportunity to invite more exposure to a variety of foods.

I completely get it!!  The same food equals EASY!  A while back, my daughter ate oatmeal, yogurt, and banana practically every single morning. She adored this meal!  I loved how easy and predictable it was. And they were all healthy foods… no problem, right!?

But as I saw her becoming more “choosy” at other meals, I realized, I would box her and limit her exposure if I didn’t begin expanding options… at ALL meals.

This doesn’t mean we can’t have our “usual” several days a week, but research shows that kids may need dozens of experiences with a variety of foods to continue to expand their diet.

I believe this can actually be a tasty and fun experience.  It’s true, they won’t always like what you serve and sometimes they may decline, but these FUN breakfast ideas are nutritious and a healthier take on many traditional higher sugar, processed breakfast foods.


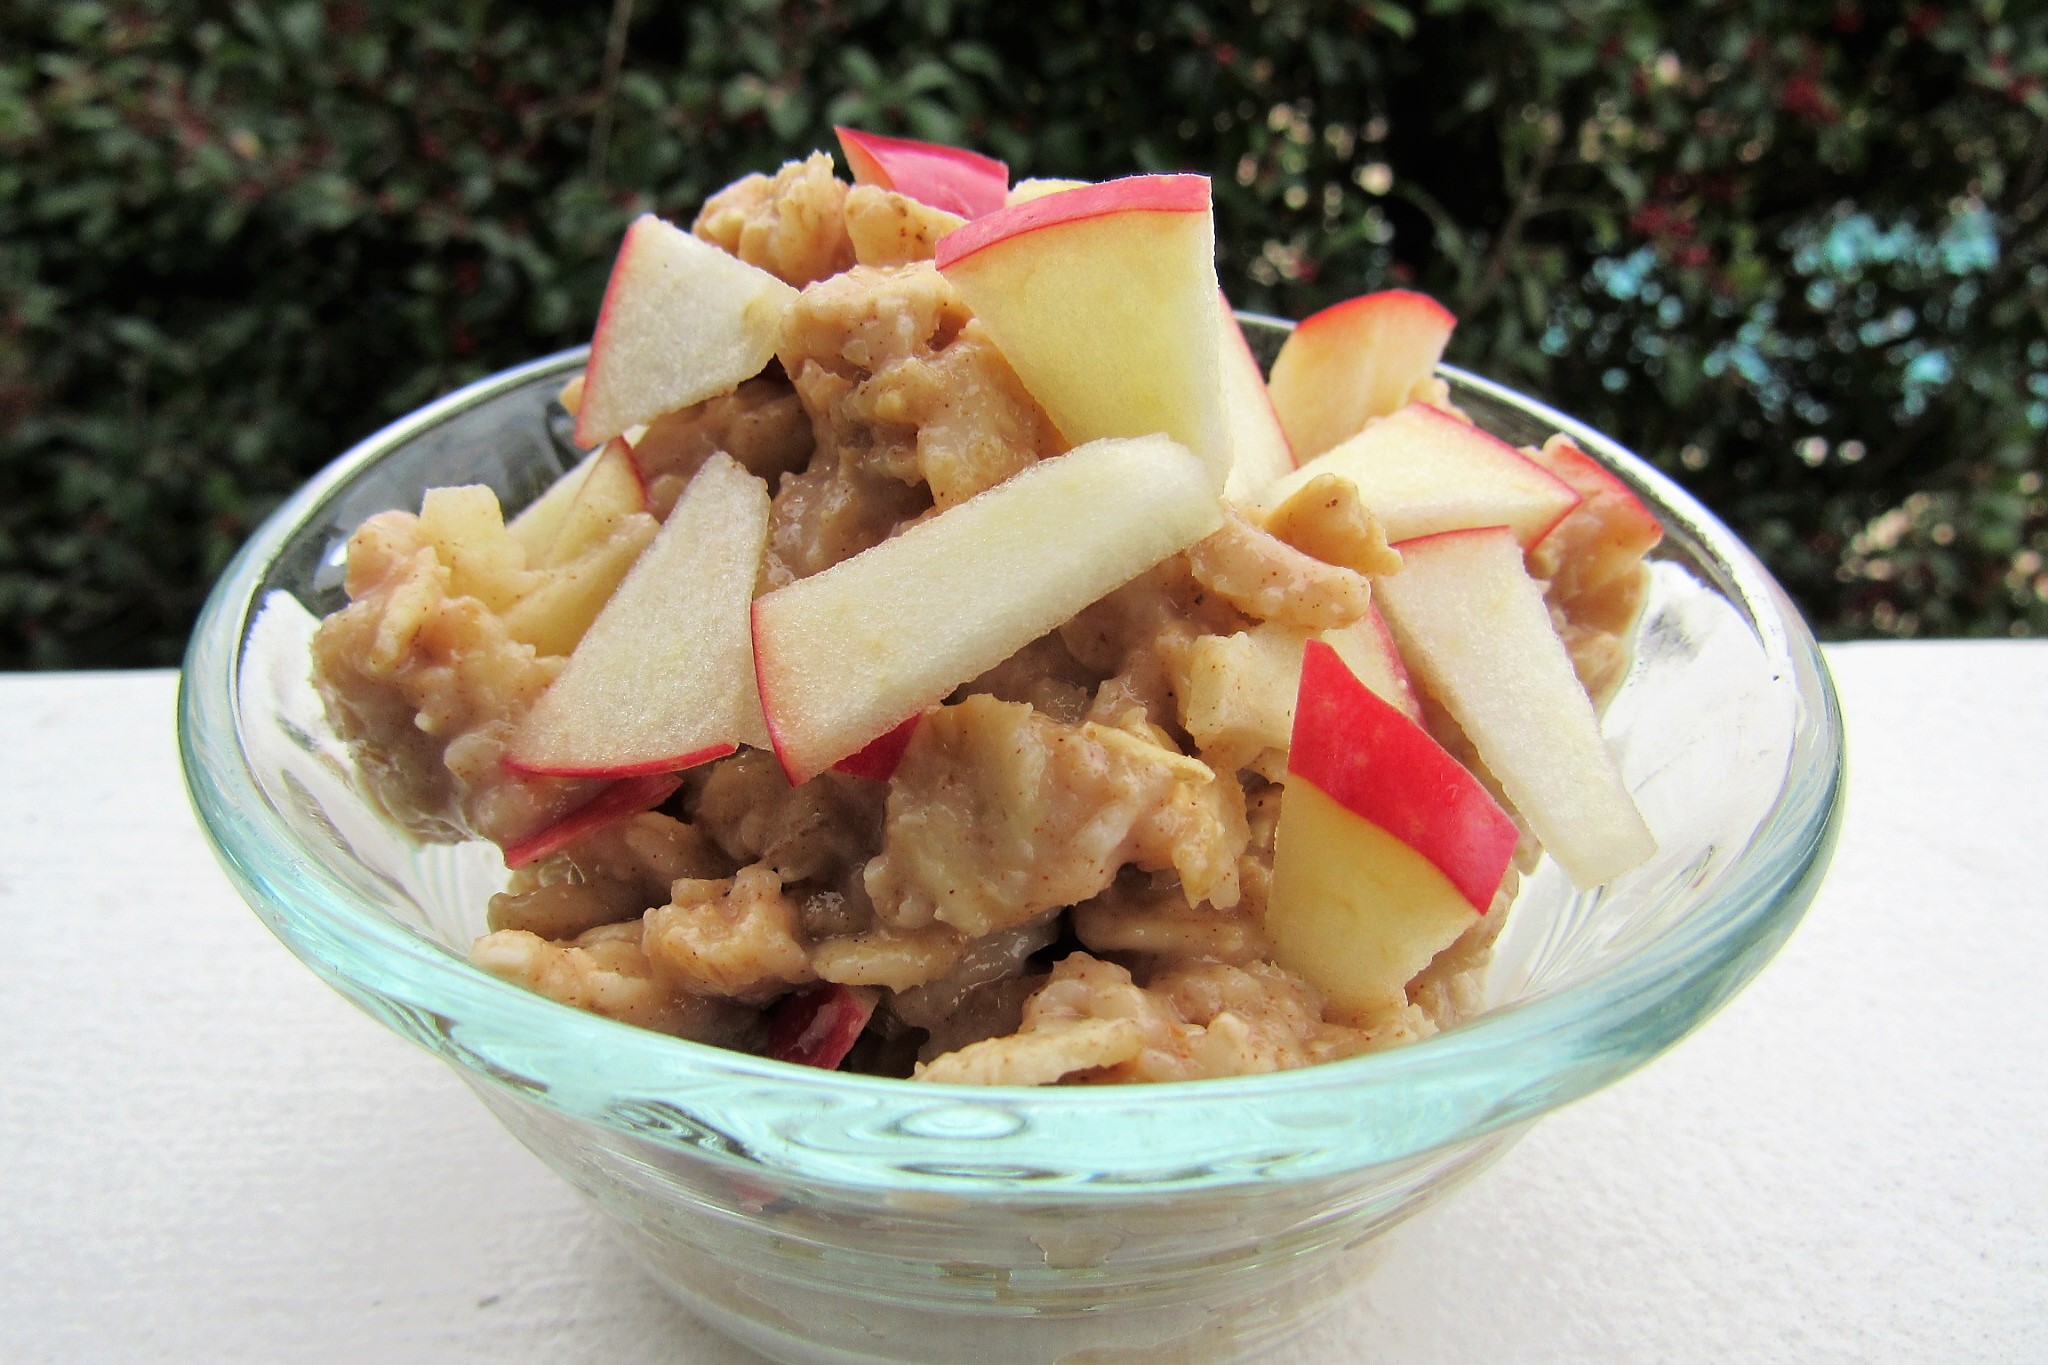
Apple Cinnamon Oatmeal

Oatmeal is a hearty breakfast cereal with fiber and healthy carbs to fuel your child the entire morning. The applesauce flavors and sweetens it without having to add brown sugar, maple syrup or anything artificial, like so many of the boxed brands.  Give your kids the opportunity to choose which toppings they want each morning


INGREDIENTS

½ cup oats

2/3 cup water (or milk OR combination)

Pinch salt

½ tsp cinnamon

½ cup no sugar added applesauce


OPTIONAL TOPPINGS

1-2 tbsp chopped nuts (walnuts, almonds)

1 tbsp nut butter

1 tbsp flaked coconut

Diced apple or banana


DIRECTIONS

Bring water/milk to simmer.  Add in oats, salt, cinnamon.  Cook for 3-5 minutes or until thickened. Remove from heat and stir in applesauce.


MAKES 2 SERVINGS


HELPFUL TIP

  • Double or even triple the recipe.  Refrigerate leftovers.  Rewarm in the microwave with a splash of milk.


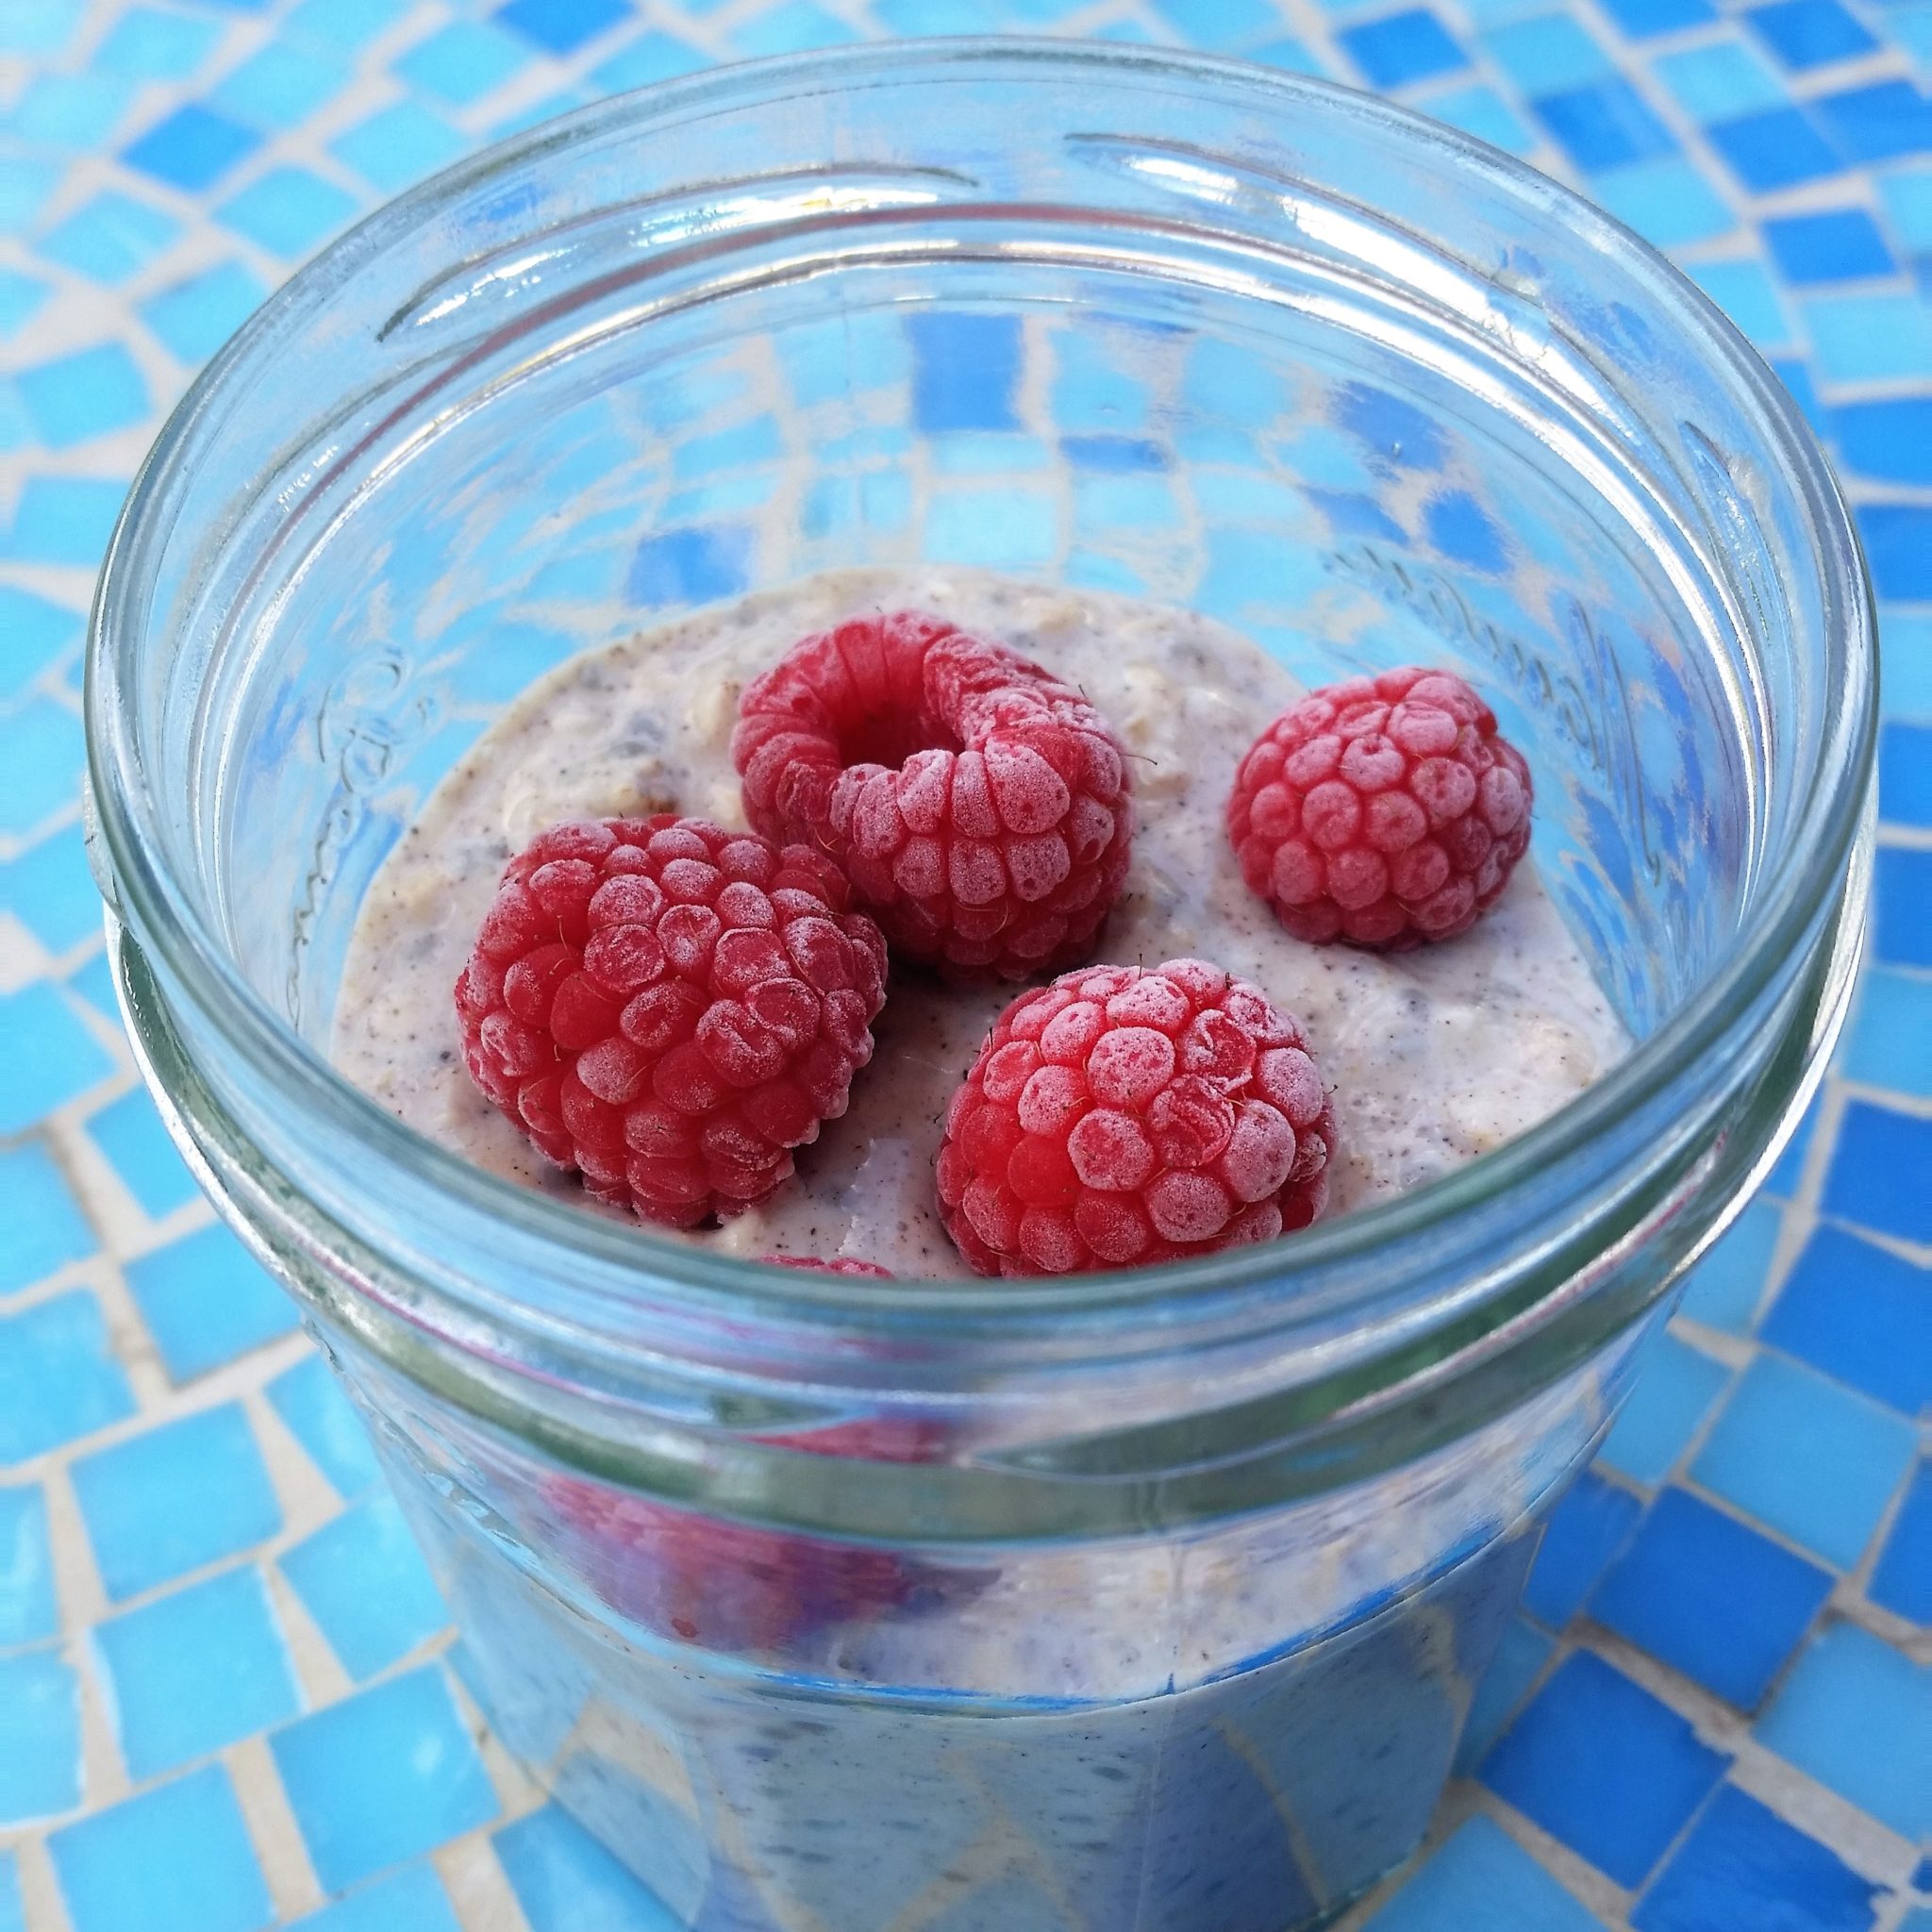
Creamy Overnight Oats

This is one of the easiest ways to get a complete breakfast on the table in under 2 minutes on those crazy mornings!  It has the perfect combination of complex carbs with fiber, protein and a bit of healthy fat to stay full.  If you have never tried this, you must!  This just may solve your morning breakfast crisis!!


INGREDIENTS

½ cup plain greek yogurt (low fat or full fat for kids)

½ cup low-fat milk (any type)

½ cup rolled oats

½ banana

1 tablespoon chia seeds

⅛ tsp Cinnamon


OPTIONAL TOPPINGS

Fresh or frozen fruit

Chopped nuts

Seeds

Coconut

Nut butter


DIRECTIONS

Combine all ingredients in a medium bowl or mason jar before going to bed.  Refrigerate.  In the morning, stir and add your kid’s favorite toppings.


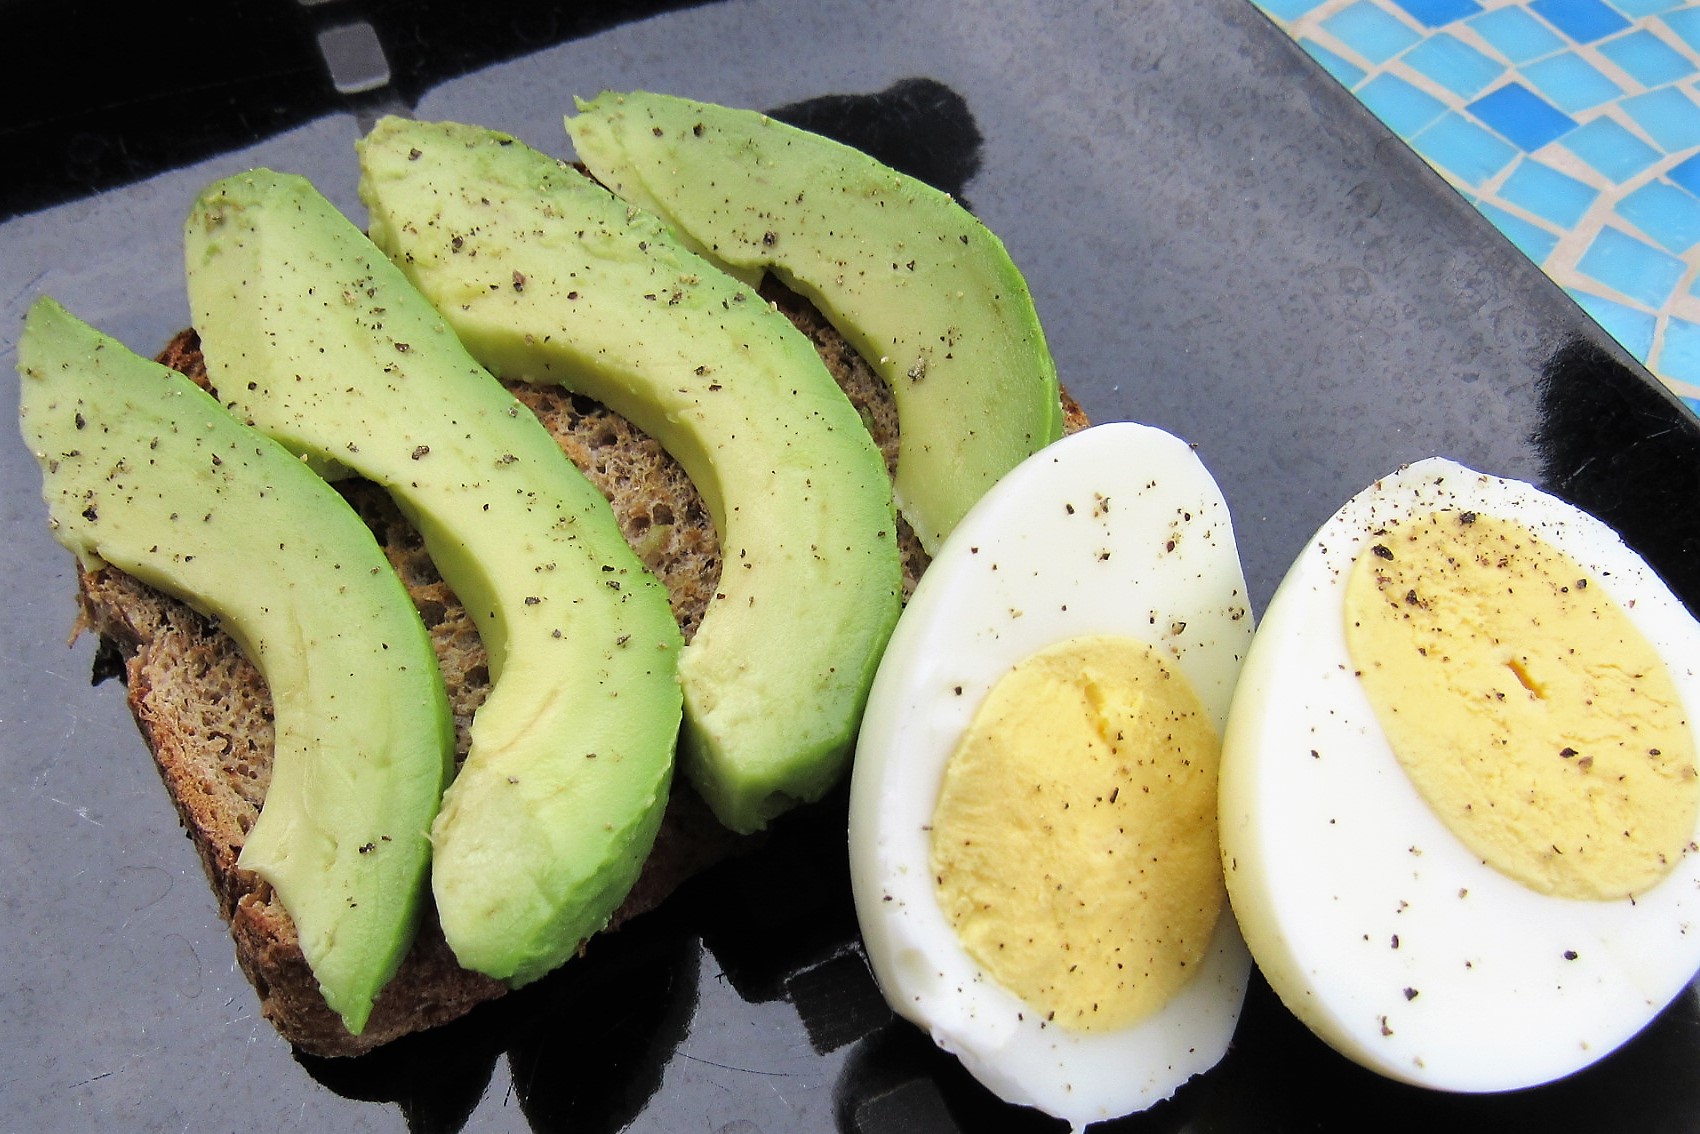
Avocado Toast with Egg

My daughter adores “toast” and while we don’t encourage a large consumption of bread, she definitely enjoys eating avocado toast when it is on the menu!  The avocado is the perfect healthy fat, the egg is just the right dose of protein and the toast will provide your child with just the right boost of energy.


INGREDIENTS

¼ small avocado

1slice sprouted grain or whole grain bread

1 or 2 eggs, hard cooked or fried


DIRECTIONS

Toast bread.  Spread avocado on the toast. Add egg on top of toast or on the side.


SERVING OPTIONS

  • hard-cooked cooked egg, place on top of avocado toast and fold into a sandwich.
  • Halve or quarter egg, sprinkle with salt/pepper and serve along with toast
  • Place fried egg on top of avocado toast and cut into sandwich


HELPFUL TIP

  • Eggs can be hard cooked in mass at the beginning of the week to make this breakfast a cinch!  Or, if you child prefers, take 2-3 minutes to “fry” an egg in a pan with oil spray.


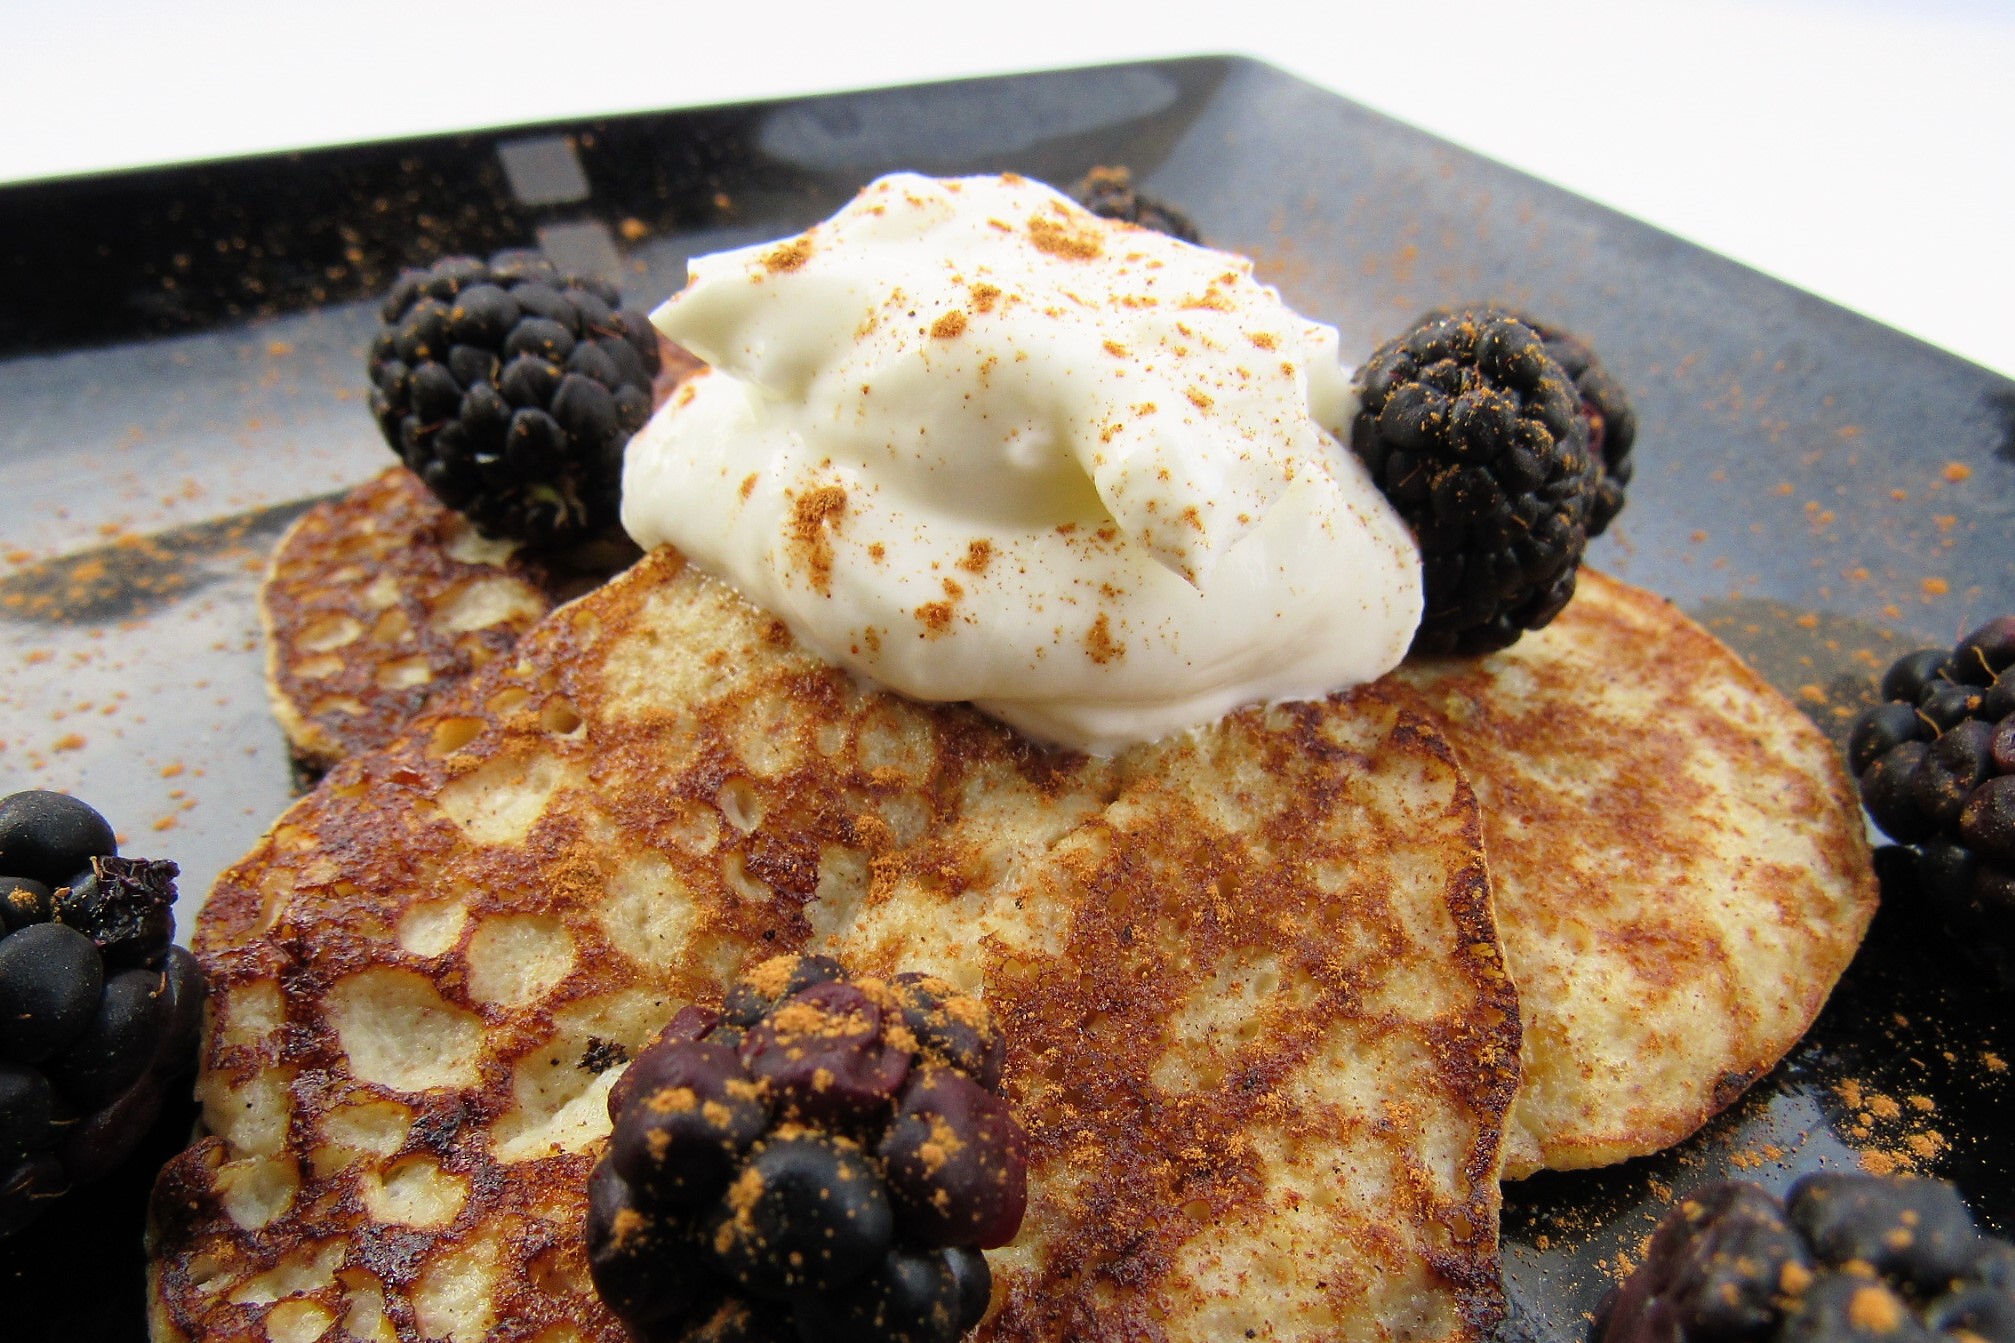
2 Ingredient Banana Pancakes

Oh My…Your kids will love this recipe and you will too!  It tastes just like fresh baked banana bread with only 2 ingredients and a pinch of cinnamon.  Really!!  It is hardly enough ingredients to be termed a recipe but you will be stunned at how good it tastes!  I originally found this recipe on the FoodNetwork and was very skeptical…but I am hooked now.  Make a large batch on your griddle or large non-stick pan because everyone will eat them up!


INGREDIENTS

1 banana

1 egg

Pinch cinnamon


DIRECTIONS

Preheat pan to medium heat.  Mash banana in a small bowl.  Whisk in egg and cinnamon; combine well.  Spoon 2 tablespoon portions into a well-greased pan and cook 3-4 minutes per side.  Enjoy!


SERVING IDEAS

Smear almond, peanut or other nut butter over pancake and roll up

Dollop of plain yogurt and sprinkle of cinnamon


MAKES ABOUT 6 SMALL PANCAKES


HELPFUL TIPS

  • Double, triple or even quadruple the recipe to make extras. Refrigerate and/or free the extras.  To warm up, place in toaster or toaster oven for a few minutes to warm through.
  • Make sure to keep the heat on medium and watch pancakes so they don’t burn.  The banana has sugar and will burn if left too long.

Don’t let your kids start their day without the proper fuel.  Nourish their growing bodies and expand their food experiences by making these yummy breakfast recipes and teaching them how to eat to live.


For more tips, tricks and easy ideas on nourishing your little ones, check out these posts:

Giving Our Kids a Taste for Fruits and Vegetables

Raising Healthy Kids Starts at The Dinner Table

3 Lessons I Have Learned About Feeding a Toddler…So Far


TRUTH: Teach a child to choose the right path, and when he is older, he will remain upon it.

Proverbs 22:6

138 Views0
3 Dinner Solutions When Your Family Is Starving and You Don’t Have A Plan

Hangry is a real word!  According to Oxford Dictionary it is defined as “bad-tempered or irritable as a result of hunger.”  When it is dinnertime and you don’t have a plan, the family gets restless, irritability mounts and mom begins to feel her stress level rise.  


As good intentioned as we all are, there are nights when our meal plan is non-existent or ineffective and we have to decide “plan B” fast.  There is usually little time to spend contemplating the best, healthiest options and instead, we turn on survival mode.


These moments are real!  


I didn’t know really how real until I became a mom.  Recently, I told my husband in a moment of utter overwhelm and frustration that I completely understood why eating out is so prevalent among families during the week!  I wanted to escape!  I didn’t want to make decisions!  I didn’t want to figure out what to cook… I wanted to sit down and eat in peace!


Sometimes, you just want to flee the craziness and decision making. Sometimes the thought of throwing together a meal when it is already past dinner time sounds like madness!  


Unfortunately, cooking turns into the ‘bad guy’ that we are all running from.  But, I believe the solution isn’t take-out or packing up the family into the car for the nearest restaurant.  The reality is that it will take at least 15 minutes to get there and order.  Instead, I believe the solution is having an arsenal of 2-3 meals that can be thrown together in 15 minutes or less.


In order to make this actually happen under 15 minutes, here is what you need to know:

  • The meals need to be written down or typed out

  • The list needs to be visible in your kitchen (on the fridge, bulletin board, etc) so that you can look at your list when the panic begins to rise.

  • Keep a well stocked pantry and fridge


These are 3 DINNER SOLUTIONS to save you, feed your family and restore a peaceful environment:


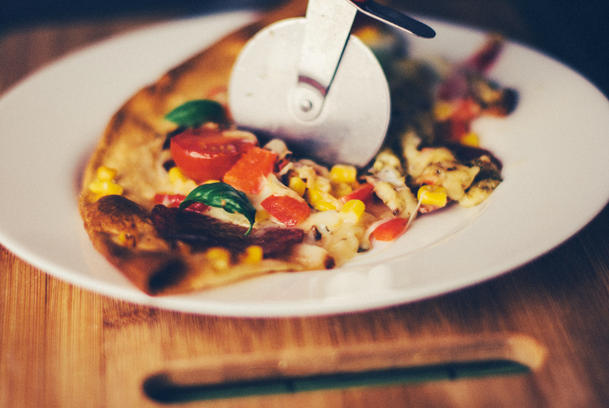
HOMEMADE PIZZA

Can I get an ‘Amen!’  You don’t need any pizza dough in the fridge.  Pizza is one of the most versatile foods there is.  You need some type of crust, a sauce, toppings and cheese, but it doesn’t have to look like your favorite pizza delivery and in fact, it might taste even better!


Crust Options

Whole grain french bread

English muffin

Whole grain flat bread (like Flat Out, Joseph’s)

Sandwich Thin


Pizza Sauce Options

Marinara sauce

Tomato paste*

Tomato sauce*

BBQ sauce

Pesto

*season with Italian herbs


Cheese

Mozzarella cheese

Provolone cheese

Cheddar cheese

Parmesan cheese

*any other type of cheese you like!


Toppings

Spinach

Peppers

Onions

Black olives

Leftover roasted/grilled vegetables

Chicken

Pepperoni

Ground beef

Pineapple

Fresh basil, cilantro, oregano

 Directions

Step 0: pre-heat oven to 400 degrees

Step 1: choose a crust

Step 2: add your sauce of choice

Step 3: add any toppings you have

Step 4: top with your favorite cheese

Step 5: Bake for 8-10 minutes or until cheese has melted and is slightly brown

Step 6: Take a deep breath!  Dinner is done!!


Tips

  • slightly toasting your crust of choice while you are getting out all of you toppings will help prevent a soggy crust

  • preheat oven with the pizza stone; a hot stone will help toast the crust


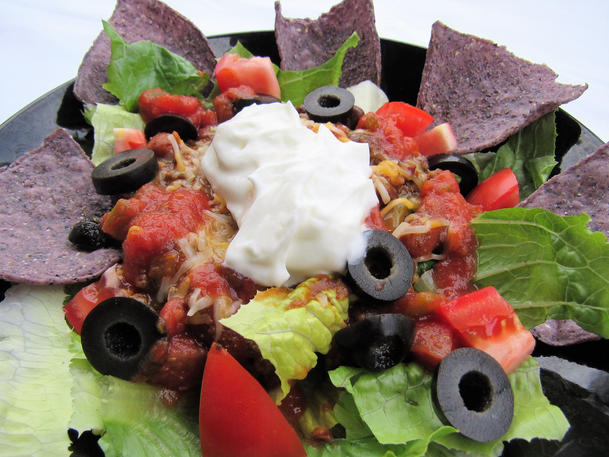
BLACK BEAN TACO SALAD

Who doesn’t adore Tex-Mex?  This recipe is so easy and simply uses a few pantry and fridge staples.  Whether it is “Crazy Wednesday”, “Meatless Monday” or “Tired Friday”, this Black Bean Taco Salad is the perfect dinner that doesn’t take much thought, but will satisfy rumbling tummies.


Pantry Ingredients

Canned black beans

Chili powder

Cumin

Sliced black olives

Jarred salsa

Tortilla chips


Fridge Ingredients

Lettuce or bagged salad

Plain low fat greek yogurt or low fat sour cream

Shredded cheddar, Mexican or colby jack cheese

 Directions

Step 1: combine canned beans with spices (½ tsp chili powder & ¼ tsp cumin per can/beans)

Step 2: warm the beans in microwave for 45-60 seconds

Step 3: add lettuce to salad bowl

Step 4: top lettuce with beans and then cheese

Step 5: dollop yogurt/sour cream, salsa and sprinkle on sliced olives

Step 6: slide 1 serving of tortilla chips around the rim of your bowl OR crumble on top

Step 7: turn on your favorite background music and enjoy some fun dinnertime conversation


Tips

  • look for low sodium beans (<200 mg/serving) when possible


FRITTATA

A frittata is a fancy word for a simple egg dish.  It is incredibly forgiving and it is a great way to use up leftover vegetables before they turn.  It is a little bit different from scrambled eggs or an omelette, but similarly, you can add in vegetables, meats, cheese, and herbs…whatever you have on hand!


Fridge Ingredients

Eggs

Milk

Your favorite cheese- cheddar, feta, goat, etc.

Cooked vegetables (steamed, grilled, sauted, microwaved)

*broccoli, spinach, mushrooms, onions, peppers, and zucchini work well


Pantry Ingredients

salt/pepper

 Directions

Step 0: Preheat oven broiler

Step 1: whisk 6-8 eggs, ⅓ cup milk, ½-3/4 cup cheese, hefty pinch of salt, black pepper and any herbs you desire

Step 2: heat a large (10” or 12”) non-stick, oven safe pan on the stovetop and add oil spray (or 1 tsp oil/butter)

Step 3: add in cooked vegetables and saute on medium heat for 2-3 minutes to warm

Step 4: add in egg mixture and cook for 4 to 5 minutes or until the egg mixture has set on the bottom and begins to set up on top

Step 5: top frittata with any remaining cheese and place under broiler for 2-4 minutes or until the middle is set and top begins to brown

Step 6: Take a minute to affirm a job well done while the frittata slightly cools. (or tell yourself you are amazing while you admire your “fancy” masterpiece)


Tips

  • Using raw vegetables may produce a watery frittata and the vegetables may not cook all the way through.

  • You can steam a bag of broccoli in the microwave for a quick vegetable option

  • Serve with toast, fresh fruit, cooked oat bran/oatmeal, or english muffin


Still a little hesitant to try your hand at a frittata?  Check out this Alton Brown clip for an entertaining, but easy step-by-step video.  You really can’t mess this up!


YOU CAN give your family a delicious meal in 15 minutes or less!  Make sure to have these printed out in your kitchen so that the next time life overwhelms your well intentioned plans, you feel confident in your ability to produce a Plan B that everyone will eat up!


For more quick recipes and tips on easy planning, you can check out……………….

Weeknight Dinner in 20: Maple Dijon Salmon

One Powerful Key that Will Simplify the Way You Meal Plan


TRUTH: A prudent man foresees the difficulties ahead and prepares for them; the simpleton goes blindly on and suffers the consequences.

Proverbs 22:3


141 Views0
Waste Not, Save A Lot

The average family of 4 wastes $1,500 of food each year, according to the Natural Resources Defense Council.


It’s a fact.  


Food waste is not anything anyone sets out to do.  We go to the store, buy groceries and intend to eat what we buy.  But it’s not uncommon to find molding vegetables, wilted leaves or brown speckled foods hiding out in our refrigerator.  It happens, but it doesn’t have to happen often.  If you are ready to throw in the towel on the moldy science experiments, here is how you can do it:


Keep Healthy Foods Within Sight

“Out of sight, out of mind…” this phrase rings true for healthy foods too! If food is placed in closed containers, bins, drawers and deep places in the pantry that are not visible or easy to reach, we forget about it.  


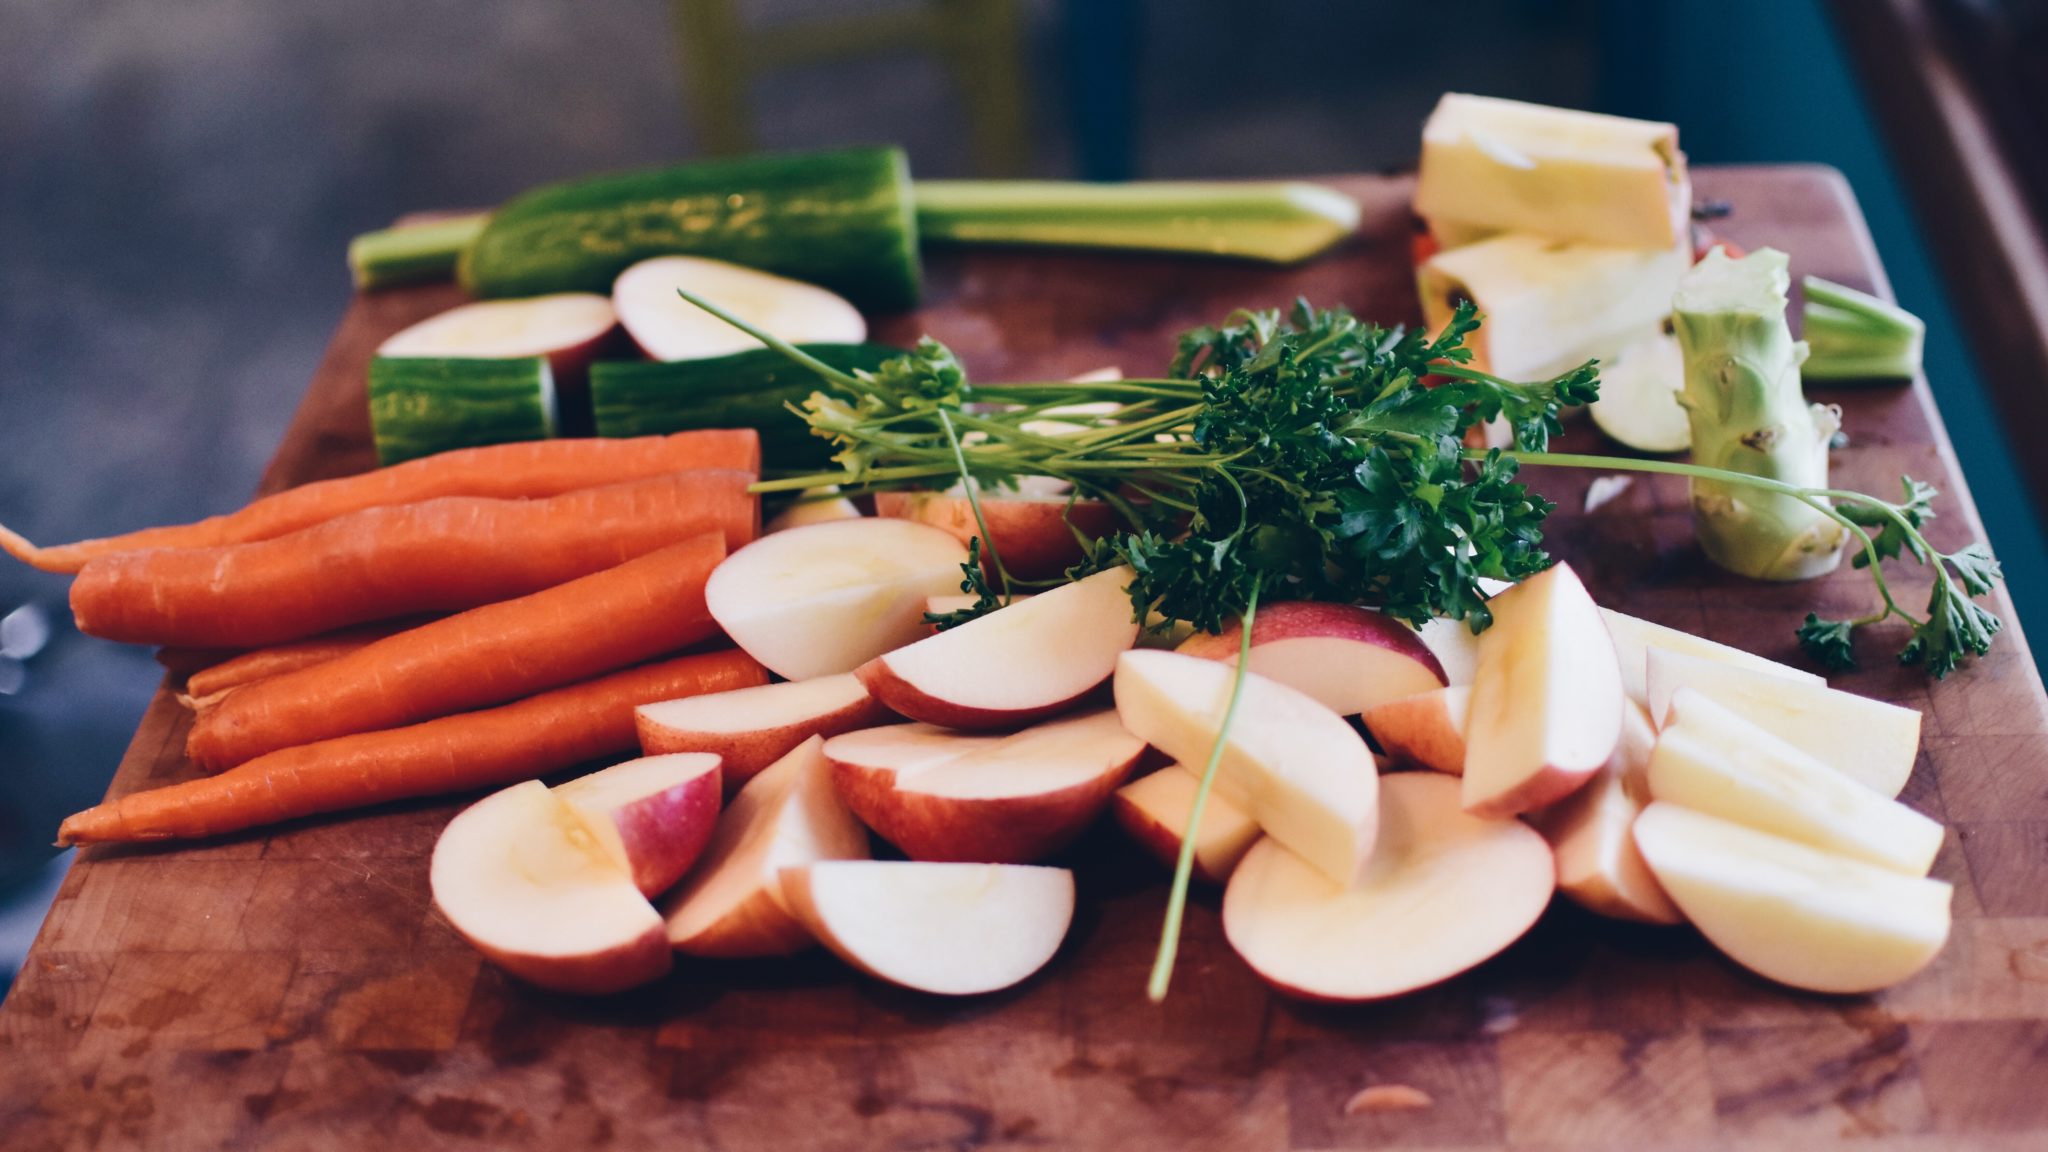
While we want to remove foods from sight that are processed, WE WANT to add foods to the counter and easy to reach places that are unprocessed and whole…fruits and veggies.  If you want to remind yourself to eat the veggies and hummus when you are hungry early evening and dinner isn’t ready, make them easy to spot when you swing open the fridge door.


According to Brian Wansink, consumer behavior and nutritional science expert at Cornell University, there is 3 secrets to healthier eating using his “CAN” approach:

Convenient– make healthy foods and beverages the easy, obvious choice

Attract– display healthy foods so they look appealing

Normal-make healthy foods the default and most abundant option


Eating healthy foods consistently is about making them readily available and visible, but this same trick also helps reduce household food waste.


Simple Food Placement Can Help You Eat and Use Instead of Overlook and Toss:


Create a kitchen herb bouquet- Cilantro, parsley, basil- cut off the tips of the stems and place in a glass or mason jar with 1-2 inches of cool water; remove any discolored or brown leaves. Place on the counter in lit area but out of direct sunlight.  Change the water every few days or when it becomes cloudy.  Your herbs can stay fresh for 1-3weeks!


Use glass containers, mason jars, and see-through storage containers– these are perfect for pre-cut vegetables and fruit as well as cooked grains, roasted vegetables and any other cooked foods you made on your food prep day.  If you can’t quickly see what is in the container, you will likely forget about it.  I use these Rubbermaid glass storage containers and LOVE THEM!


Place the fruit bowl on the kitchen table- this is the only food that deserves to be within sight when you walk into the kitchen.


Move chopped vegetables to the top shelf of the fridge- they are ready to go for snacking, roasting, steaming or any other preparation. You can buy pre-chopped or do the prep when you get home from the grocery store.


Salvage What You Can

Bad spots and molding indicate a living food is turning, but it doesn’t mean it is not edible.  Only you can make the call but if you know something is old and will need to be tossed soon, consider a few different ways to salvage these ingredients and prevent food waste:


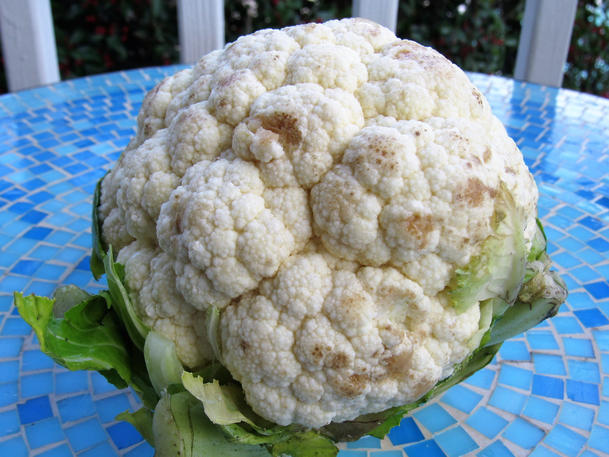
Brown speckled cauliflower– chop off bad spots, then mash or puree it!

Limp carrots, celery, root vegetables or herbs– vegetable stock

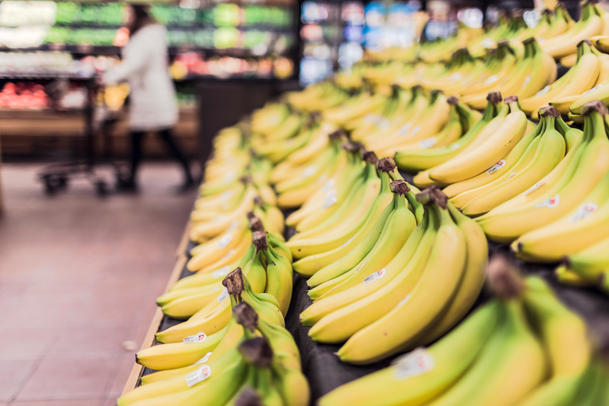
Brown Bananas– freeze for a smoothie or banana ice cream

Apples or pears that are mushy or have soft spots– toss into a crock pot to make applesauce

Overly Ripe TomatoesRoast with feta, balsamic and basil for a delicious side!

Basil that is starting to brown– make pesto!

Veggies or potatoesroast!


According to the National Resources Defense Council, 48% of produce is wasted by American households!  Imagine every time you go to the grocery store, unpacking your bags and tossing ½ of your fruits and vegetables directly into the trash!!


What can you salvage today?


Plan, Plan, Plan

The most common reason a food might go to waste in my kitchen is when I don’t make OR follow my meal plan.


“Failing to plan is planning to fail.”  BUT, then you have to follow through with the plan. You have to commit.  


Planning doesn’t require endless hours, lists and notes, just a little intentionality, notepad and a pen.


A few tricks for planning:

  1. Include 1 Pantry/Freezer meal in your meal plan each week.  This is a meal that does not include any fresh meats or produce and ONLY uses foods from your pantry and freezer.  There will be no waste IF you don’t get to make this meal during the week…just save it for next week. For some tips on how to create a healthy pantry/freezer meal, check out this post.

  2. First, prepare the meals with ingredients that will turn the quickest.  For example, prepare fresh fish on the day of or next day after purchase. Make the recipe with the fresh asparagus before you make the recipe with the frozen broccoli.  Prepare the meal with the fresh pork loin before the fully cooked chicken sausages.  Simply, re-order the meal sequence… no extra work required!

  3. Keep your meal plan in the kitchen on the fridge or on a bulletin board so that you and all the family members are able to reference it at any time.  It eliminates the question, “What’s for dinner?” and provides focus when we are frazzled.  Also, write out 2-3 snacks for yourself and kids so that they know what they can reach for each day during snack time (if they don’t notice the fruit bowl you have waiting for them on the dining room table!).  You can change up the snacks each week to keep it interesting and it ensures that the fresh fruit and veggies you planned for snacks are actually eaten.


Stick To Your Shopping List

When was the last time you walked into the grocery store with a list and walked out with ONLY the items on your list?  Never?!?  Join the club!! But, we spend more money and increase the changes of food waste every time!


Sometimes we are making choices based on what looks fresh and appealing.  Maybe the asparagus looks appealing and delicious OR maybe the mangos are perfectly ripe.  Definitely, make produce choices based on what appears to be the freshest, but make sure you don’t buy more than what you intend to eat or use.  


Inventory Your Pantry and Fridge 1 Time per Month

A good friend told me one time that she made dinners for her family of 4 for an entire week shopping her pantry, freezer, and fridge only– no grocery shopping required!  I was astounded!  I can’t claim that title, but it is true that ingredients begin to pile up and our neat and tidy shelves can easily become disheveled over several weeks with ingredients, extras, and little bits.  


Plan to inventory your entire pantry, fridge, and freezer 1 time per month. Set a reminder on your calendar to do it on a specific day each month before you make a trip to the grocery store.  You may find the beginning of the month is the perfect way to start fresh, but the key is choosing 1 day and sticking to it.


Then, create meals for that week that are specifically designed to help you use up those ingredients.  Maybe you plan a chicken and vegetable soup with any fresh or frozen veggies you can find, canned beans, little bits of rice or grains that aren’t enough for a regular serving.  Don’t forget to use up those fresh herbs you might have around.  Add chopped, fresh herbs before serving so they stay flavorful and don’t lose their color.


This is the perfect time to be creative, resourceful and inventive.  Who knows…maybe you will create a mouthwatering masterpiece!  


What could you do with $1500 each year?!  Would you spend it?  Invest it? Give it?  What is 1 strategy you can implement today to save your hard earned dollars and reduce food waste?


“Wasting food is like stealing from the poor.”  

–Pope Francis


References

Natural Resources Defense Council, Save the Food

 
DISCLOSURE: This post contains affiliate links.  If you purchase a product through this link, your cost will be the same but Healthy Inspiration will receive a small commission to help with the operating costs of this blog.  Thank you for your support!

168 Views0
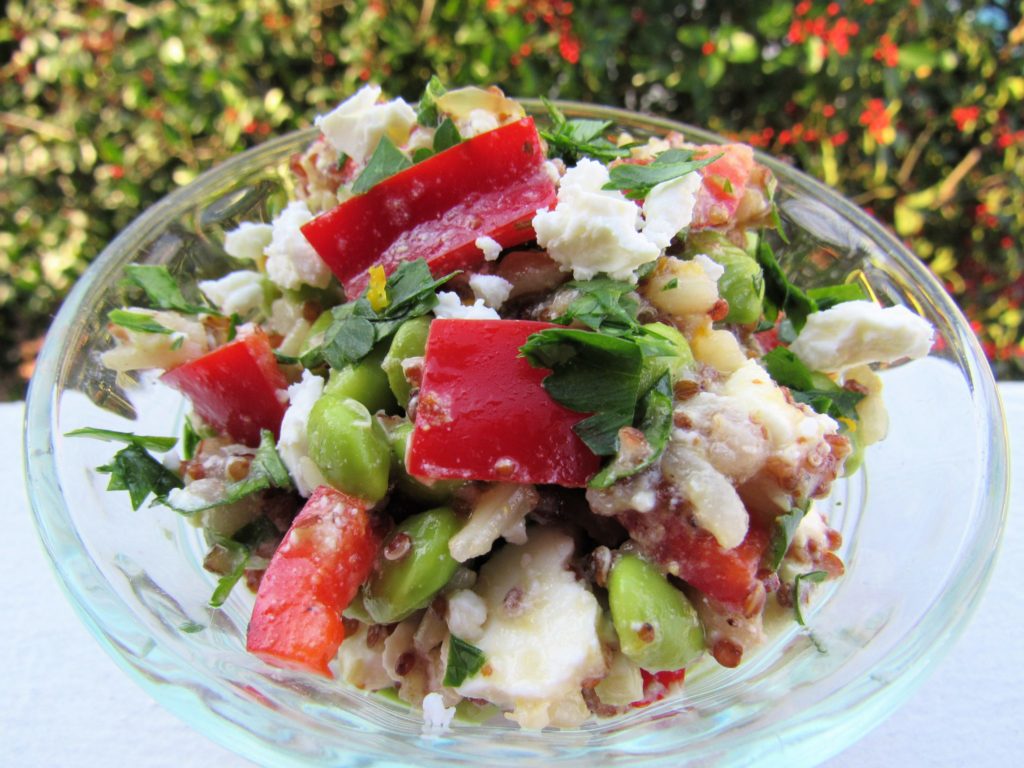
Quinoa Edamame Salad with Citrus Vinaigrette
quinoa edamame salad with citrus vinaigrette

Several years ago, when working in a traditional job, I packed the same lunch almost every day.  While predictable does equal easy in many ways, it did get a bit boring and monotonous.  But after cleaning up the kitchen from dinner every night, prepping and packing lunch for the next day wasn’t (and still isn’t) very appealing.  Agree?

But this inspired me to begin thinking a bit more outside the box as to how I could turn leftovers into a completely different meal.  This recipe was created when I had a mixture of leftover quinoa and brown rice and nothing to eat it with.  After mixing it with some steamed edamame, bell pepper, feta, fresh cilantro and a quick vinaigrette that takes no time to shake up, it became the perfect salad to throw into my lunchbox!

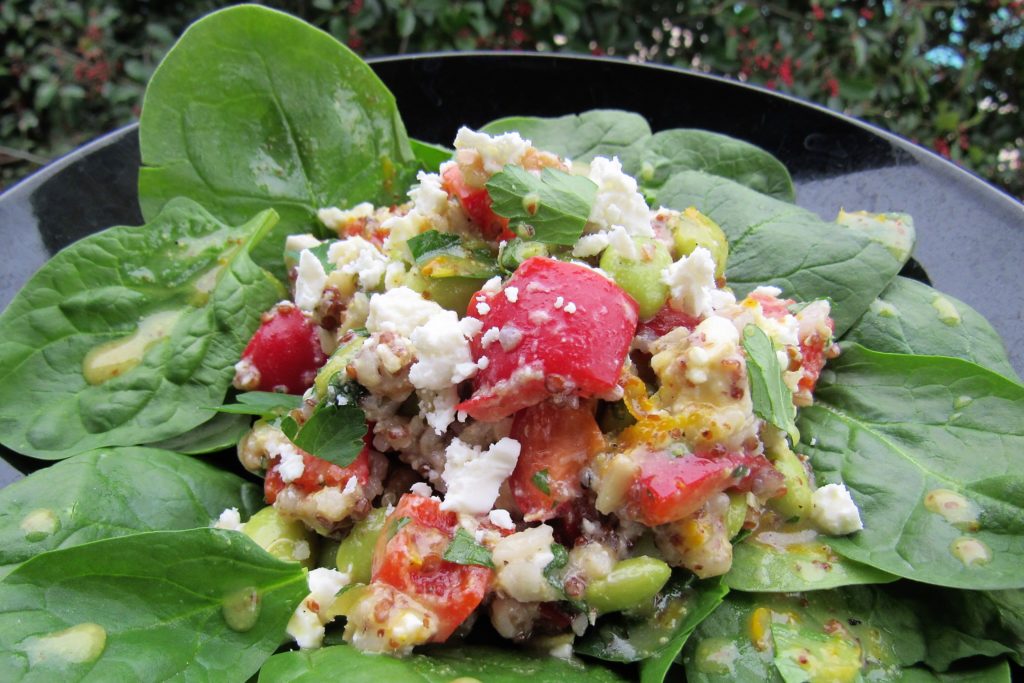
This recipe can be thrown together in a matter of minutes and gets better as it sits.  While salads may traditionally have a bed of lettuce, this one can be eaten on its own or over a bowl of fresh spinach or your favorite greens.

Vibrant and flavorful, this hearty grain and veggie salad is the perfect complete meal but would also be a great accompaniment at a picnic or shared meal gathering.  Perfectly balanced to include complex carbs for energy, plant protein to keep you satisfied and fat to help you absorb vitamins, this Quinoa Edamame Salad is definitely good for you, but the flavors won’t disappoint!

Regardless of whether you are vegetarian or not, this salad will fill you up without weighing you down.  Enjoy!

Quinoa Edamame Salad With Citrus Vinaigrette

Jennifer Hunt, RDN, LD
Servings 4

Ingredients
  

Salad Ingredients

  • 1 cup cooked quinoa or brown rice*
  • 1 cup cooked edamame
  • 1 red bell pepper chopped
  • 1.5 oz crumbled feta cheese OR 1 avocado, diced (for vegan/dairy free)
  • 2 tbsp cilantro chopped (plus extra for garnish)
  • 1/8 tsp kosher salt
  • 1/8 tsp ground black pepper

Vinaigrette

  • ½ orange juice, and zest
  • 1 tbsp rice wine vinegar or apple cider vinegar
  • 1 tbsp extra virgin olive oil
  • 1 tbsp lemon or lime juice fresh or bottled
  • 1 tbsp dijon mustard like Grey Poupon Country Dijon
  • ½ tbsp honey
  • tsp kosher salt
  • tsp black pepper

Instructions
 

  • In a medium bowl, combine the quinoa, edamame, bell pepper, cilantro, feta cheese (or diced avocado), salt and pepper. 
  • In a small jar with lid or leak-proof container, combine all vinaigrette ingredients and shake well. 
  • Add ¼ cup of the vinaigrette dressing to salad and combine. Taste. Add more dressing, if desired and adjust salt/pepper to taste. 
  • Top with additional chopped cilantro and serve!  Can be stored in refrigerator for 3-4 days- just stir up before serving.

Notes

  • Makes 2 large (1.5 cups) servings or 4 small (¾ cup)
  • I used Simply Nature Intercontinental Super Grains (a blend of brown jasmine rice, farro wheat, and red quinoa)
  • Make this salad entirely vegan/plant-based by subbing the feta cheese with 1 diced avocado. But be sure to adjust salt, if necessary, since the cheese adds a salty bite.
Nutrition per ¾ cup Serving
Calories 199; Total Fat 8.8g; Saturated Fat 2.3g; Cholesterol 7.5mg; Sodium 228mg; Carbohydrate 21g; Dietary Fiber 5g; Sugar 5g; Protein 11g
Serving Suggestions
This is a perfect stand-alone vegetarian meal but can also be prepared as a side dish.  Consider serving over a bed of mixed greens or spinach.  The salad could also be served inside a hollowed out bell pepper halve or raw zucchini boats. The dressing is amazing and can also be prepared to dress salad greens at another meal.  

TRUTH: Gracious words are a honeycomb, sweet to the soul and healing to the bones.

Proverbs 16:24 (NIV)

1 View0